GitLab is web-based and open-source Git-repository manager. It is written in Ruby and comes with plenty of features including code review, monitoring, CI/CD (continuous integration and deployment), wiki, issue tracking, and many others.
Until the year 2012, GitLab and was fully free and open-source software distributed under the MIT License. In July 2013, the program was split into two versions: GitLab Community Edition (CE) and GitLab Enterprise Edition (EE).
In February 2014, GitLab took an open-core business model. As expected, GitLab EE has some advanced features not present in the CE version. However, the GE version is still actively developed and supported by the company.
Install GitLab CE on Ubuntu 18.04 LTS
At FOSS Linux, we love Open Source software, therefore, this article will describe only the installation of the GitLab Community Edition (CE) on Ubuntu.
System Requirements
- 2 core CPU is recommended that can support up to 500 users
- Minimum 8 GB of RAM
- 2GB of swap available on your server
To begin with, update system repositories before starting the GitLab installation.
sudo apt-get update
Install and configure the needed dependencies:
sudo apt-get install curl openssh-server ca-certificates
Gitlab will need to be able to send emails to users. Hence, you should install and configure email service such as postfix or you can use external email services like AWS SES, MailChimp etc. In this example, we will use postfx.
Install postfix.
sudo apt-get install postfix
During postfix installation, it will ask mail server configuration type. Select ‘Internet Site’ and click “OK”.
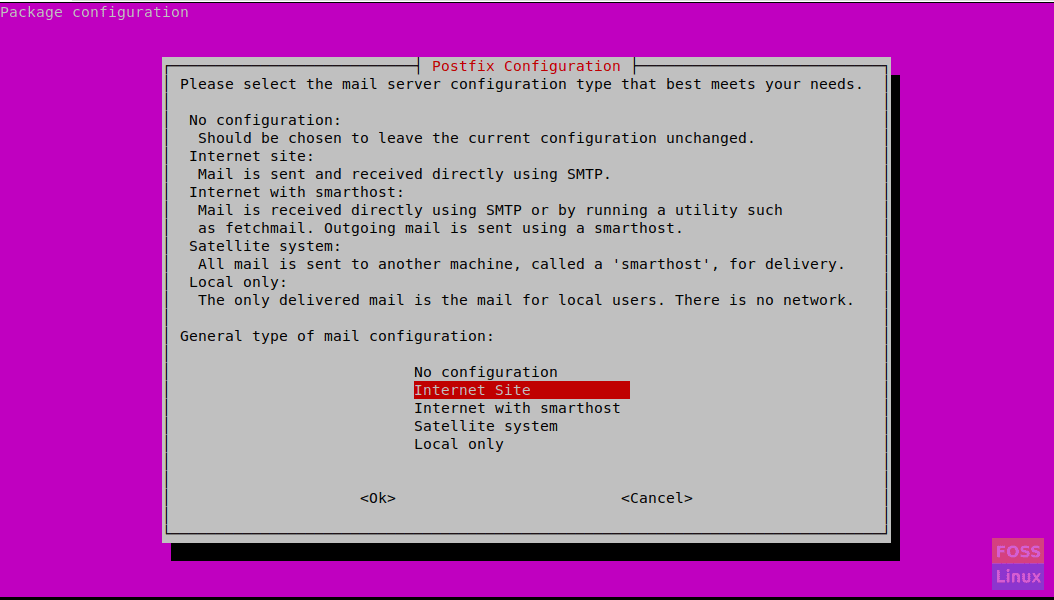
Internet Site
Then it will prompt to enter ‘System mail name’. This should be your server hostname or DNS name of your server. Here we use “gitlab.fosslinux.com”.
Enter the appropriate name for your server configuration and press Ok.
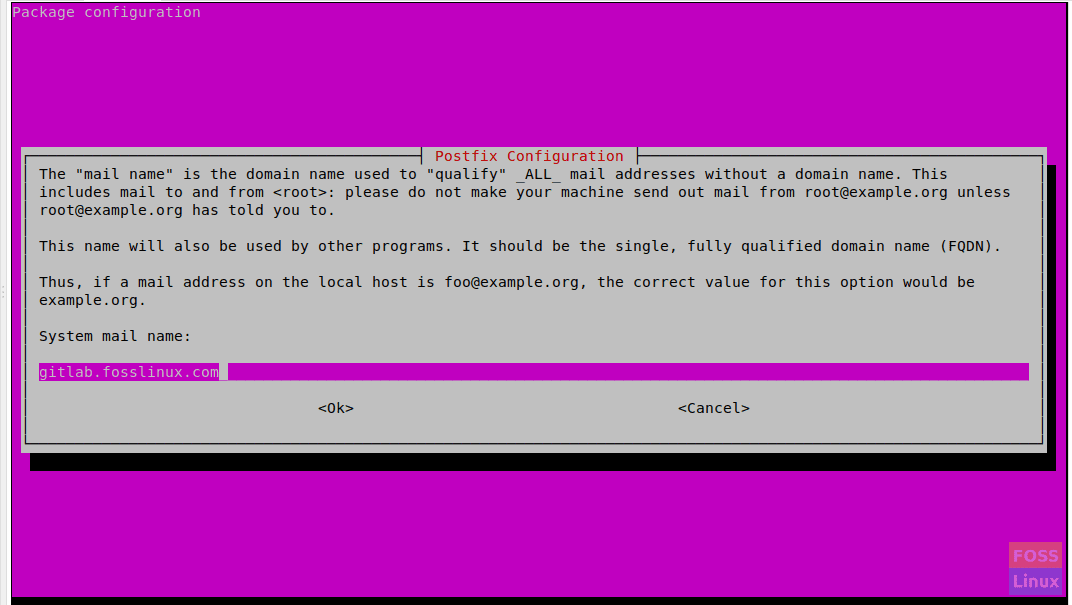
Mail Name
After the postfix installation starts service:
sudo systemctl start postfix
Enable service on system boot:
sudo systemctl enable postfix
Installing GitLab
Add the GitLab package repository:
curl -sS https://packages.gitlab.com/install/repositories/gitlab/gitlab-ce/script.deb.sh | sudo bash
Then install GitLab Community Edition:
sudo apt-get install gitlab-ce
It may take some time for the installation to complete. Then you will get the following output.
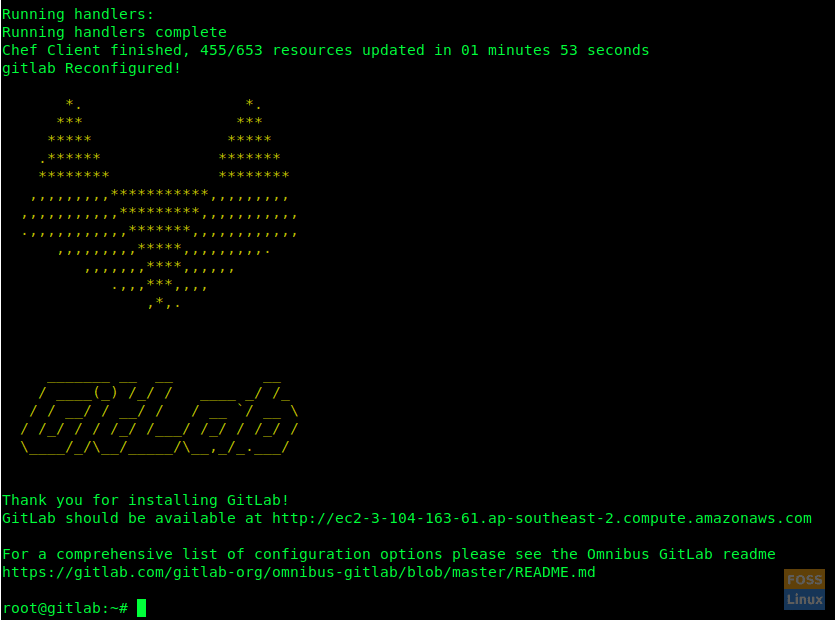
GitLab Installation Complete
Modify Firewall Rules
Allow HTTP and HTTPS:
sudo ufw allow http
sudo ufw allow https
Check firewall status and it will show open ports:
sudo ufw status
Configure GitLab URL with SSL
Before we access GitLab, we need to configure it with Domain name.
But before adding this domain name you need to configure your DNS servers with needed configurations (a record with server Public IP).
So go ahead and modify the GitLab configuration file
sudo /etc/gitlab/gitlab.rb
Find “external_url” field and add your domain name
Then look for “letsencrypt” and uncomment the line. Set it to “true”.
If you need, you can enable “letsencrypt[‘contact_emails’]” section too. Uncomment line and add your email address.
Save and close the file. After this kind of modification, you need to reconfigure GitLab. So run below command to do that.
sudo gitlab-ctl reconfigure
It will reconfigure GitLab and configure free SSL certificate.
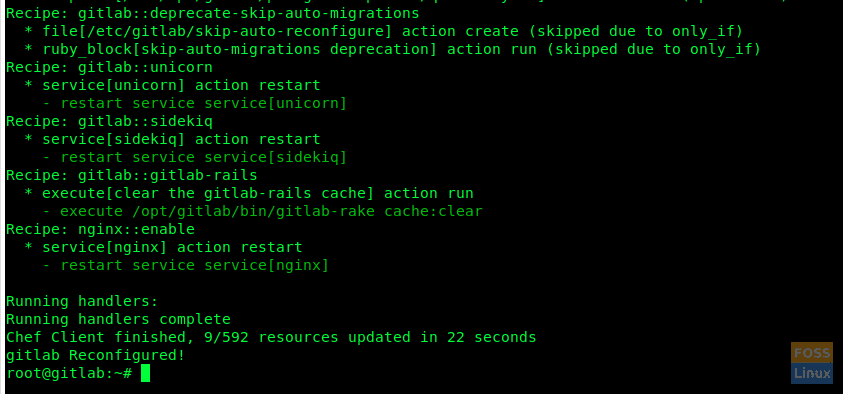
Reconfigured
GitLab web interface
Use your web browser and type your GitLab Url and hit enter.
https://gitlab.fosslinux.com
Replace “gitlab.fosslinux.com” with your domain name:
When you browse GitLab web interface first time, it will ask new password for the administrative account. Enter the new password and click “change your password”.
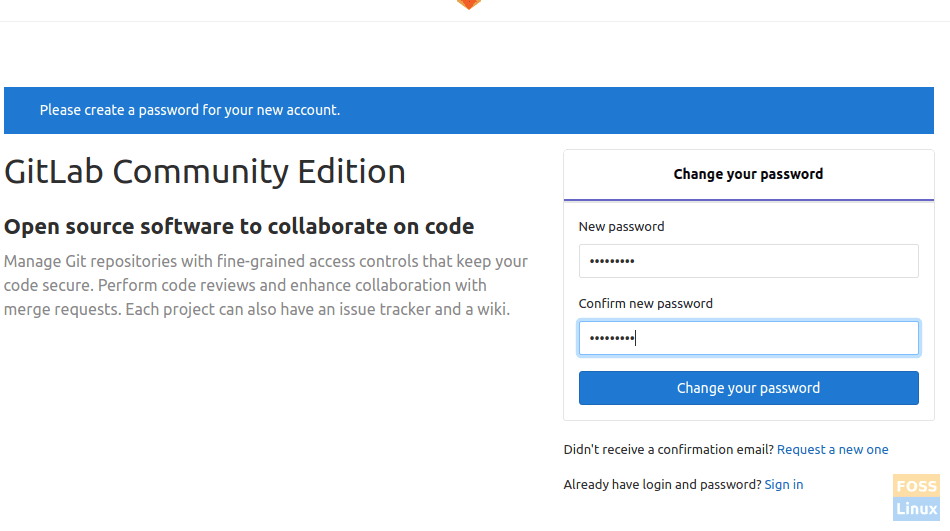
Admin Password
After that, it will redirect to login page. The user name will be “root” and password will be the one you have already set.
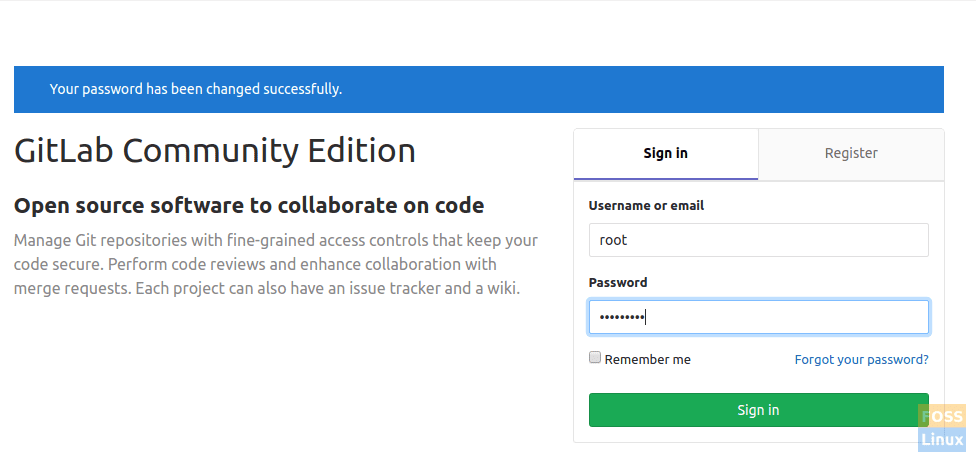
Login Page
After you log into the account, you will see the welcome page.
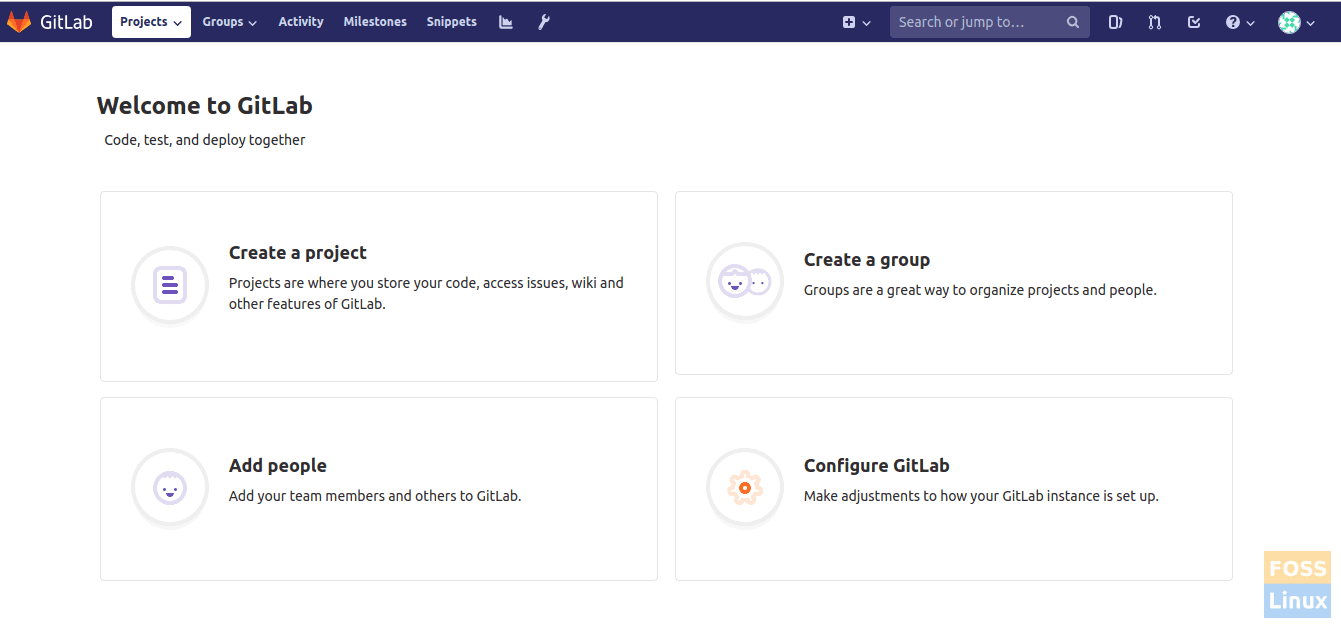
GitLab Welcome Page
SMTP settings
If you need to modify SMTP settings, modify “gitlab.rb” file.
sudo vim /etc/gitlab/gitlab.rb
For SMTP on localhost, you need to modify the following configurations:
gitlab_rails['smtp_enable'] = true;
gitlab_rails['smtp_address'] = 'localhost';
gitlab_rails['smtp_port'] = 25;
gitlab_rails['smtp_domain'] = 'localhost';
gitlab_rails['smtp_tls'] = false;
gitlab_rails['smtp_openssl_verify_mode'] = 'none'
gitlab_rails['smtp_enable_starttls_auto'] = false
gitlab_rails['smtp_ssl'] = false
gitlab_rails['smtp_force_ssl'] = false
There you go! You installed and configured GitLab successfully.


