
MongoDB is a 2009-released NoSQL database that provides a flexible schema approach. It enables developers to rapidly construct applications and websites without spending much time setting a Database. It is fundamentally distinct from relational databases like Oracle, MySQL, and Microsoft SQL Server.
The term MongoDB is derived from “humongous,” which essentially translates to “huge.” MongoDB may also be used to store both structured and unstructured data. Numerous Professionals install MongoDB on Debian due to its adaptable and quick environment. MongoDB on Debian allows users to create scalable apps and utilize other Linux capabilities.
Most businesses favour Relational Database Management Systems (RDBMS) for storing and retrieving data. There are several benefits to using a DBMS. For instance, it provides enhanced Data Integration, transmission, and security options. It enables developers to generate rapid Database query solutions. If you’re looking for a solution to help standardize file usage, store data securely, and increase data accessibility, you’ve come to the right place.
Developers utilize MongoDB in Debian since it provides a vast array of tools via an open-source Linux interface. This post will explain how to install MongoDB Debian in easy stages and how to use MongoDB once the installation is complete.
Key features of MongoDB
MongoDB’s exceptional capabilities contribute to its widespread usability and popularity. Let’s examine the significant technological characteristics of MongoDB:
Indexing
Indexing is an essential component of a Database for enhancing search speed and query performance. Without indexing, a database would have to scan each page individually to determine which ones fit the query, which would be wasteful. However, the server can execute user requests rapidly if each query has an acceptable index. With MongoDB, any field or key in a document may be indexed, enabling complicated access patterns to datasets.
Facilitates Adhoc Queries
One of the most significant advantages distinguishing MongoDB is its efficiency while processing ad hoc queries on data that are typically updated in real-time. MongoDB supports field searches, range searches, and queries with regular expressions.
Schema-Less Database
Using a schema, traditional relational databases specify each functional element, including tables, rows, views, indexes, and relationships. In MongoDB, one collection keeps various documents. It has no schema. Therefore a collection may include many documents with separate keys, which may be unique. A schemaless database, such as MongoDB, is more flexible since it lacks these initial limitations and corresponds to a more “natural” database.
Click here to learn more about MongoDB.
Install MongoDB on Debian
Follow the steps provided herein to install MongoDB on Debian 11.
Step 1: Install the MongoDB Debian Dependencies
Install the MongoDB Debian requirements with the command below.
sudo apt-get install gnupg2 wget -y
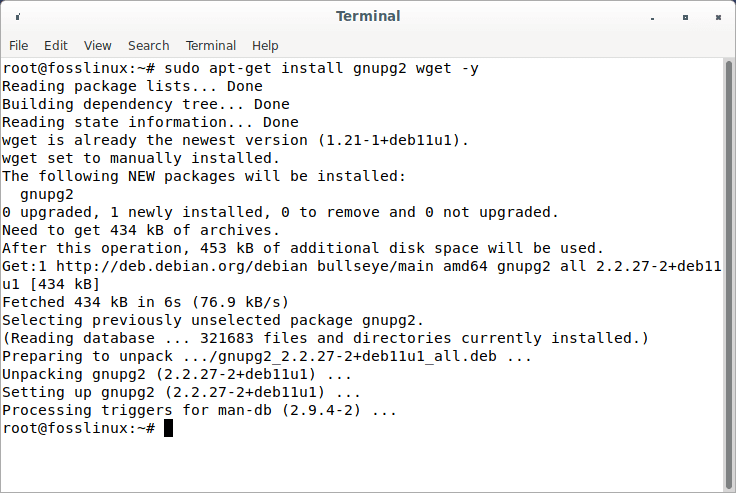
Install MongoDB dependencies
The MongoDB package is not included by default in the Debian repository. Therefore, you must add and install the official MongoDB repository for Debian to APT. Execute the following line of code in the terminal to include the official MongoDB repository.
wget -qO - https://www.mongodb.org/static/pgp/server-5.0.asc | sudo apt-key add -
or

echo "deb http://repo.mongodb.org/apt/debian buster/mongodb-org/5.0 main" | sudo tee /etc/apt/sources.list.d/mongodb-org-5.0.list
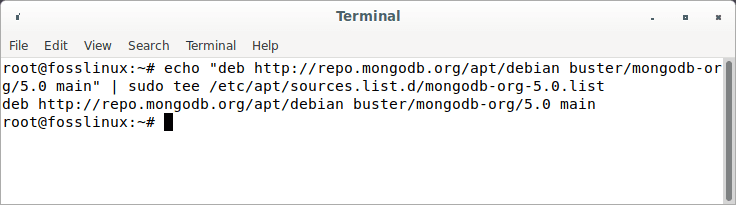
Add MongoDB repo
Once you are done, update the repository cache with the following command:
sudo apt-get update -y
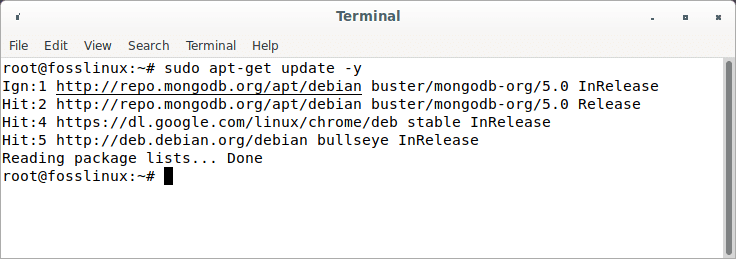
Update repo caches
Step 2: Integrate the GPG key for MongoDB
To confirm that the packages we will obtain in order to install this database on Linux come from a legitimate source. Add the GPG key signed by the Database server’s developers.
Note: This step is optional
curl -sSL https://www.mongodb.org/static/pgp/server-5.0.asc  -o mongoserver.asc

gpg --no-default-keyring --keyring ./mongo_key_temp.gpg --import ./mongoserver.asc

gpg --no-default-keyring --keyring ./mongo_key_temp.gpg --export > ./mongoserver_key.gpg

sudo mv mongoserver_key.gpg /etc/apt/trusted.gpg.d/
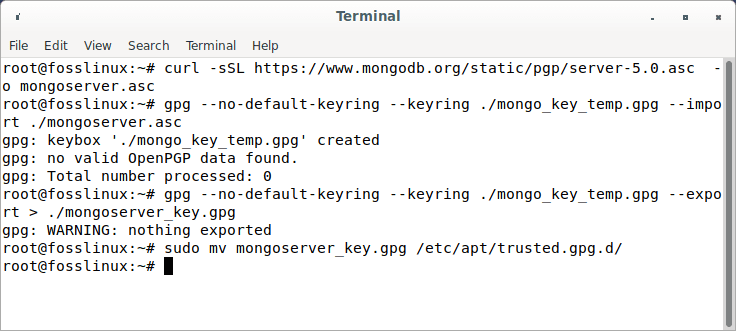
Intergrate GPG Key
Step 3: Run system update
On your Debian 11 terminal, execute a system update to ensure that all existing packages are up-to-date.
sudo apt update
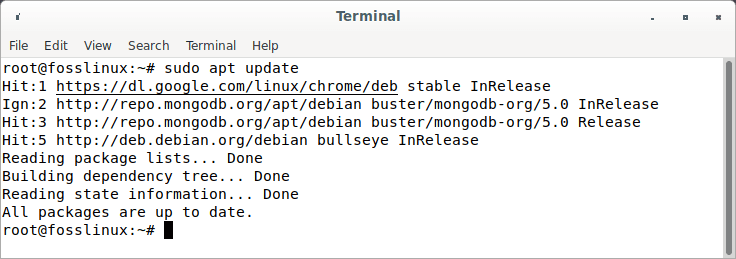
Update resources
Step 4: Install MongoDB on Debian11 Bullseye
That is all. We have already established the prerequisites for installing “database-tools, mongosh, additional tools, mongos; database server and shell” on Debian 11 bullseye
Hence, perform a simple command:
sudo apt install mongodb-org

or

sudo apt-get install mongodb-org -y
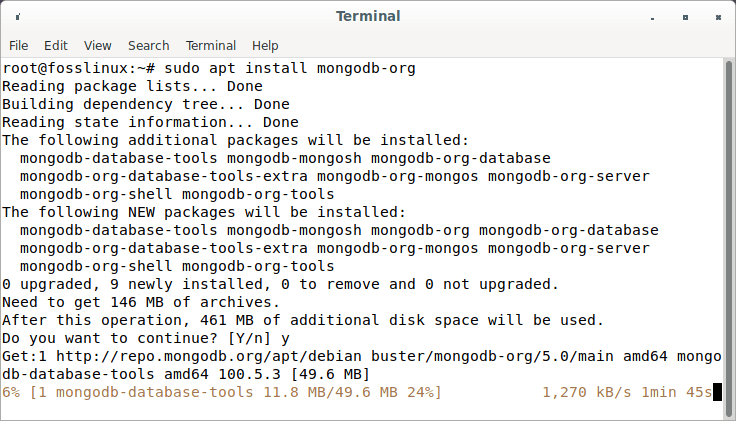
Install MongoDB
After successfully installing the MongoDB Debian package, verify the MongoDB version using the command below.
mongod --version
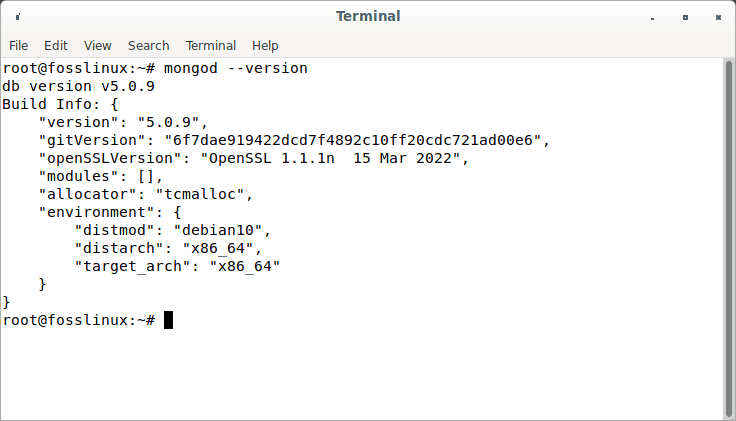
MOngoDB version
Step 5: Enable and start the MongoDB service
Enable and start the Database server service after the installation is complete so that we do not need to run it every time the system boots.
sudo systemctl enable --now mongod
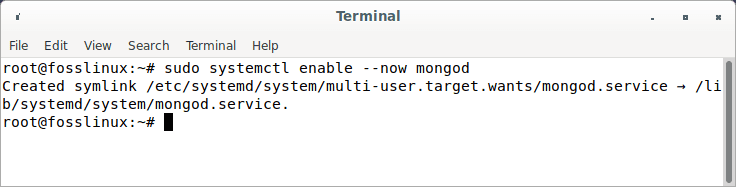
Enable MongoDB
Proceed and check the MongoDB status by executing the command below:
sudo systemctl status mongod
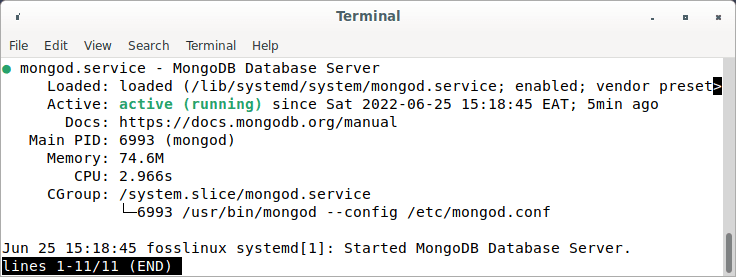
Check MongoDB status
Step 6: Configure MongoDB
MongoDB is set by default to allow access without a password. It is always suggested to protect MongoDB using a username and password for security purposes.
To enable MongoDB authentication, you must modify the MongoDB configuration file:
sudo nano /etc/mongod.conf
Append the following lines to the mongod.conf file:
security:

authorization: enabled
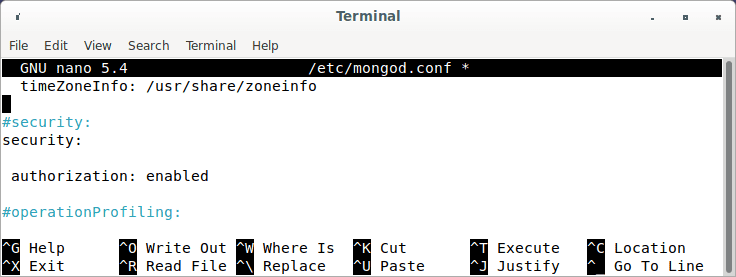
MongoDB authorization file
After executing the file, save and close it, then restart the MongoDB service to effect the modifications.
systemctl restart mongod
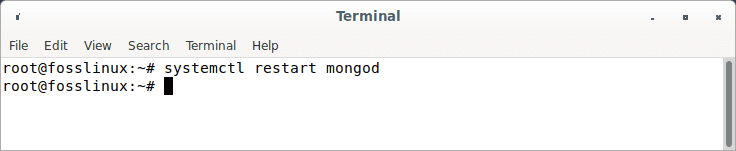
Restart MongoDB
Next, you must create an admin user to complete the administrative operation. First, connect to the MongoDB using the command below:
mongo
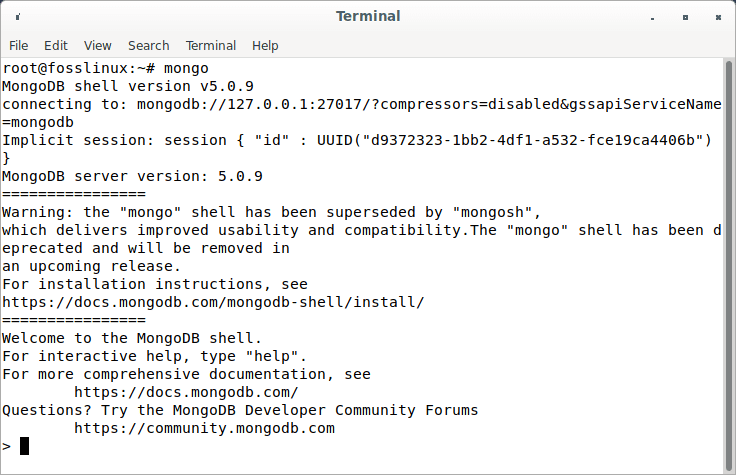
Connect to mongo
Once connected, use the following command to establish an admin Database:
use admin

Use admin
Next, establish an administrator account and set the password using the command:
> db.createUser(

{

user: "fosslinux",

pwd: "fosslinux123",

roles: [ { role: "userAdminAnyDatabase", db: "admin" } ]

}

)
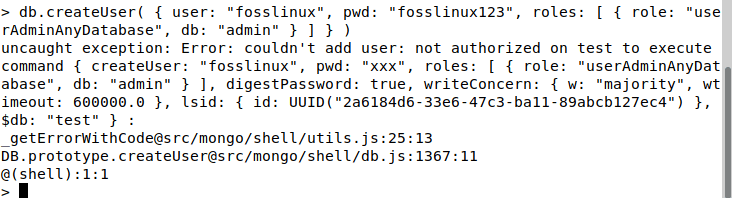
Create admin user
Next, terminate the MongoDB shell with the following command:
quit()
Quit mongo server
Step 7: How to alter MongoDB Debian default path?
The primary location for storing MongoDB data is /var/lib/mongo. However, this directory can be modified in the following manner:
- Stopping the MongoDB service is required.
sudo systemctl stop mongod.service
Stop MongoDB
- Create a new MongoDB data directory.
mkdir fosslinux
Create fosslinux directory
- Set the directory’s ownership to MongoDB.
sudo chown -R mongodb:mongodb fosslinux
Set directory ownership
- Replace the previous directory with the current one. To install Rsync, do sudo apt install rsync.
sudo rsync -av /var/lib/mongodb fosslinux
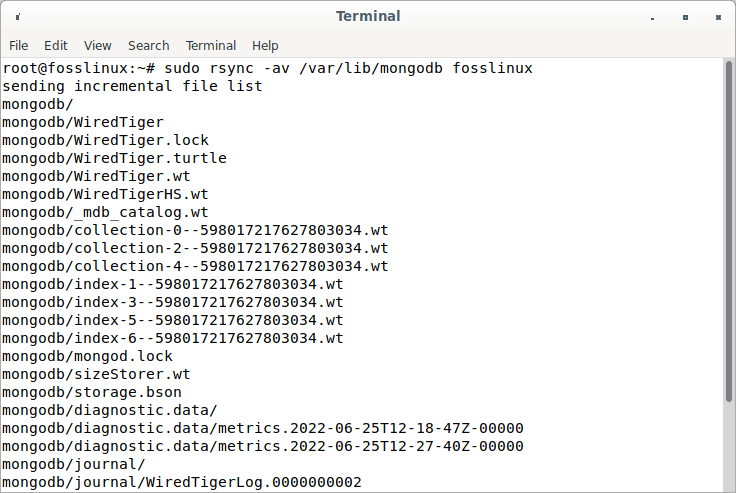
Replace previous directory with current one
- Rename the previous backup directory.
sudo mv /var/lib/mongodb /var/lib/mongodb.bak
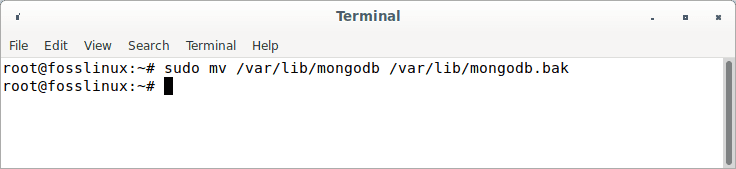
Rename previous directory
- Establish a symbolic link to the new location.
sudo ln -s fosslinux /var/lib/mongodb
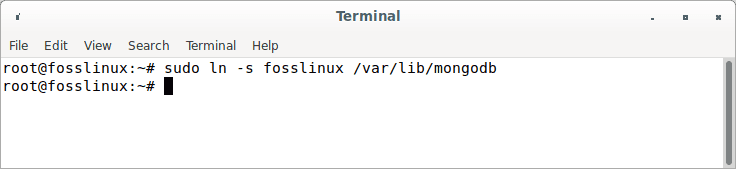
Create a symbolic link
- After making these adjustments, restart the MongoDB service. MongoDB will immediately begin saving its data in the newly-created directory.
sudo systemctl start mongod.service
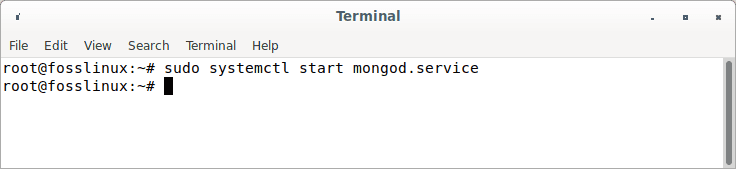
Restart MongoDB
Step 8: Enable Remote Connections
To allow distant connections, you must change the same file and add your private or internal IP address to the network interfaces. Your settings should be like the one seen below.
sudo nano /etc/mongod.conf
net:

port: 27017

bindIp: 127.0.0.1,10.128.10.1
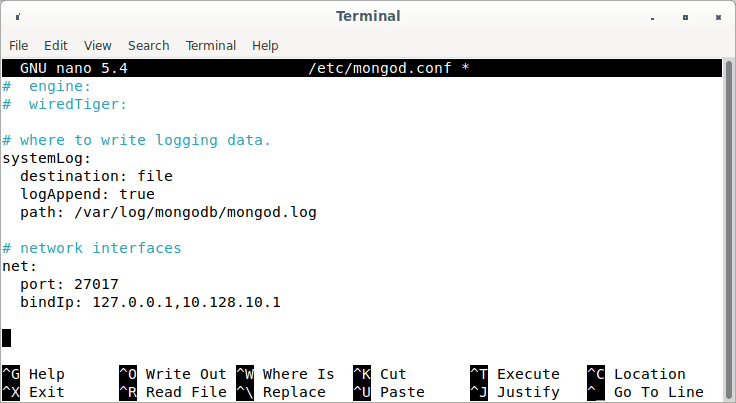
Enable remote connections
Replace the IP address (10.128.10.1) with your own IP address.
If a firewall exists, open port 27017.
Start MongoDB again.
sudo systemctl restart mongod
Restart MongoDB service
Verify whether MongoDB permits remote connections with the following command.
sudo lsof -i | grep mongo
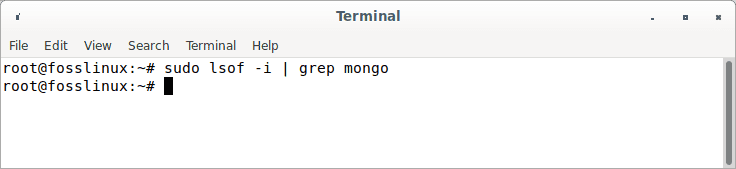
Verify MongoDB remote connection
How to uninstall or remove MongoDB on Debian 11
Those who are no longer interested in MongoDB and have no need for it can delete it using the command below:
sudo apt remove mongodb-org
Conclusion
MongoDB is a document-oriented db that gathers and stores data in compressed BSON files. Depending on their needs, developers may extract the gathered documents and information in JSON format. In addition, installing MongoDB Debian facilitates the development of applications with rapid performance because of its scalability features and customizable document schemas. You have learnt how to install, authenticate, and use databases within MongoDB in Debian. Let us know how you found this article guide. Thanks for reading this article guide, and keep following FOSSLinux for more in-depth Linux guides.