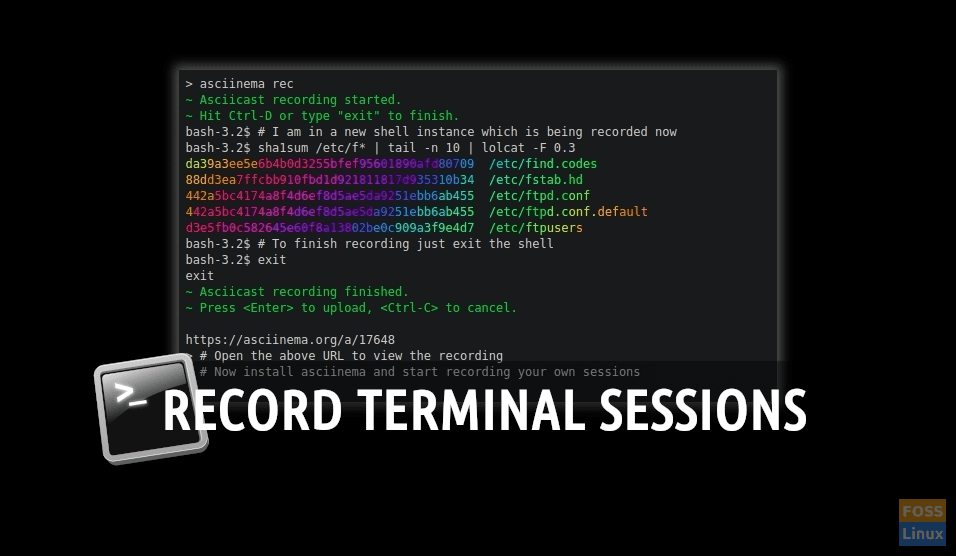
There are several times that you might need to record a video of a sequence of commands in terminal. Let it be for a tutorial or for teaching seasons or just for your own reference.
Recording a video does not allow you to copy from it, so you need to provide some transcript of the video if you want your viewers to be able to copy your commands for further use.
Asciinema is a nice tool to be able to share a video of your console/terminal as an ASCII video. From this ASCII video, you will see exactly the same that happened on the console while recording and you can select all texts from the video. Here is a sample video, courtesy of asciinema.
Exciting isn’t it? In this Terminal Tuts, we will guide you on how to install asciinema and its basic usage. We are using Ubuntu in this tutorial but this guide should work on Linux Mint, elementary OS and other Ubuntu derivatives.
Installing asciinema using packages
We will make the basic installation in Ubuntu using packages, but basically, the installation procedure is easy on any system, first of all, as usual, it’s better to update apt repositories before installing:
sudo apt update
Once repositories are updated, we can install the package:
sudo apt install asciinema
and that’s all, we have asciinema installed.
Installing asciinema using pip3
Pip is a package manager for Python. pip3 also is the same but when using python3, it allows to install and manage packages from Python Package Index (Pypi). We can use it to install software packages built with Python as asciinema:
If we have not pip3 installed, we first need to install python3-pip from repositories:
sudo apt update && sudo apt install python3-pip
After we have pip installed, we can just do:
sudo pip3 install asciinema
Asciinema Basic Usage
There are two ways of using asciinema, the first one is using asciinema.org service, this way, you record to asciinema cloud and you can see your recording on your account or use the embedded javascript player to replay your sessions on your webpage.
In this case, you can just record a session in your console typing:
asciinema rec
From this point, all our commands will be recorded while we just continue working on the terminal, once we have finished, we can just type:
exit
When the session is over, we will be asked if we want to upload the session to asciinema.org, if we choose yes, we will be given a hash to identify our recording.
We can also save our cast to a local file just adding a file name after rec command:
asciinema rec filename.cast
Making a local cast recording allows us to playback the file just changing the command from rec to play:
asciinema play filename.cast
We can also control the play speed with flag -s, for example, double speed:
asciinema play -s 2 filename.cast
Or limit the idle time to a given value with -i:
asciinema play -I 3 filename.cast
This will bypass any idle time above 3. Asciinema can also show all the texts as if you had recorded with ”display”:
asciinema cat filename.cast
You can also upload a local file to your desired server (defaults to asciinema.org):
asciinema upload filename.cast
We will further see in other articles on how to host your own asciinema server to serve your own casts over the web if you are not comfortable sharing them on asciinema.org.
Asciinema Advanced Options and Editing
At this point you should have a good idea about what asciinema can do for you, but there is more in the pot: asciinema can reduce death times, all the time marks will be kept but video will be played on a more fluent way. This parameter, amongst other options, can be configured by default on config file created at $HOME/.config/asciinema/config the most useful ones are:
- command .- Used to choose the default shell command that will be opened by asciinema when the record starts, defaults to bash
- idle_time_limit.- It can be used both on rec and play in rec config means the time from which you will not be recording when idle on the console and in play mode means the time from which you will be skipping output when idling, defaults to off
- speed.- default playback speed (same as -s), it is a positive fraction (0.5 for 50% speed, 10 for 1000% speed), defaults to 1
You can also download a GO program (asciinema-edit) that will allow you to split content or remove idles in an already recorded cast.
Wrap Up
Asciinema is a really useful tool to record tutorials and console sessions for tests or presentations (or just self-reference), it can be easily installed on a Linux system, both as system packages or as python packages and with a simple command interface will allow you to record, light-weight ASCII casts of your console sessions. In further articles, we will see how to host your own server and embed casts or how to convert them into gifs for sharing.

