LAMP is an acronym for Linux, Apache, MySQL, PHP. PhpMyAdmin is a known free and open source, a fully-featured web-based frontend for administering MySQL / MariaDB database.
Written in PHP, phpMyAdmin is intended to handle the administration of MySQL over the Web. It is immensely popular for doing tasks such as managing databases, tables, columns, relations, indexes, users, permissions, etc.. All the actions are performed via the graphical user interface but there still capability to directly execute any SQL statement.
Install phpMyAdmin with LAMP stack on Ubuntu
In order to install phpMyAdmin, you need to install the LAMP modules. Let’s start one by one.
Step 1) Install Apache HTTP Server
Apache HTTP server is a popular cross-platform web server that’s used worldwide. It is a free, open source, powerful and can run on UNIX/Linux as well as MS Windows platforms.
Let’s start with updating the system repositories. Launch the Terminal and enter the following command:
sudo apt-get update
Install Apache.
sudo apt-get install apache2
Generally, the Apache service starts automatically. Check the status using the command:
sudo systemctl status apache2.service
If you see the service has not started, you can start it manually using the following command.
sudo systemctl start apache2
Since Apache need to run continuously in the background even after a system reboot, you must enable Apache2 service on the system boot.
sudo systemctl enable apache2
Enter the following command to allow Apache ports from the Ubuntu Firewall. Apache uses ports 80 and 443 to allow connection requests via HTTP and HTTPS respectively. Hence, we need to make sure they are allowed.
sudo ufw allow 80/tcp
sudo ufw allow 443/tcp
Reload firewall and check the Firewall status.
sudo ufw reload
sudo ufw status
To check the Apache installation running status, launch the browser using hostname or server IP address.
http://localhost/
OR by using server IP.
http://3.10.10.25 (Your server IP)
If you see the Apache default page, it means everything went well.
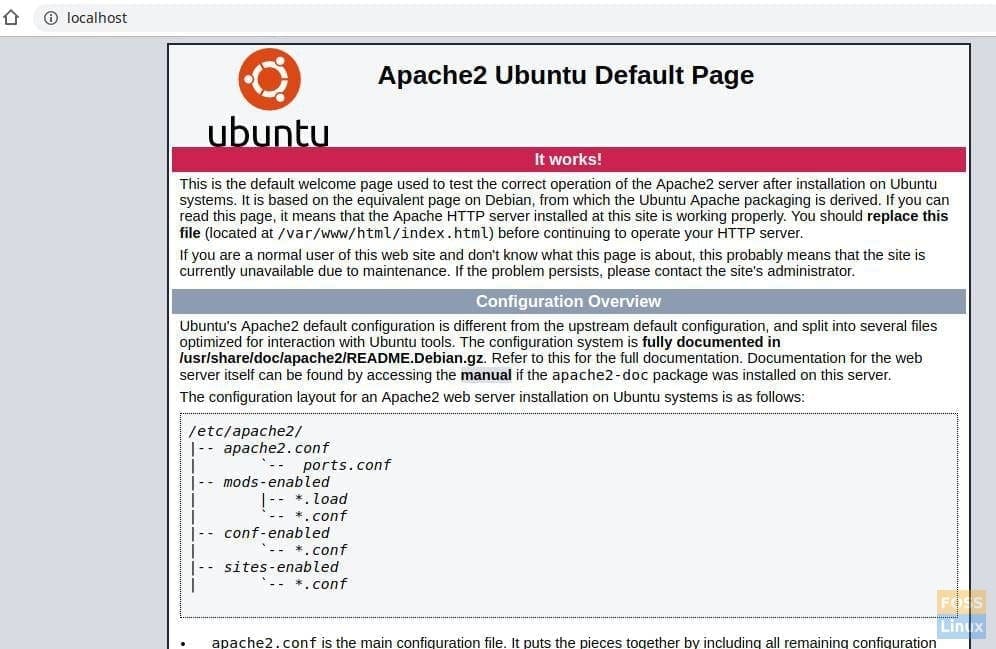
Check Apache Installation
Step 2) Install MySQL
MySQL is an open source relational database management system (RDBMS). It is free and open-source software for Linux. It is used by huge organizations such as Facebook, Google, Adobe, Alcatel Lucent, and Zappos. The power rests in the MySQL’s capability to save time and money powering their high-volume Web sites.
Let’s start with checking for available MySQL version.
sudo apt-cache policy mysql-server
Then you will see the available MySQL version table.
As you see there is a new version available. We shall install using the command as follows:
sudo apt-get install mysql-server mysql-client
Pay attention to the Terminal. Confirm MySQL installation by typing “Y” when needed to continue the installation.
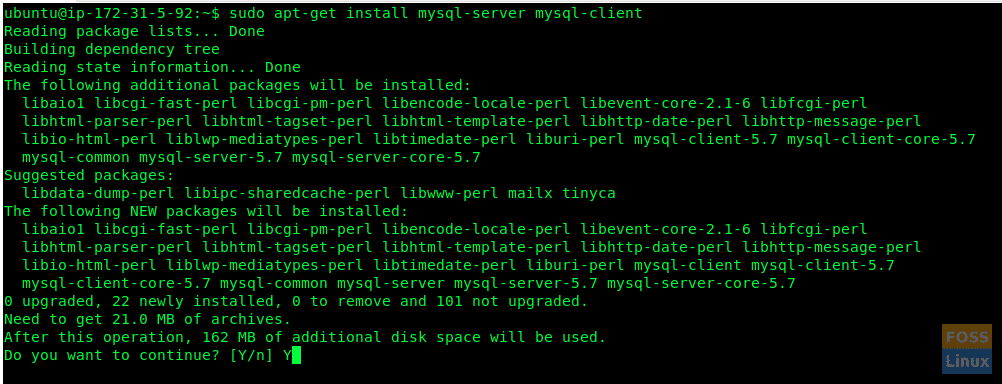
Install MySQL
Securing MySQL installation
You need to execute a security script that comes with the package in order to secure the MySQL installation.
sudo mysql_secure_installation
You will be asked if you want to configure the VALIDATE PASSWORD PLUGIN. Type “Y” to yes and hit Enter to continue.
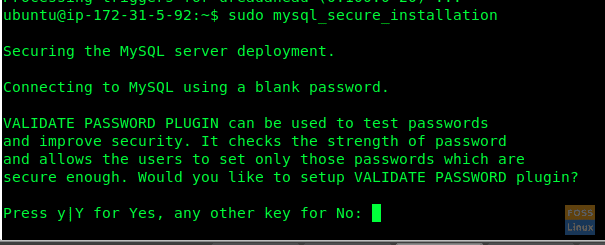
Validate Password Plugin
You will see a prompt to select a level of password validation. Obviously, we would recommend 2.

Password Policy
Go ahead and provide a password for MySQL root user.

New Password
It will ask “Do you wish to continue with the password provided?”. Type “Y” and hit Enter.
You should see a series of questions. Type “Y” for each one of them.
Remove anonymous users? (Press y|Y for Yes, any other key for No) : Y
Disallow root login remotely? (Press y|Y for Yes, any other key for No) : Y
Remove test database and access to it? (Press y|Y for Yes, any other key for No) : Y
Reload privilege tables now? (Press y|Y for Yes, any other key for No) : Y
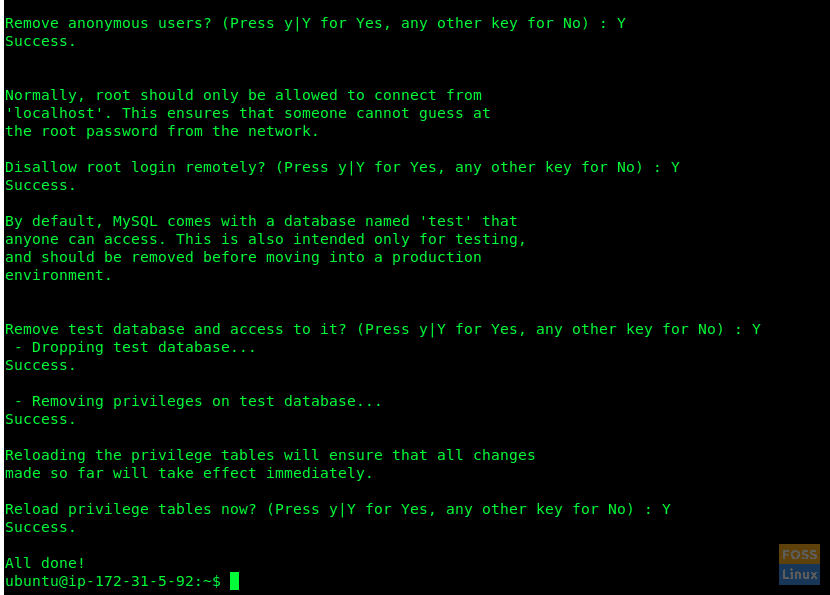
Other installation Questions
By now you should have installed MySQL and also securely configured it. You can access MySQL server using the root login and password.
sudo mysql -u root -p

Root Login
Step 3) Install PHP
Hypertext Preprocessor (or simply PHP) is a general-purpose scripting language that is particularly great for web development. It is used extensively for server-side scripting in order to generate dynamic content on websites and apps. We need it installed in order for PhpMyAdmin to function.
We will first check for available PHP versions and then install it.
sudo apt-cache policy php

Available PHP Version
Here we can see PHP 7.2 is available. We will install it.
sudo apt-get install php php-cgi libapache2-mod-php php-common php-pear php-mbstring php-mysql php-curl php-json
Now we will test PHP installation:
Create file PHP file inside /var/www/html folder.
sudo vim /var/www/html/info.php
Add the following code to the file.
 <?php
phpinfo();
?>
Then open a web browser, and enter following URL to view the PHP information page. Replace IP with your server IP or domain name in the below URL.
http://3.104.163.61/info.php
http://Domain_Name/info.php
or
http://Server_IP/info.php
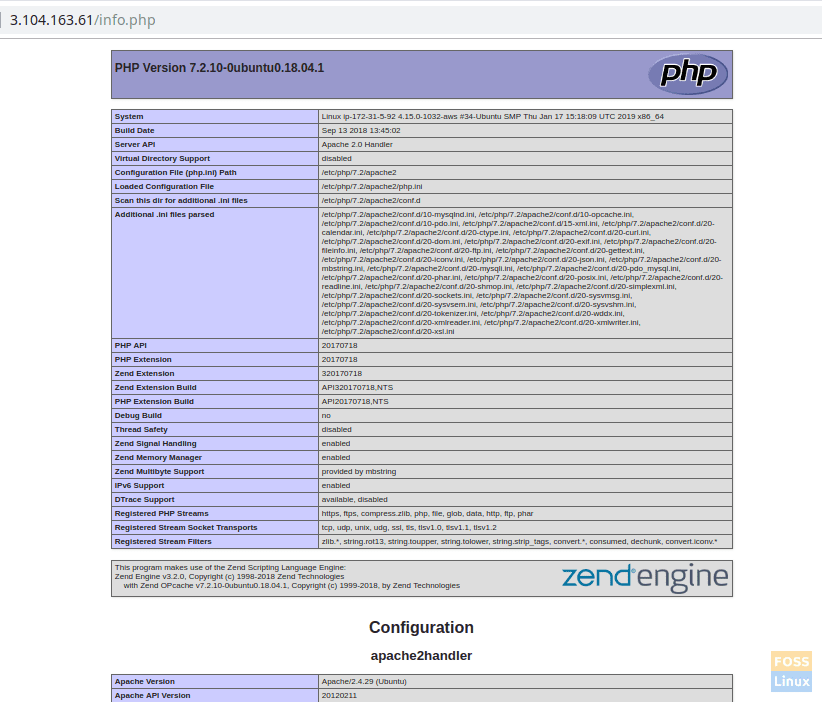
PHP Info
The phpinfo() function that we entered in the info.php script displays information about the PHP installation and its configuration.
This implies you have successfully installed and configured LAMP stack. All the prerequisites are completed and so time to roll the phpMyAdmin installation.
Step 4) Install phpMyAdmin
Launch Terminal and enter the following command:
sudo apt-get install phpmyadmin php-gettext
In the next step, select “Apache2” by pressing the “Space” bar.
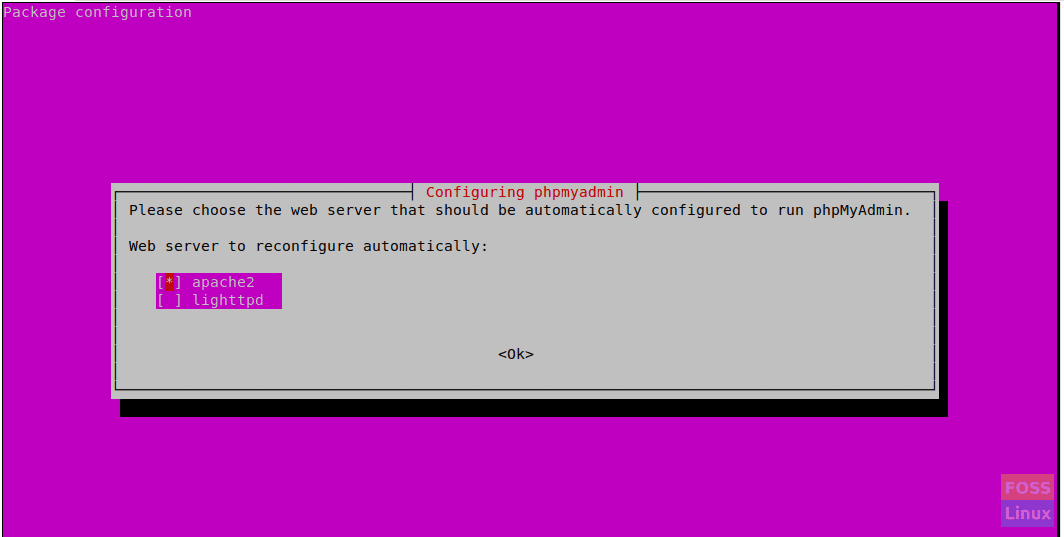
Select Web Server
Select “Yes” when asked whether to use dbconfig-common to set up the database.
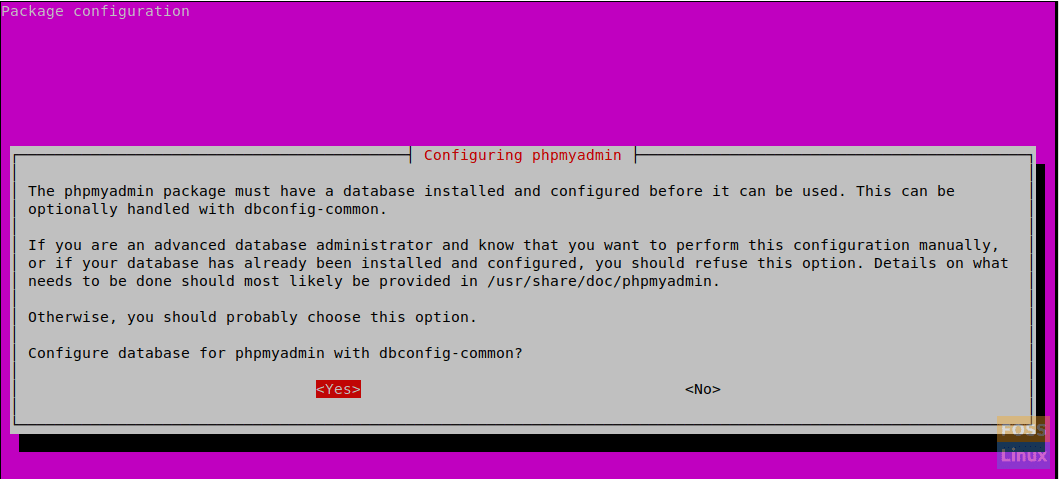
Configuring PHP MyAdmin
Select “OK” when prompted to choose and confirm a MySQL application password for phpMyAdmin.
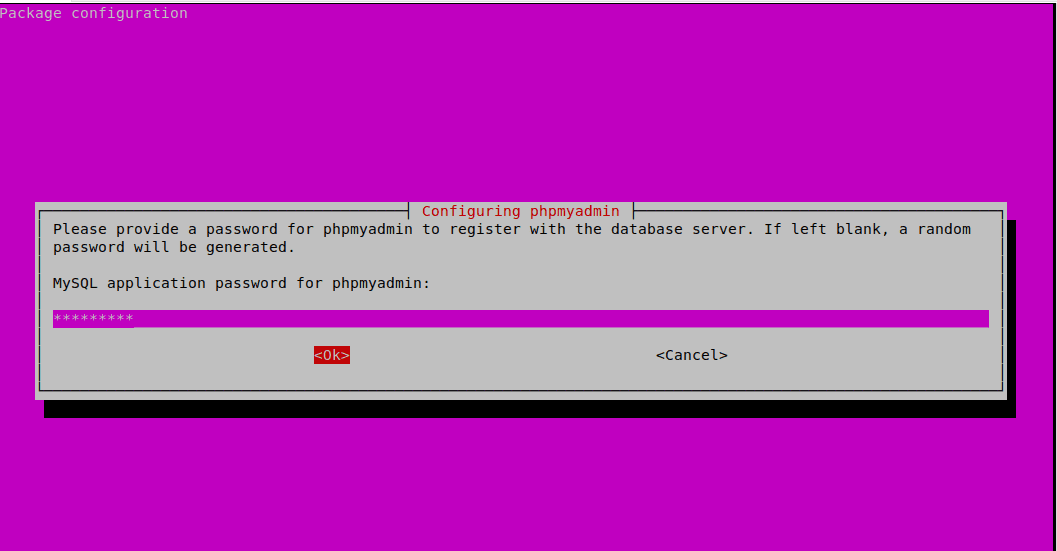
phpmyadmin Password
Re-enter password.
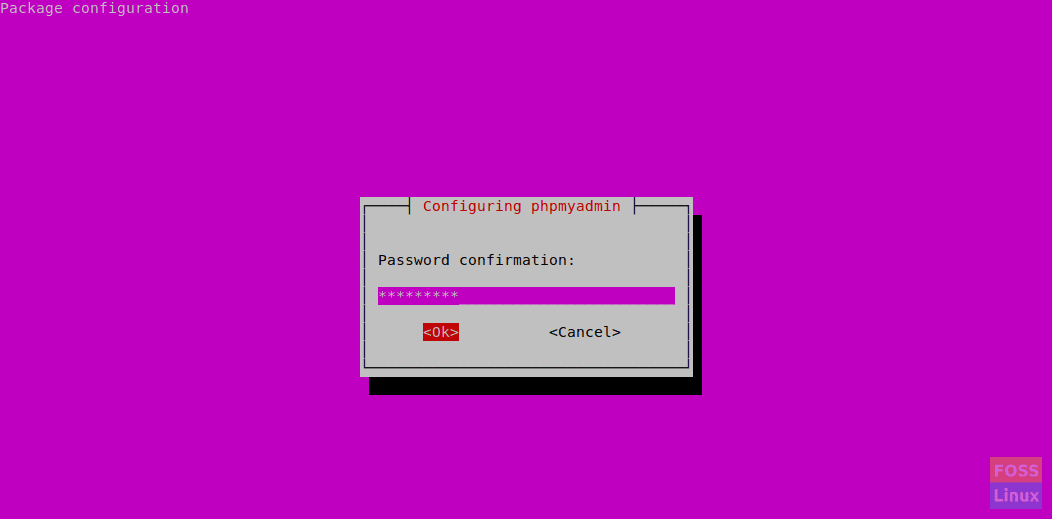
Re-enter Password
In this installation, we shall add the phpMyAdmin Apache configuration file into the /etc/apache2/conf-enabled/ directory so that it is read automatically. Before that, we will have to enable the “mbstring” PHP extension. Use the following command:
sudo phpenmod mbstring
Restart Apache2 to apply the changes.
sudo systemctl restart apache2
Let’s make sure that your MySQL users have the needed privileges for communicating with the phpMyAdmin.
Starting with MySQL 5.7 (and later versions), the root MySQL no longer uses a password in order to authenticate. It rather uses the auth_socket plugin by default settings. This is a feature added for greater security and usability. However, it is difficult to work with an external program like phpMyAdmin to access the user.
Henceforth, we are going to switch its authentication method from “auth_socket” to “mysql_native_password”. Login to MySQL using root login:
sudo mysql -u root -p
Use the following command to check the authentication method of each MySQL user accounts.
mysql> SELECT user,authentication_string,plugin,host FROM mysql.user;

MySQL User Accounts
Now we will configure the root account to authenticate with a password:
mysql> ALTER USER 'root'@'localhost' IDENTIFIED WITH mysql_native_password BY 'yourpassword';
Run “FLUSH PRIVILEGES” to update changes.
mysql> FLUSH PRIVILEGES;
Check for updated changes.
mysql> SELECT user,authentication_string,plugin,host FROM mysql.user;

Modified Root User
There you go. Now the root user will authenticate using a password. You can now log in to the phpMyAdmin interface as a root user with the password. You can now access the web interface by using the following URL:
http://Domain_or_IP/phpmyadmin
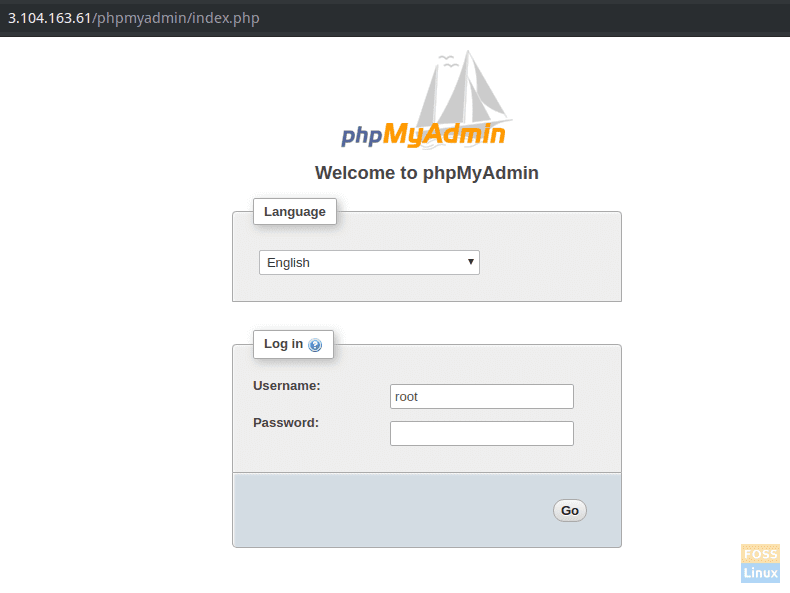
PhpMyAdmin Login
You can see the User interface to manage the database.
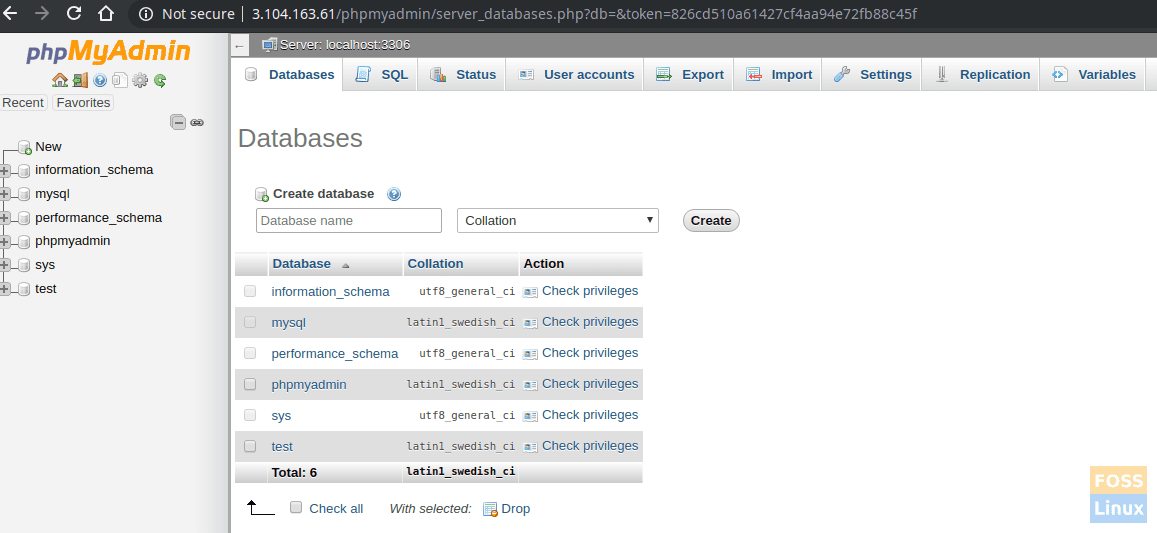
User Interface
This implies you have successfully installed and configured LAMP stack with phpMyAdmin. How did your installation go? Please feel free to ask and make sure to share the article with your friends on social platforms.


2 comments
awesome sir i followed other tutorial but always end-up in errors but your tutorial saved my day thanks a lot
Can I use this tutorial for Kubuntu?