VMware tools are modules and services that allow numerous features in VMware products for a boosted management of seamless user interactions with guests’ OSs. On the other hand, VMware is a stable and outstanding virtualization solution that permits you to run a significant number of isolated operating systems on a solo machine.
When utilizing VMware as the hypervisor, it is paramount to install VMware tools in the guest to boost virtual machine performances. Installing these tools will aid you in getting the most out of the system as it gives the machine more capabilities like automatic window resizing, shared clipboard with the host system, and drag and drop file transfer.
Another point to note is that using VMware tools helps a VMware (VM) virtual machine merge nicely with VMware hypervisor. If you install VMware tools on a virtual machine, it will directly report back to the VMware hypervisor its IP address and a lot more information like VPU usage, memory usage, disk usage, and more. This hypervisor can generate even more interesting statistical reports using the reported back data, which will, in turn, play a role in aiding you in monitoring your virtual machine easily.
Here are some of the advanced features of VMware:
- Multiple monitor support.
- Drag and drop files between the virtual machine and host PC.
- Better graphics support.
- Shared folders in virtual machines.
- Virtual machine sound support.
- Auto-resize virtual machine display if desktop OS is used on the virtual machine.
- 3D graphics support.
- Time sync between the host and guest machine.
- Clipboard sharing to aid copy and pasting of textual data.
- Performance boost.
This guide will categorically show you the step-by-step guide on how to install VMware tools on Ubuntu VMware virtual machines. Stay tuned.
Installing Open VMware tools on Ubuntu
The simplest and most endorsed way to install VMware tools on Ubuntu is to install the packages via Ubuntu’s default repos. The ideal thing about Open VMware Tools is that it is an open-source implementation of Vmware tools for Linux host OSs and is available in the official package repo of Ubuntu.
These tools are split into two packages, open-vm-tools-desktop for desktop systems and open-vm-tools for headless(server) systems. It is also imperative to consider that the Open VM Tools package may, by default, be installed depending on how you provisioned the instance.
Here are the steps to keenly follow to install VMware Tools on Ubuntu.
First things first, update the APT package repo cache by issuing the following command:
sudo apt update
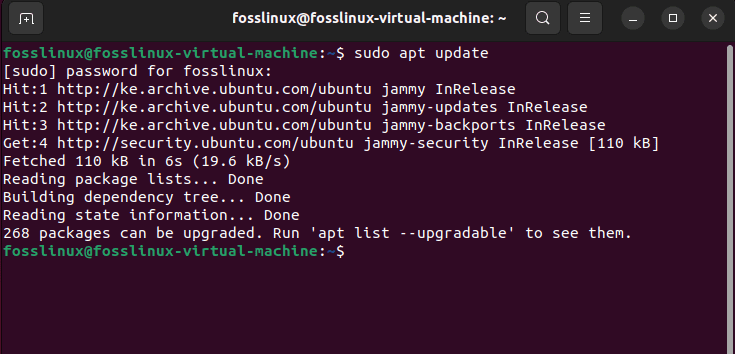
update system
Upon running the above command, the apt-cache should be updated. However, you may find packages that need an upgrade at the end of the update command, like in our case 268, and to update the selected packages, run the following command:
sudo apt upgrade
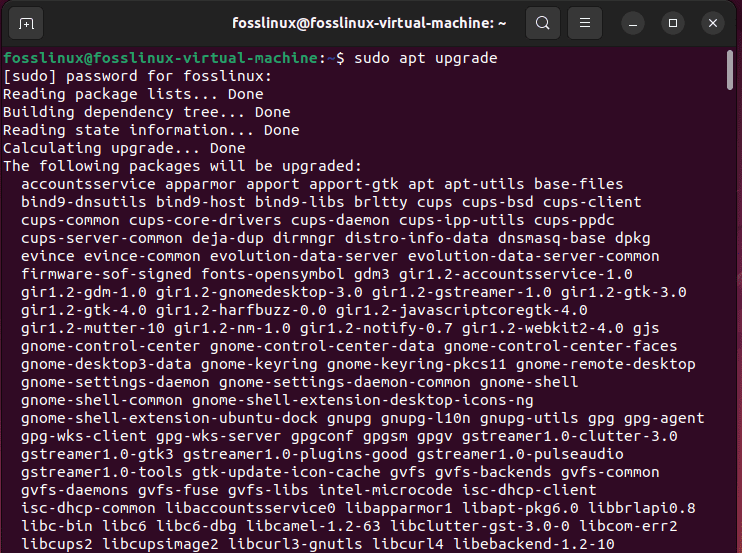
upgrade system
In case you are an Ubuntu user using the server edition of the operating system, that is, without the graphical user interface on your virtual machine, then you can install Open VM Tools with the following command:
sudo apt install open-vm-tools
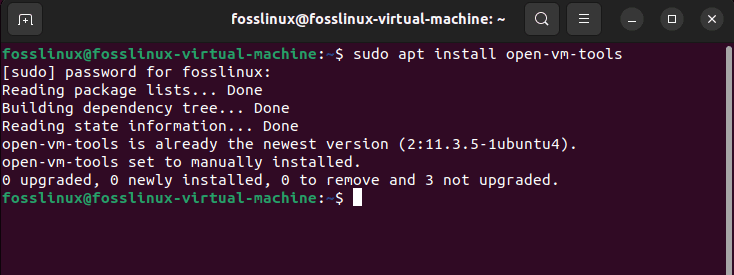
Install open VM Tools
But if you are using the desktop edition of the operating system (one with the graphical user interface) on your virtual machine, then install Open VM Tools by issuing the following command:
sudo apt install open-vm-tools open-vm-tools-desktop
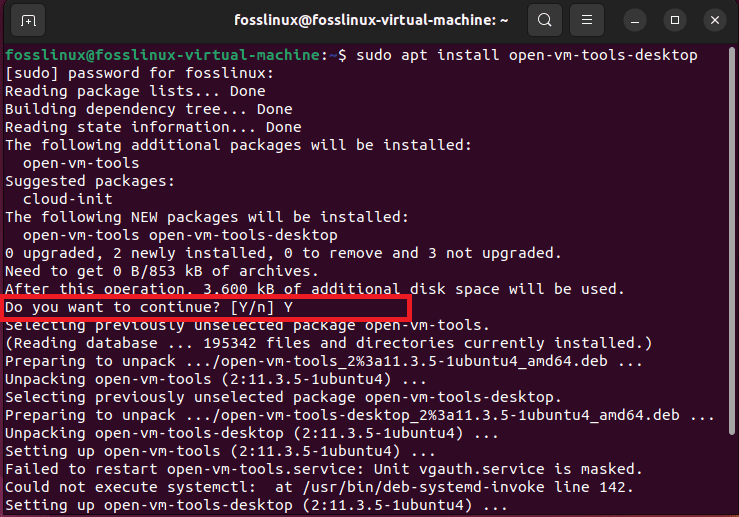
Install VM desktop
In the course of the VMware tools setup, you will be requested to affirm the installation as highlighted in the snapshot above. To affirm, type in “y/Y” or instead hit the “Enter” button on your keyboard, and the APT package manager should download and install all the needed packages from the internet. This may take a moment to complete, so be patient.
At this stage now, Open VM Tools should be set up.
Now, go ahead and reboot your Virtual machine for the changes to take effect by running the following command:
sudo reboot

reboot system
After your virtual machine restarts, you should be able to enjoy all the good stuff that ships with the Open VM Tools on your VMware virtual machine.
Here is a snapshot of our virtual machine before installing the VMware tools:

Before installing VMware tools
Then there is a new look of our virtual machine after installing VMware tools:
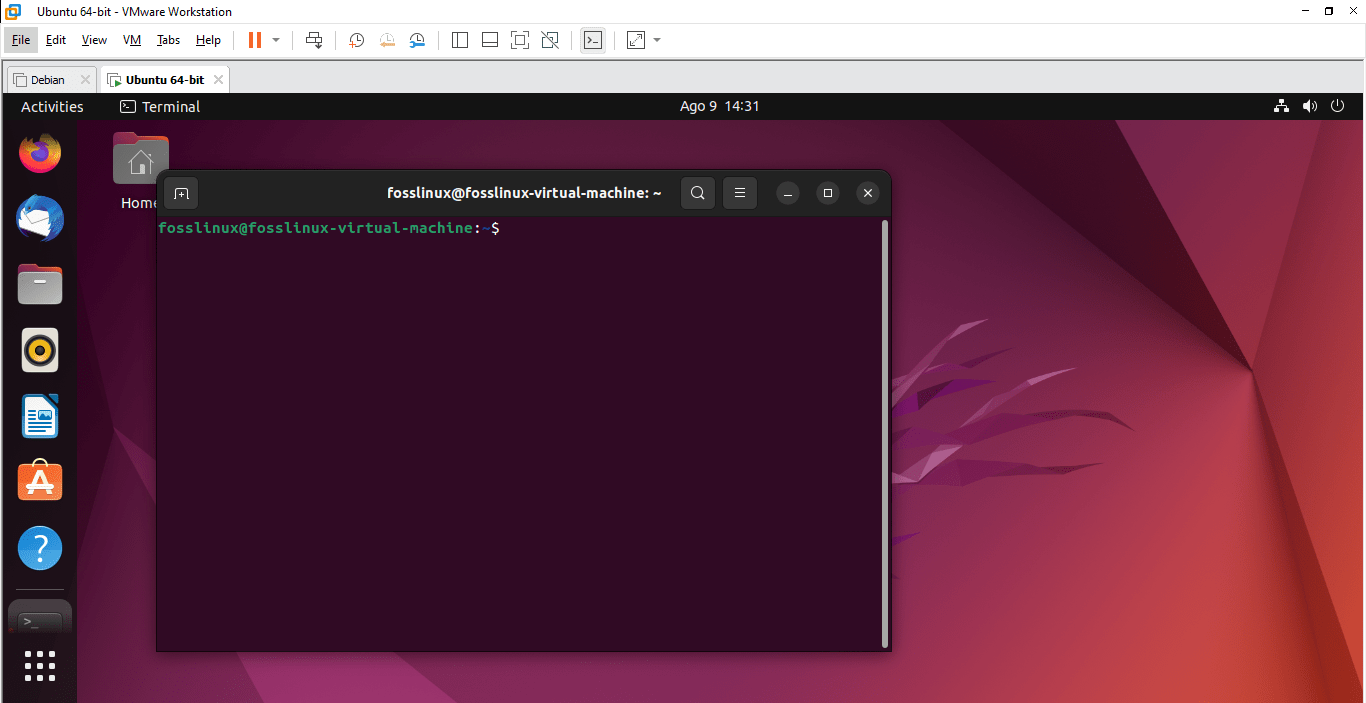
After installing VMware tools
How to uninstall VMware tools
If you, for one aim or the other, want to uninstall the VMware tools, then here are the steps to follow:
For the Ubuntu server users, run the following command:
sudo apt remove open-vm-tools
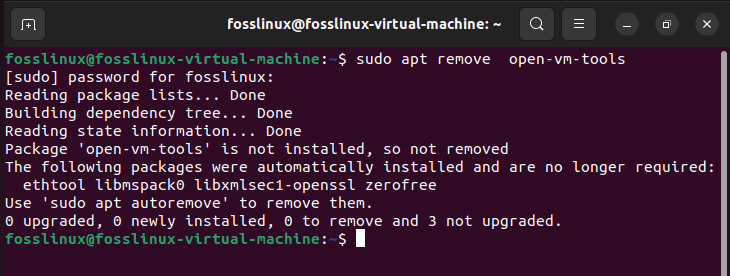
Remove ubuntu server VMware tools
For the Ubuntu desktop users, run the following command:
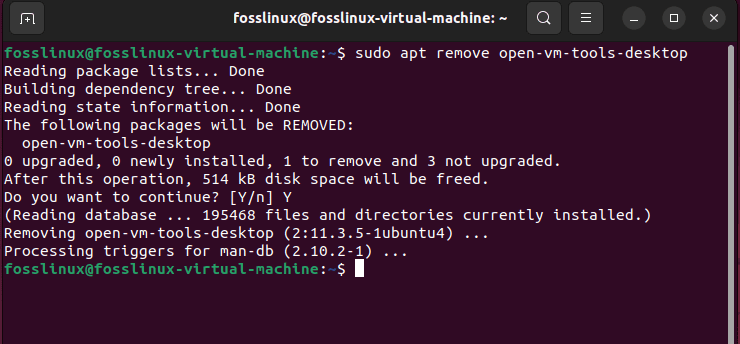
Remove Ubuntu desktop VMware tools
Remember to type in “Y or y” when asked if you want to continue with the removal process. Also, you can just hit the “Enter” button on your keyboard, and the uninstallation process should continue.
And that should do it.
Final Thoughts
Installing VMware Tools on Ubuntu virtual machines is a pretty simple task as covered. VMware tools optimize the guest operating system for better and boosted performance and usabilities like drag-drop, copy-paste, and the ability to take numerous snapshots at a go. In this guide, we have covered the ideal method of installing VMware Tools. We hope it came in handy; Otherwise, keep following FOSSLinux for more guides and tips.

1 comment
What about the SHARED FOLDERS feature that the open-vm-tools does not support???