
Skype is a proprietary telecommunications app operated by Skype Technologies, a division of Microsoft, well-known for videoconferencing, videotelephony, and voice calls. The software supports file transfer, debt-based calls to landlines, instant messaging, and mobile telephones (traditional telephone networks). Skype is a cross-platform software available on various desktop video games console platforms, mobile, Linux, Windows, and macOS.
Let us touch on some features that make this app an ideal communication solution.
Top 10 features of Skype
- Meetings management.
- Customized participant views.
- Polling when making a final call on a certain topic.
- Broadcasting.
- It allows recording.
- Guest Account.
- Public Switched Telephone Network Conferencing(PSTN).
- Meeting Lobby.
- Meeting content retention.
- Allows PowerPoint presentations.
Installing Skype for Linux in elementary OS
This article will solely focus on how to install Skype on Linux, specifically, the elementary OS. Elementary OS is an Ubuntu-based Linux distro designed to be simple to understand and pick up as a newbie. Here are the three methods that this post will cover:
- Using the Debian package
- Via Snap
- Using GUI
Let us get started!
Method 1: How to install Skype on the elementary OS from the Debian package
First, open the console by typing “Ctrl+Alt+T” keyboard combinations. After that, run the following wget command to aid in downloading the Skype official Debian package:
wget https://go.skype.com/skypeforlinux-64.deb
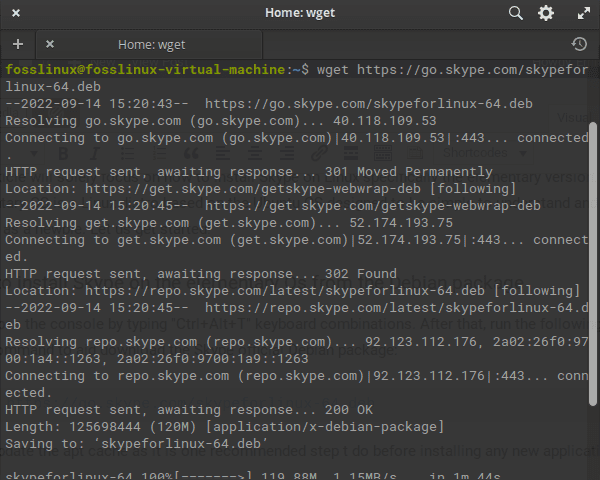
Download deb file
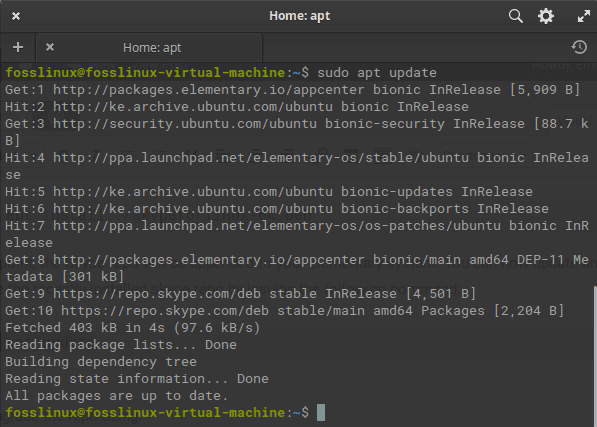
Next, update the apt cache as it is one recommended step to do before installing any new application:
sudo apt update
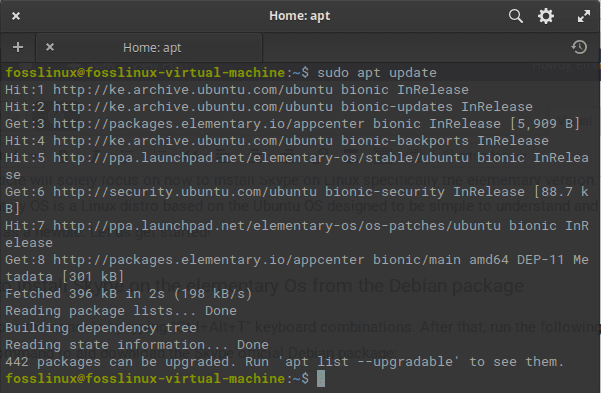
update system
In case there are packages to upgrade, like in our case, 442, run the following command: Otherwise, skip this step:
sudo apt upgrade
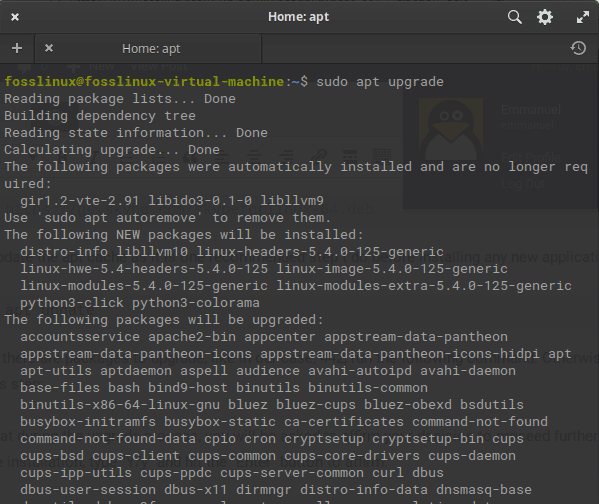
upgrade system
Now proceed further and type the below-given command to aid in the setup process:
sudo apt install ./skypeforlinux-64.deb
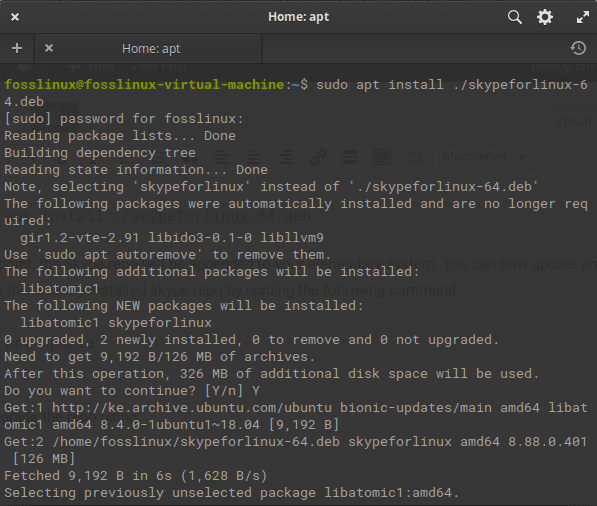
install command
At this point, the Skype application should be appended to your elementary system. You can now update and upgrade the recently installed skype repo by issuing the following command:
sudo apt update
update system
Method 2: How to install Skype on elementary via Snap
sudo apt install snapd
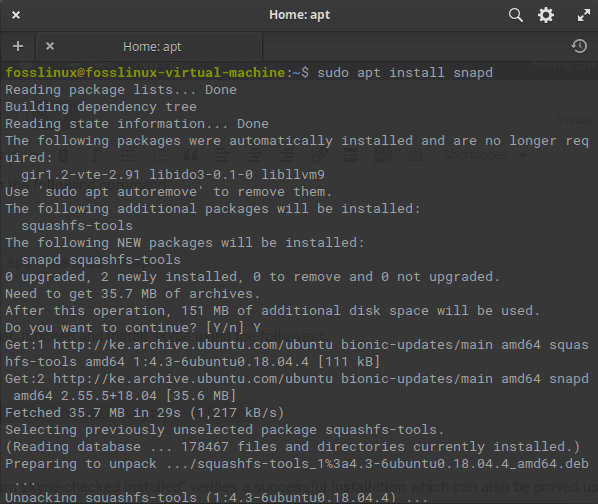
install snapd
After that, proceed and install skype using the following:
sudo snap install skype --classic
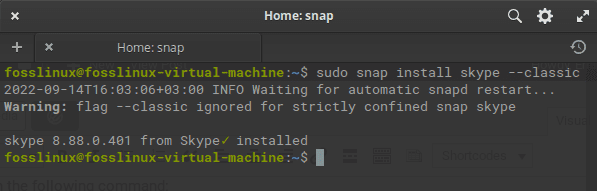
Snap install skype
The “from skype-checked installed” verifies a successful installation which can also be proved using the following command:
sudo snap info skype
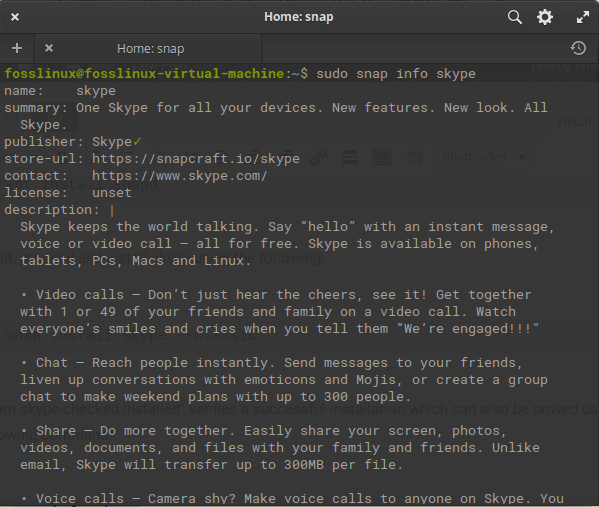
skype info
And that should manage it!
Method 3: How to install Skype on elementary OS using GUI
The approaches mentioned earlier use the command line for installation purposes, but here is how you can do the same in a more user-friendly environment.
First, download Skype from the official website. Once you click the given link, you will be redirected to Skype’s official download page, where you will see “Skype for Desktop,” made available for Windows, macOS, and Linux. Click on the “Get Skype for Linux DEB,” which is picked by default depending on the OS, and the download will begin:

Official website
Download progress:
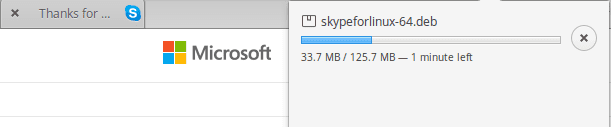
Download progress
Next, install Eddy, a simplistic Debian packager installer that you can manually use to install standalone .deb packages. Eddy is equivalent to Ubuntu’s Gdebi Debian package installer.
How to Install Eddy
To do this, click on “Applications” on the top-left desktop, which will invoke the display of all apps installed on your elementary OS; After that, locate the App center and click on it to open it:
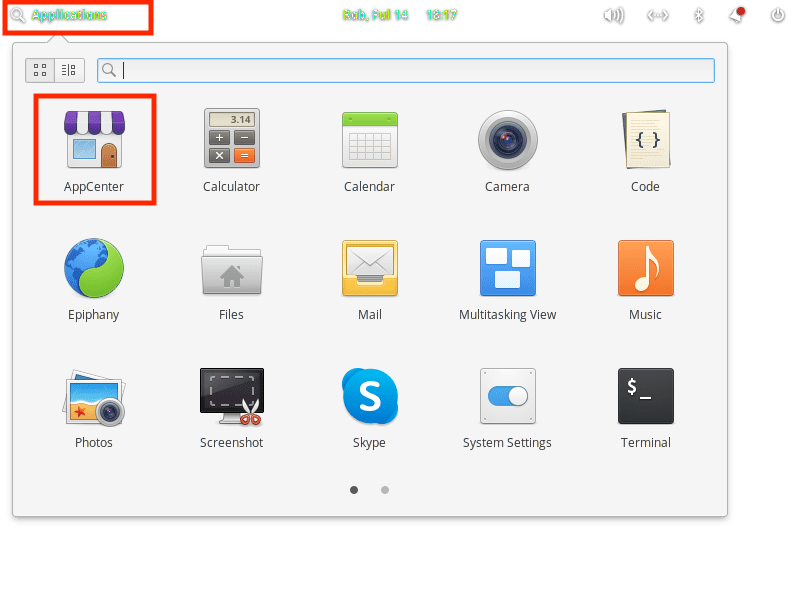
click applications
On the App center, you should see a filtering search bar on the top-right of the application. Use it to search for “eddy,” as shown below:
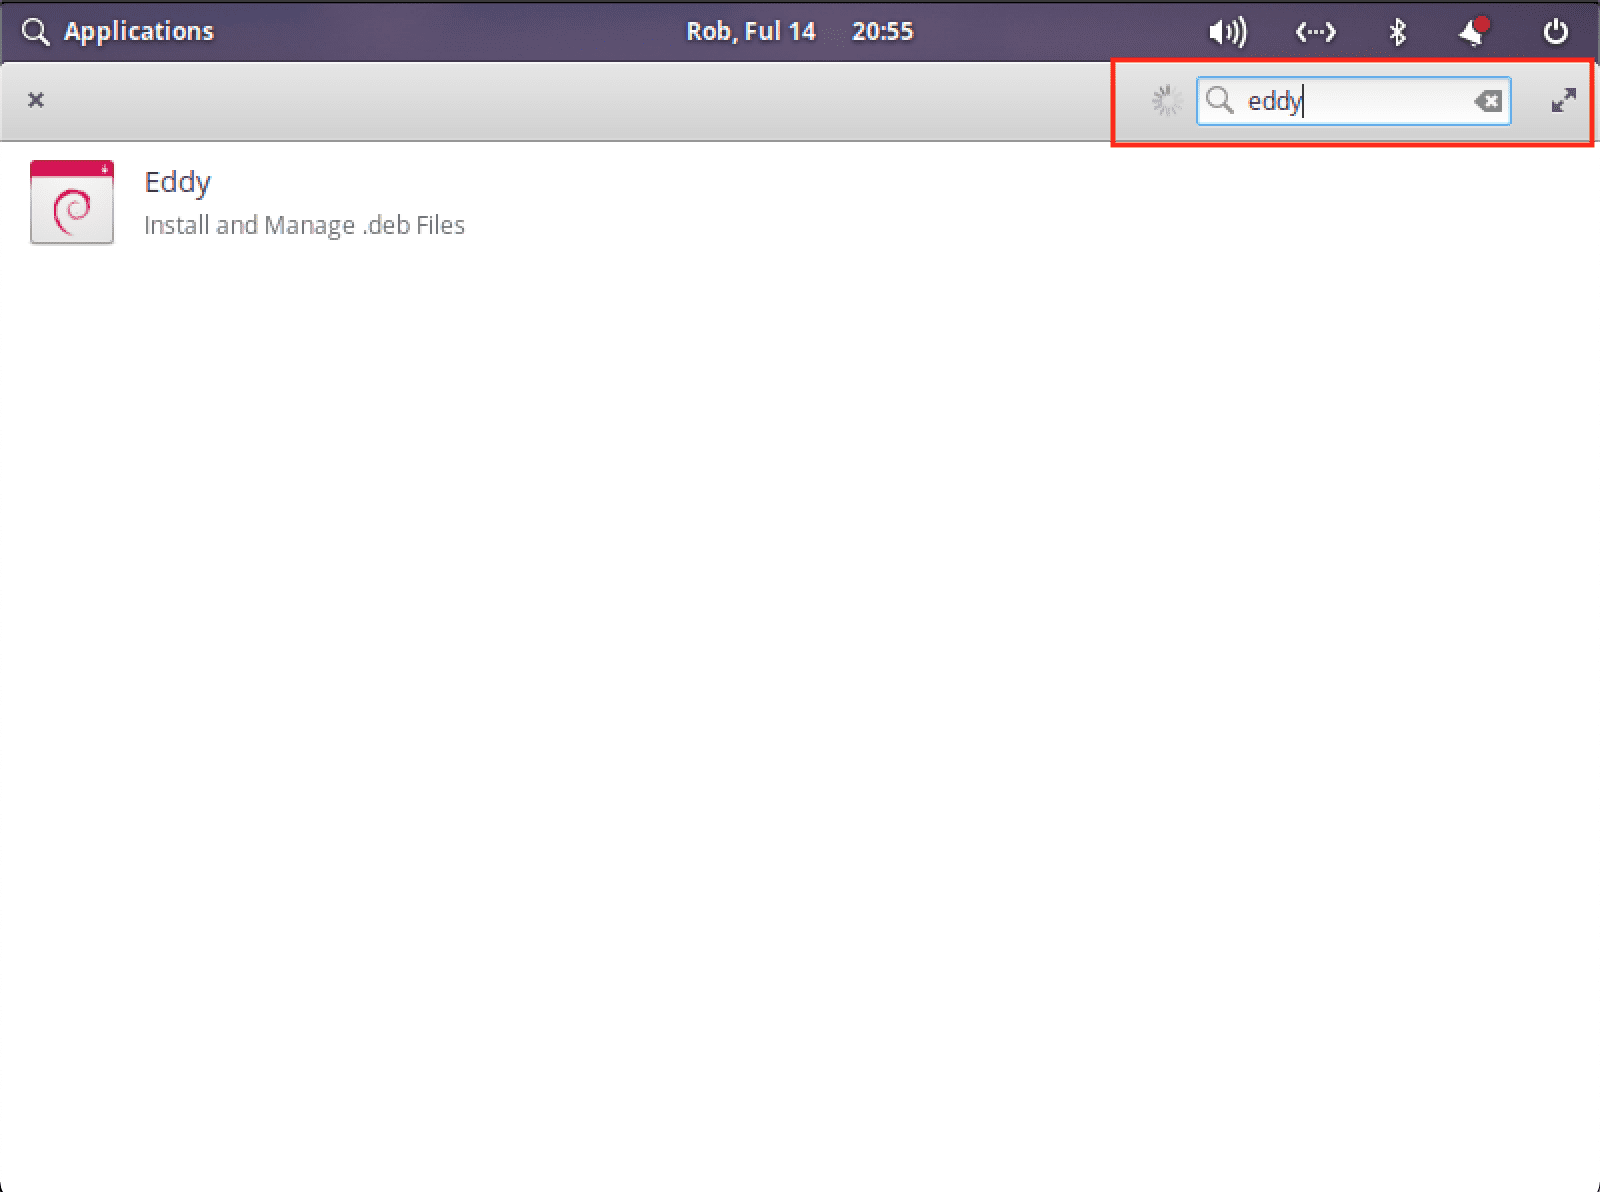
Search for eddy
After clicking the eddy application, it will be, by default, open on the $5 purchase mode as shown below:
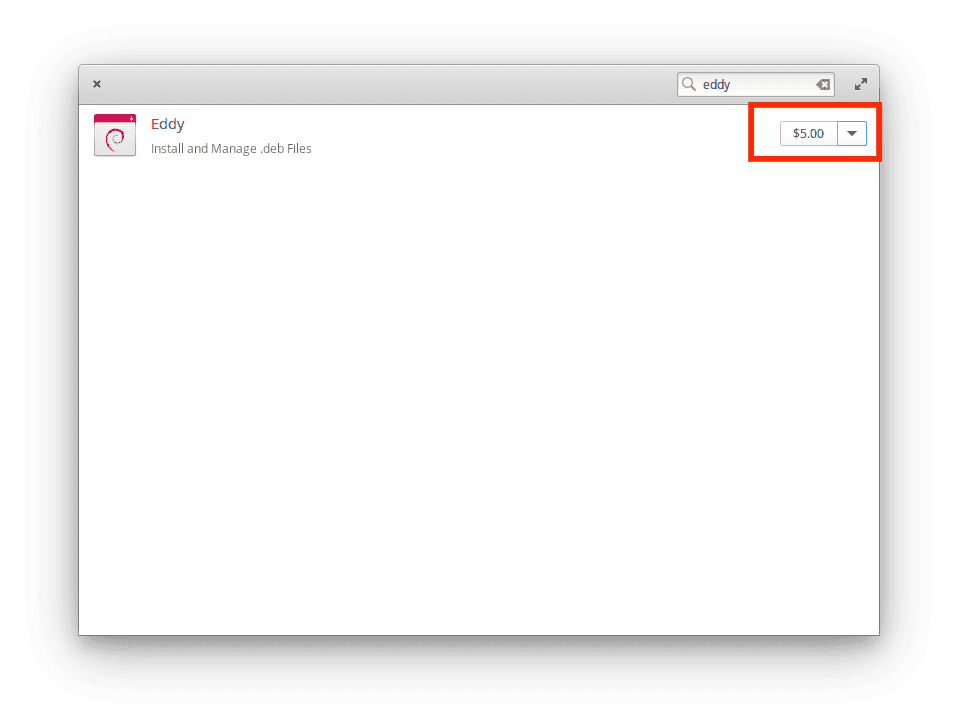
by default
If you want to donate, that is good, but here is how you can get the app for free.
First, click on the down-arrow key in front of the $5. This will pop a purchasing trend:
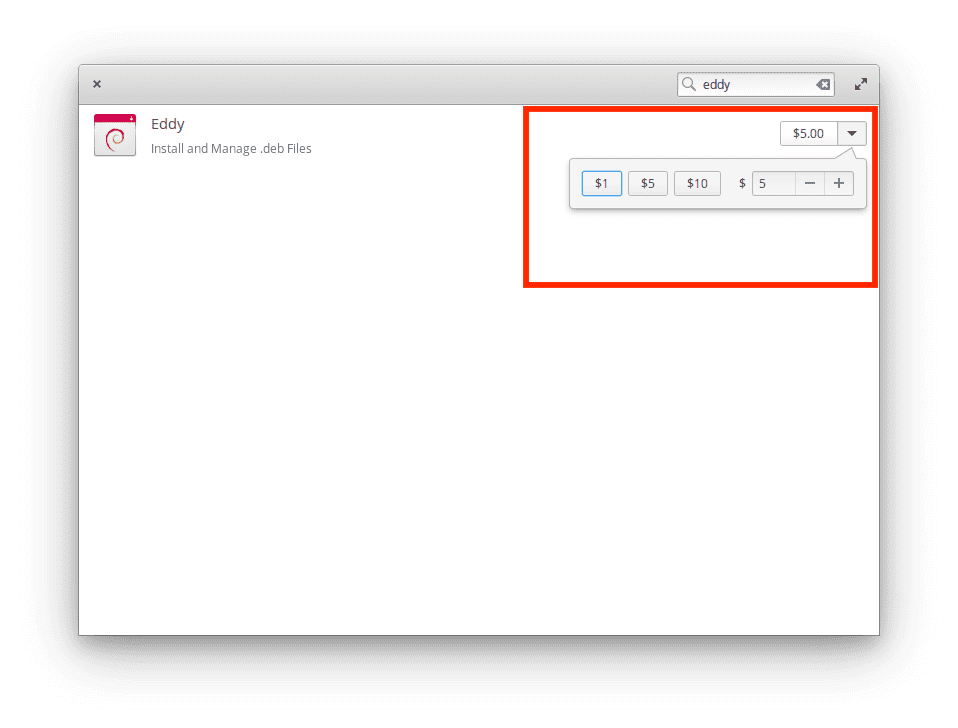
purchase trend
Go ahead and click on the (-) sign till you see (0) free. After that, click on the “Free” button to initiate the download process for Eddy.
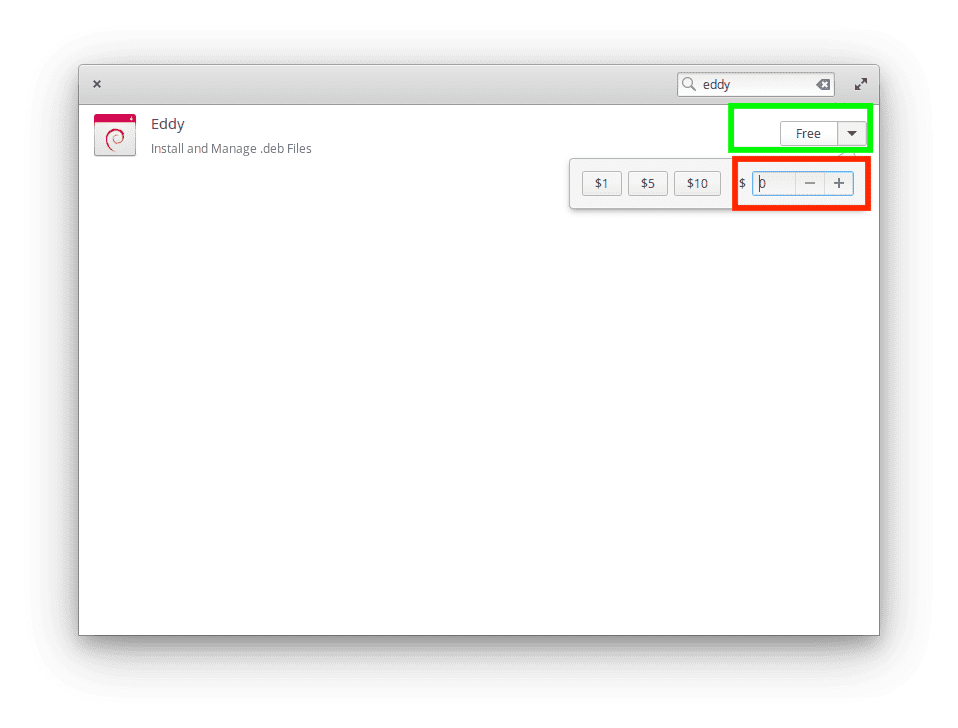
till 0
During the setup, an authentication window will pop up; type in your PCs password and hit the “Authenticate” button as shown here:
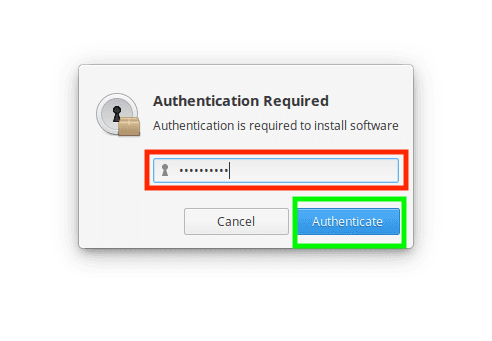
authentication window
Once the setup is done, navigate to the Downloads folder and locate Skype .DEB file as shown below:
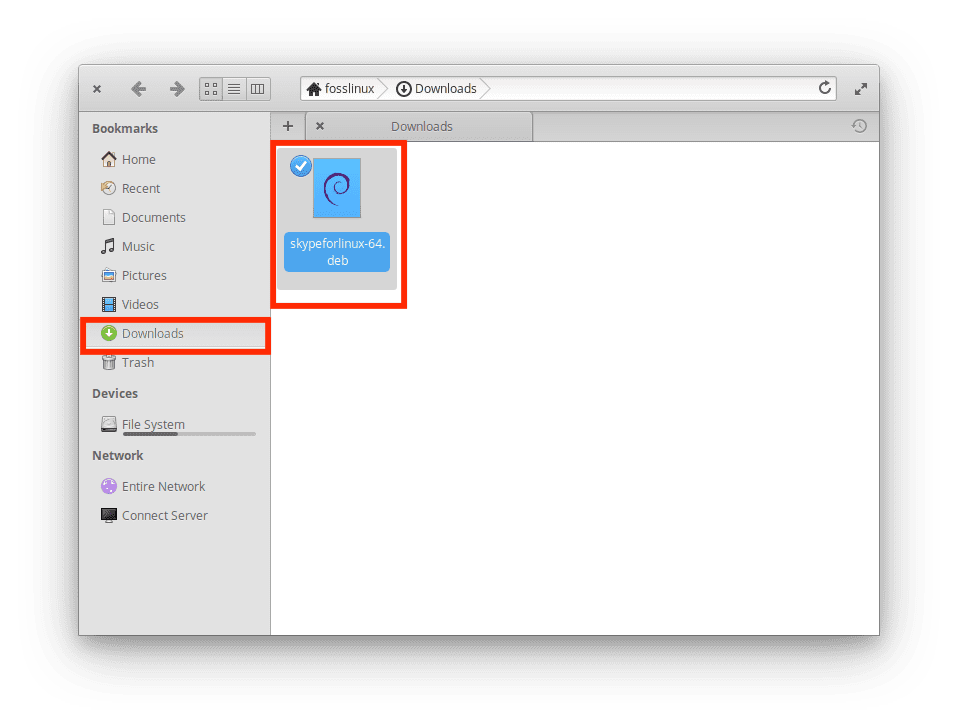
Skype deb file
Right-click on the application; Several options will appear; select “Open in eddy” as highlighted below:
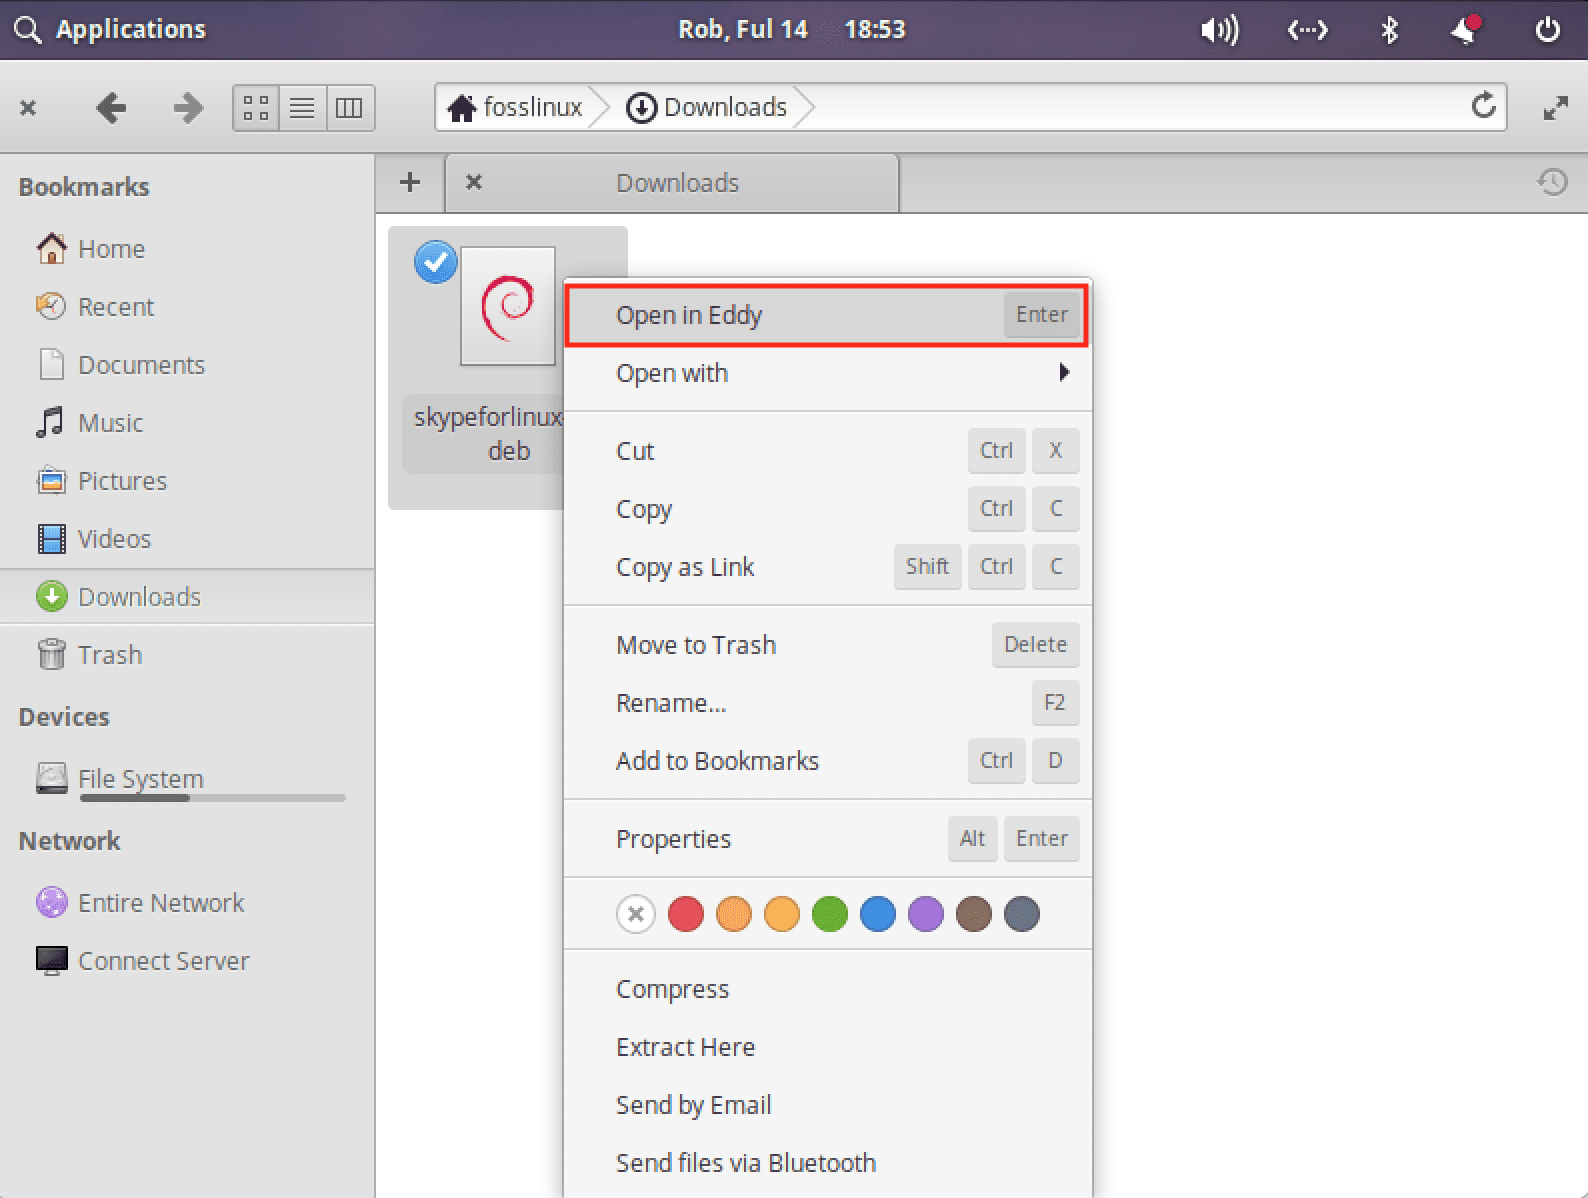
Open in eddy
The eddy application will open once you click the “Open in eddy” option. Then you will see an install button in front of the Skype deb file; click on it to initiate the installation process.
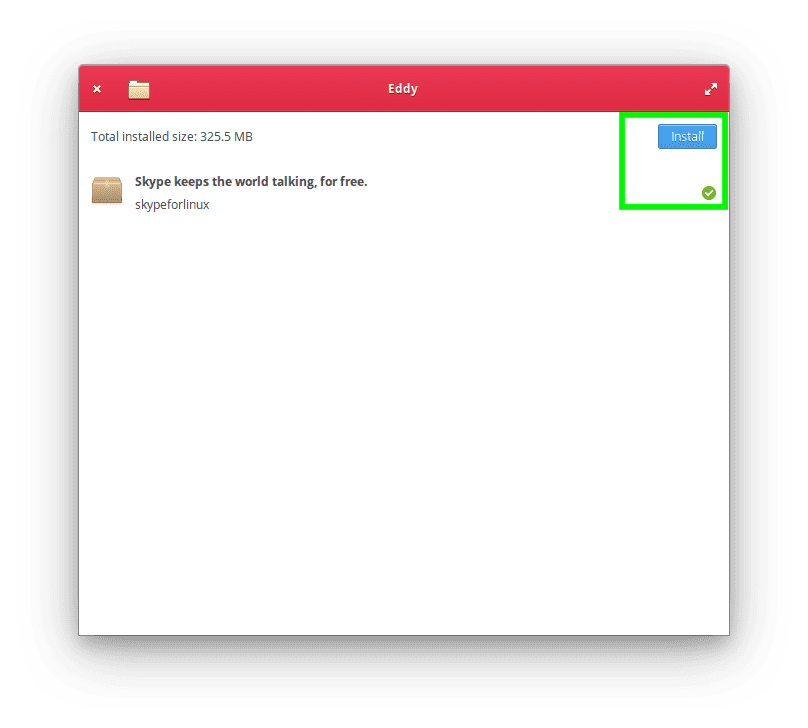
Click on install
An authentication window will again pop up; type in your password and hit the “Authentication” button as shown below:
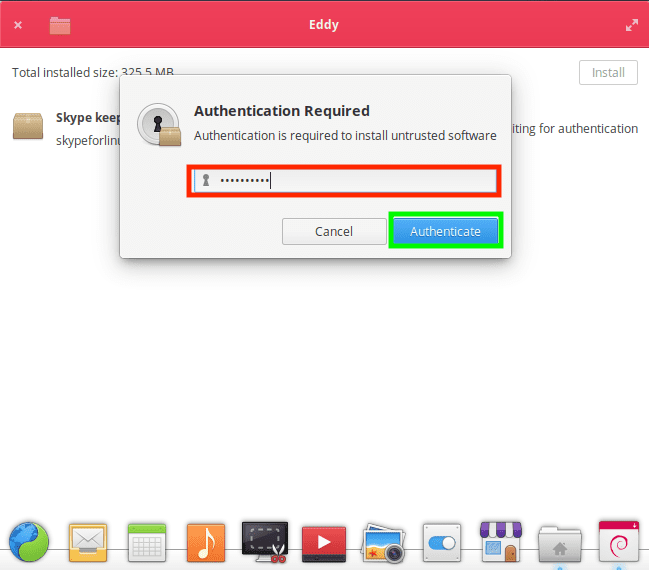
authentication
Installation progress:
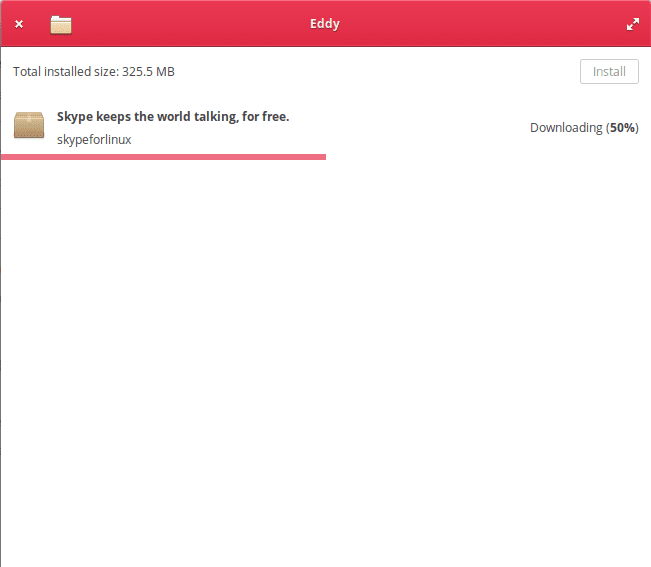
install progress
And there it is!
After the installation is done, start up the application by typing in the following command:
skype
or
/snap/bin/skype

open skype
Alternatively, we can also launch the application from the pantheon menu.
To do this, go to the “Applications” button and look for Skype, as shown below. Click on it to launch it.
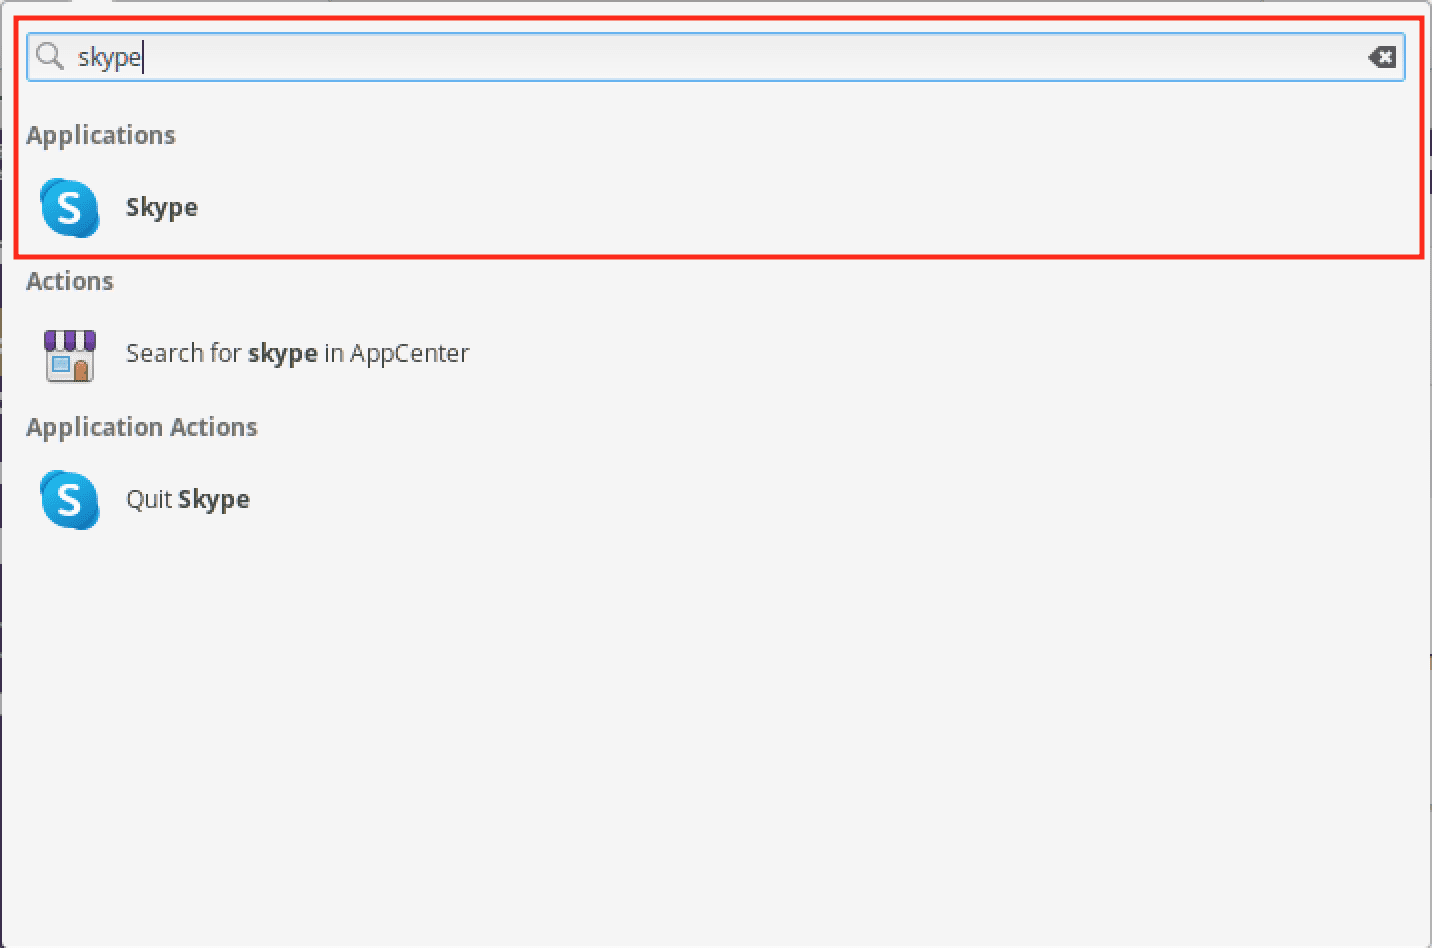
launch skype
On the first launch, you will be ushered with a “Welcome to Skype” window: Click on “Let’s go” to proceed:

Click on let’s go
Next, you will be requested to log into skype with a Skype name or a Microsoft account. Sign in to your account, then click “Next.”
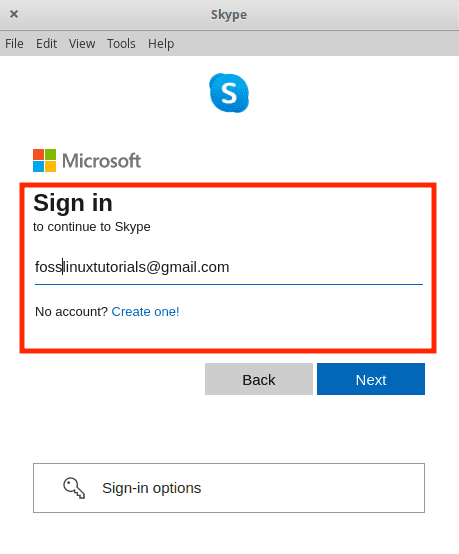
Sign in window
After that, you will be offered a profile picture window, where you can upload your photo for recognition. After that, click on “Continue.”
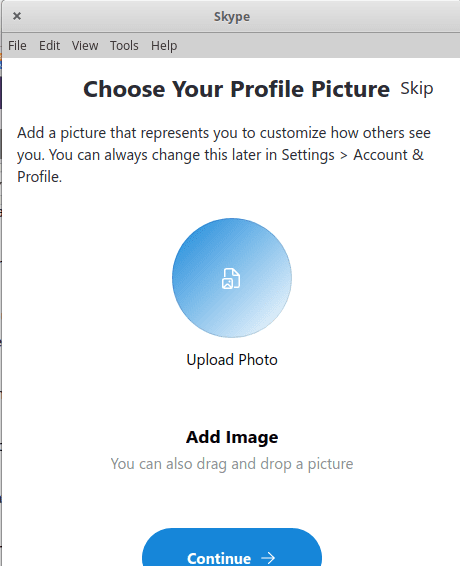
profile picture
Next is the audio test window where you can do a dry check on your audio before attending meetings or calls:
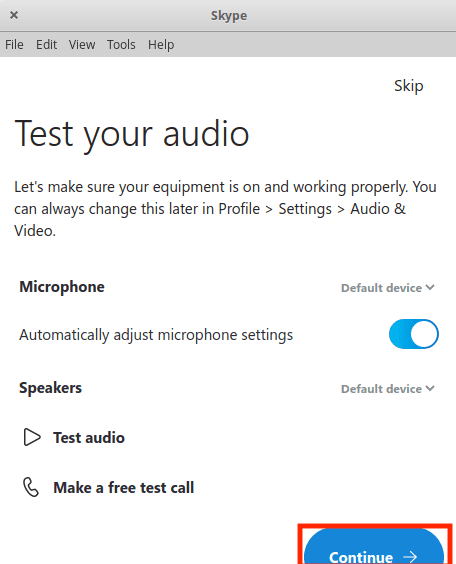
test audio
After that, click “Continue,” and you should be able to start chatting with your friends and family on Skype!

Welcome window
If you want to do away with this app for one reason or another, here are the steps.
How to uninstall Skype using the GUI
First, click “Applications” and look for the recently installed Eddy application.
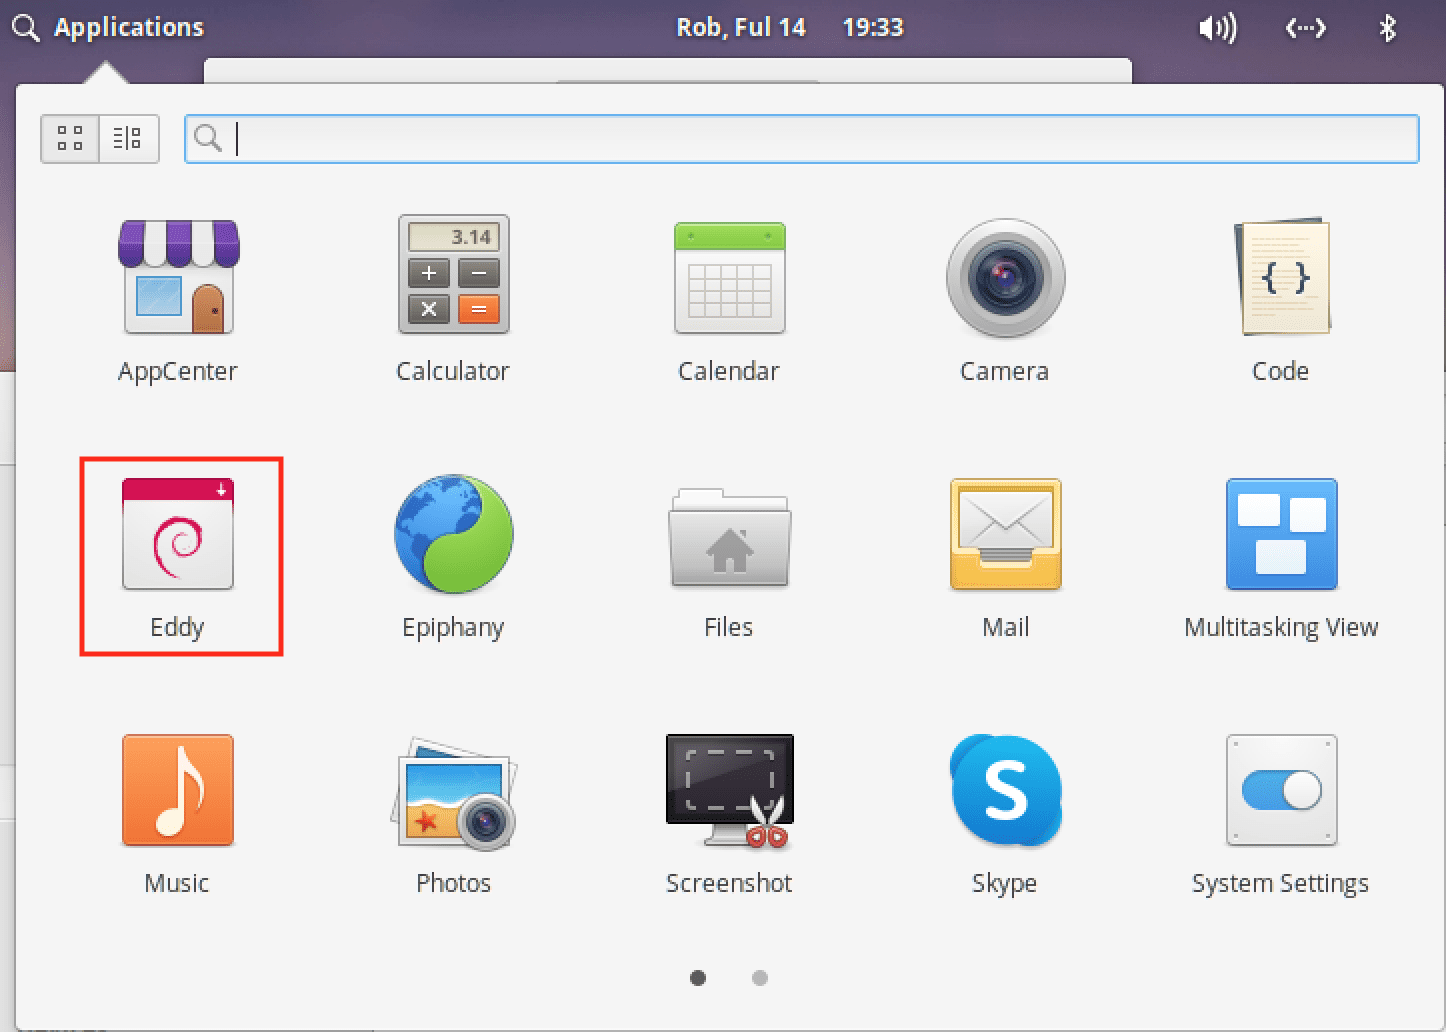
Search for eddy
After that, click on “View Previously installed applications”:

Select the second choice
Which will open up all the applications you just installed, including Skype. On the right side of the opened window, you will see a red highlight of the “Uninstall” button. Click on it to uninstall the application.
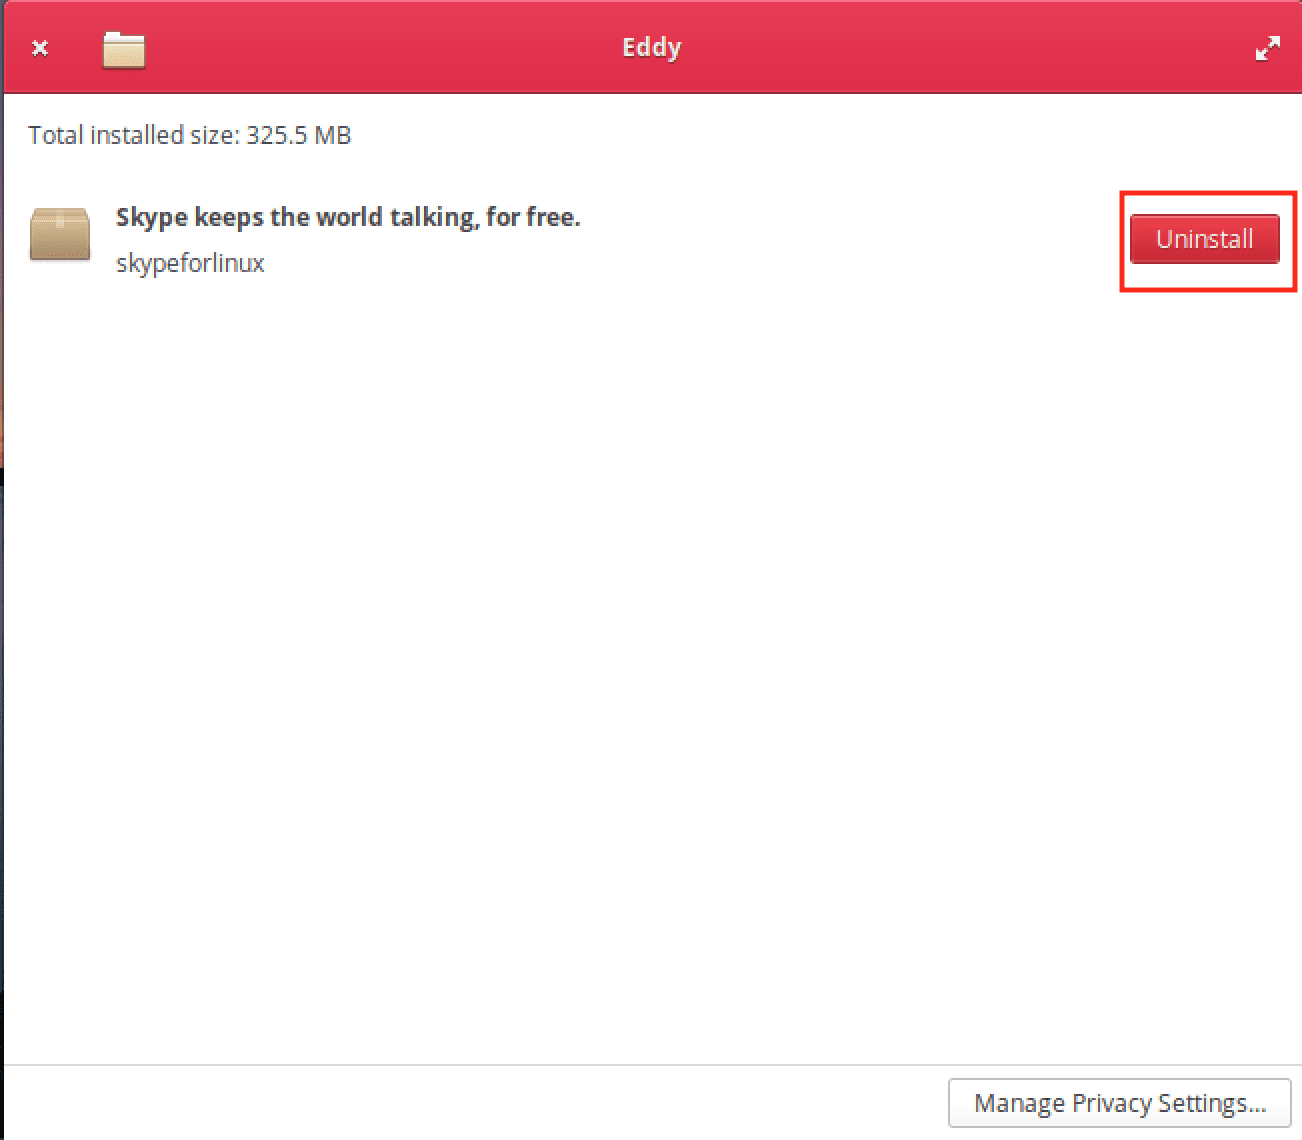
Click on Uninstall
And you are done!
How to uninstall skype using the synaptic package manager
If you have the synaptic package manager, you can use it to uninstall just like you can do it using the “AppCenter.” Most programs installed via Synaptic package manager are listed in “AppCenter.” But still, we recommend using the synaptic manager as it gives the option to delete the installed programs.
To uninstall Skype using this application, click on the Synaptic package manager and search for the program name in the “Quick filter,” select Skype and click on “Mark for complete removal.”
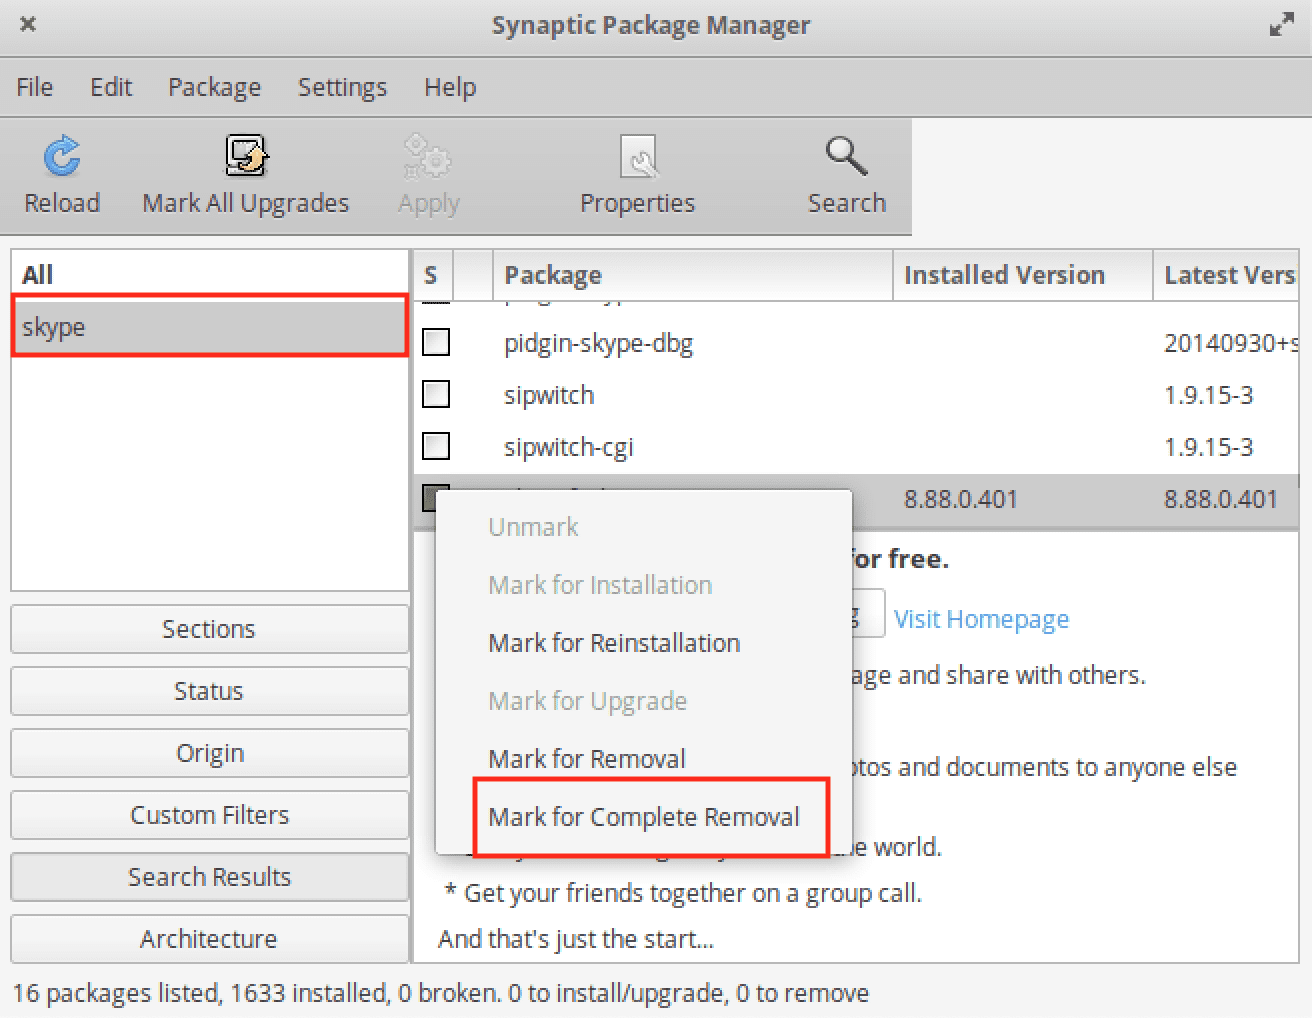
select “Mark for complete removal.”
Then click on “Apply.”
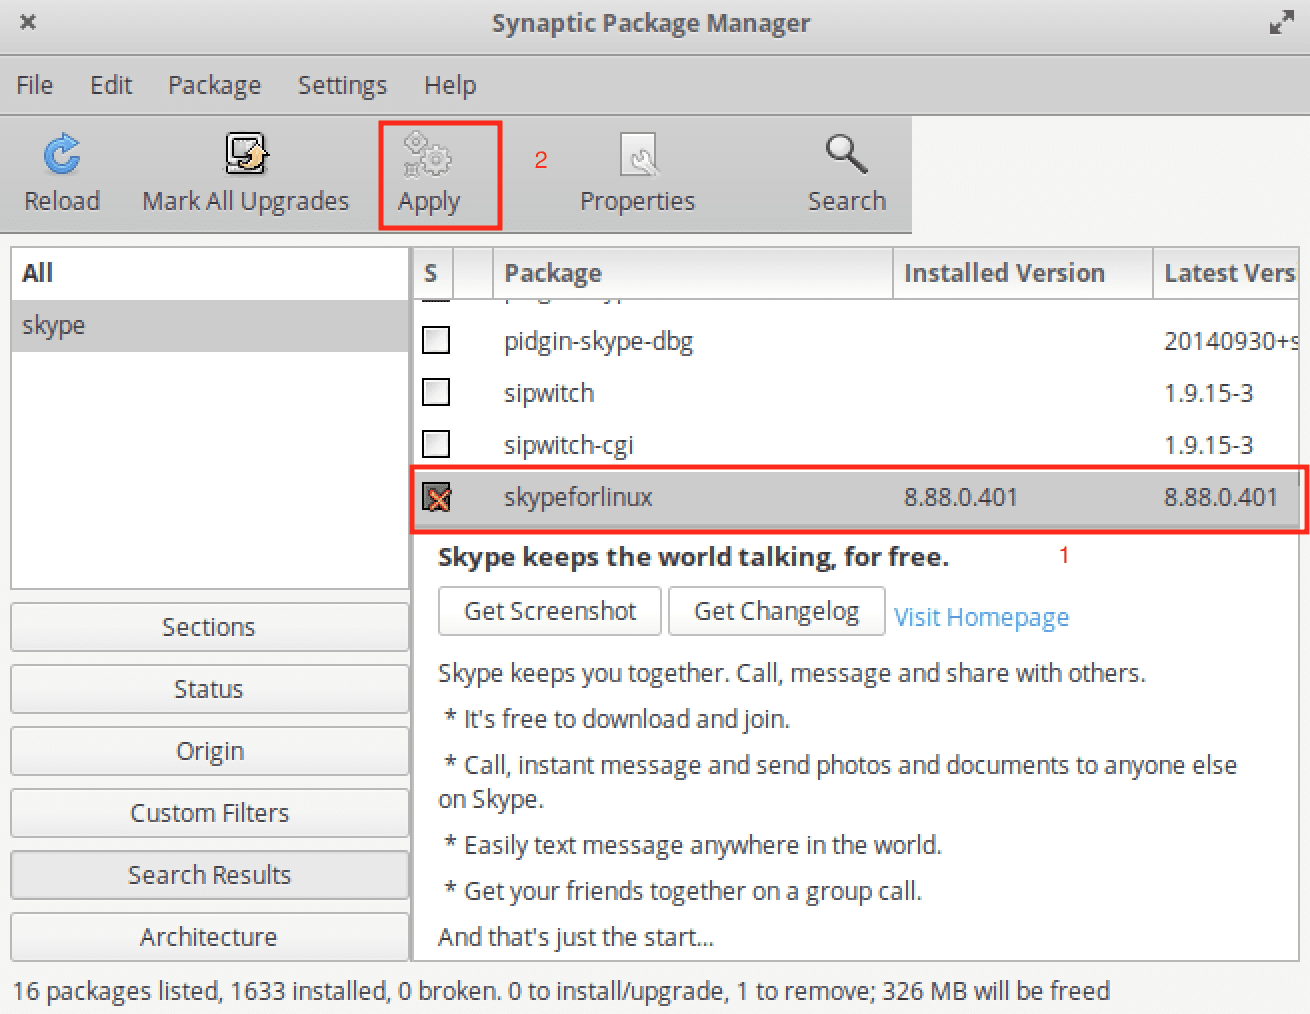
Click on apply
And there it is!
For the terminal fanatics, here are the steps to follow.
How to uninstall Skype using the terminal
To uninstall the software using the terminal, use the following syntax:
sudo snap remove <package name> && sudo apt-get autoremove
Where:
sudo snap remove skype && sudo apt-get autoremove
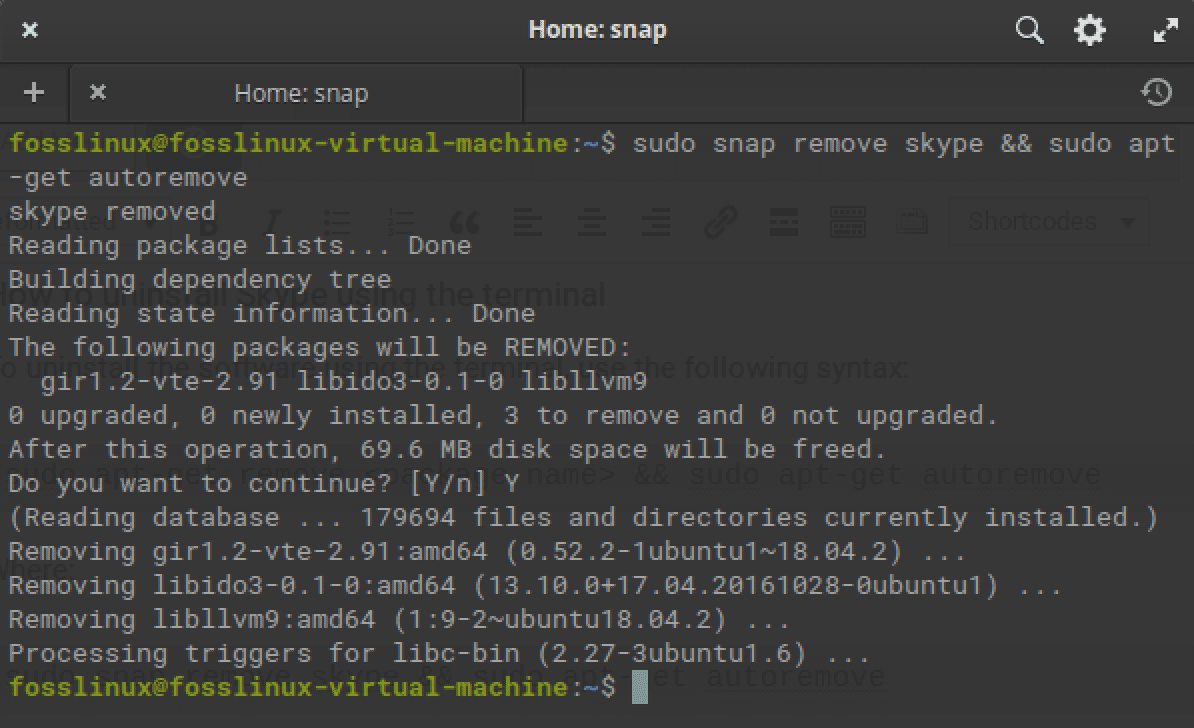
remove skype
And that is it!
Conclusion
Skype is a robust application for sending and receiving messages, sharing files, and making video and audio calls. This article has covered the steps involved in installing, launching, and uninstalling Skype from your elementary system; we believe it was educative enough. You can also learn about the Top 10 free cloud services for Linux: Otherwise, keep following FOSSLinux for more.