CentOS, a free, repackaged version of the business-oriented Red Hat Enterprise Linux, is widely used by numerous people across the globe for many reasons. From simple workstations to powerful web servers, CentOS can handle whatever you throw at it.
In many of these use cases, it can be beneficial to upgrade the Linux kernel from the default kernel version of 3.10 (as of CentOS 7.6). Some of the benefits you may get from upgrading the Linux kernel are:
- Security patches
- Bug fixes
- Better performance
- Added kernel functions
In this tutorial, we will show you how to upgrade the Linux kernel in CentOS 7 to the newest version available from kernel.org. In case anything goes wrong, we will show you how to downgrade. And finally, this tutorial will also show you how to remove older kernel versions if everything works fine.
Prerequisites
You will need:
- A computer with CentOS 7 installed
- An Internet connection
Upgrading the Linux Kernel in CentOS
Step 1 – Check the Kernel Version
Before we can upgrade the Linux kernel, it is important that we take note of which kernel CentOS is currently using. To do this, we will use the `uname` utility. Open the terminal and type:
$ uname -r
Running uname
2. Enable the ElRepo Repository
ElRepo is a third-party repository for CentOS that allows upgrades to the latest kernel version from kernel.org. It must be used as opposed to CentOS’ own repositories because CentOS does not publish the latest version in their repository. To use ElRepo, it must be enabled.
First, we have to use RPM, a package manager included with CentOS, to import ElRepo’s GPG keys:
$ sudo rpm --import https://www.elrepo.org/RPM-GPG-KEY-elrepo.org
Second, install the repository:
$ rpm -Uvh https://www.elrepo.org/elrepo-release-7.0-3.el7.elrepo.noarch.rpm

Installing ElRepo
Step 2 – Install Latest LTS Kernel
Now that ElRepo is enabled, we can use it to install the latest long term support kernel. To do this, we will use `yum`:
$ sudo yum --enablerepo=elrepo-kernel install kernel-lt
Step 3 – Reboot Using New Kernel
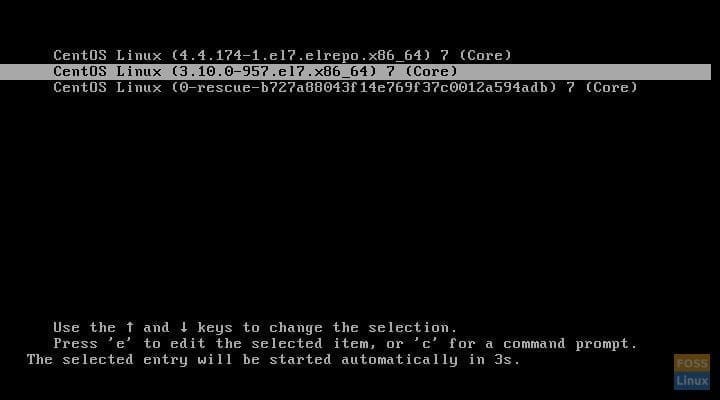
Finally, we have installed the new Linux kernel. Now, all that is left is to reboot and select the new kernel in the bootloader. When you boot up the system, there should be a new entry in your bootloader with the new kernel version.

New kernel in GRUB
Removing the New Kernel in Case of Issues
1. Reboot into Old Kernel
Sometimes, a new kernel can cause problems in CentOS, and you may wish to remove it. To do this, you will need to reboot into the old kernel.
$ sudo reboot
2. Use Yum to Remove New Kernel
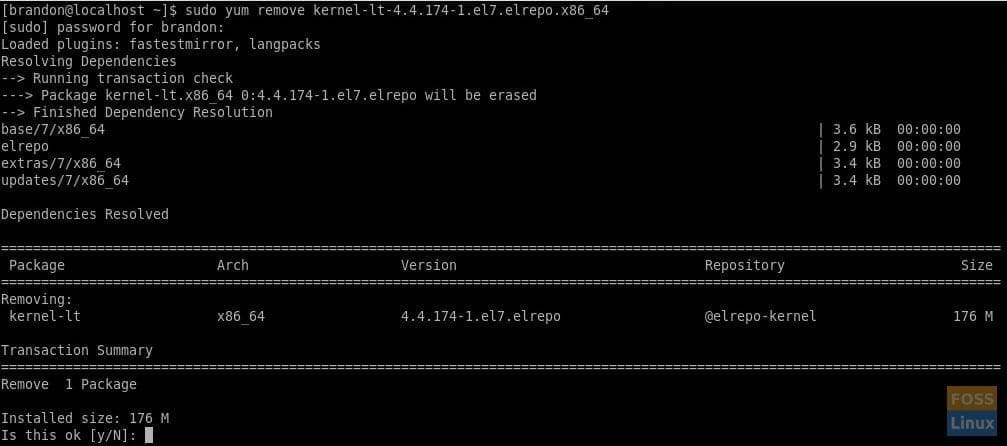
Now, we will use `yum` to remove the new kernel from the system. To do this, run:
NOTE: The kernel version can be tab-completed.
NOTE: You will be prompted by yum to enter “y”.

Removing the new kernel
3. Reboot into the Old, Working Kernel
Now, reboot the system. The new, problematic kernel should not appear in the bootloader, and you should be able to boot regularly.
Removing the Old Kernel when Everything Works
1. Ensure you are Using the New Kernel
Before we can remove the old kernel version, we must ensure that we are not using it already. To do this, run:
$ uname -r
If you are not using the new kernel, reboot the system and select it in the bootloader.
2. Use Yum to Remove the Old Kernel
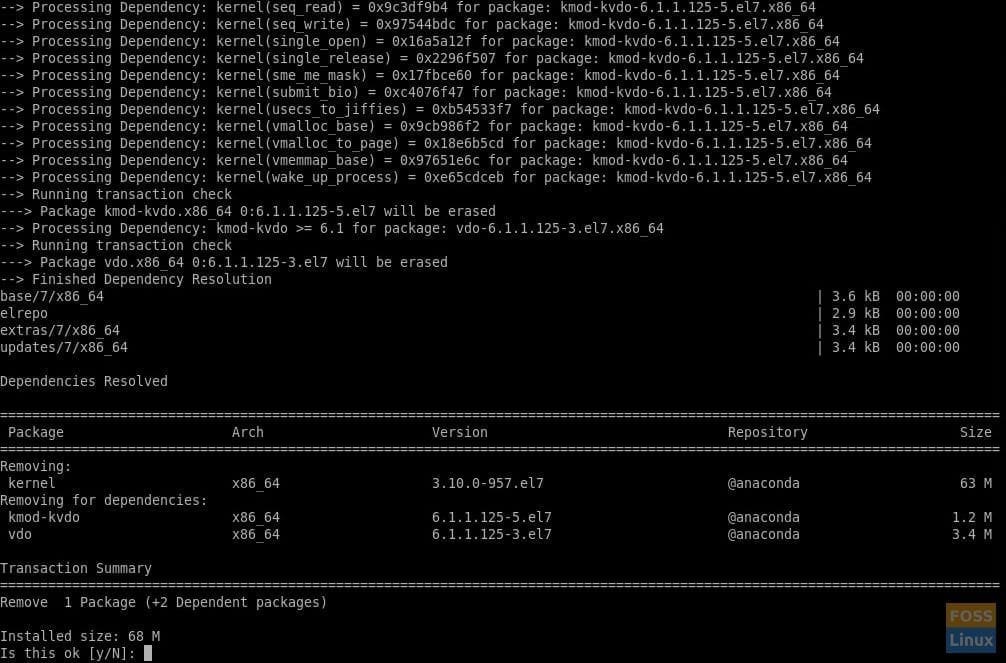
Now, we can use yum to remove the old kernel version. For this, you will need to run:
$ sudo yum remove kernel-3.10.0-957.el7.x86_64

Removing the old kernel
Conclusion
Now that you have installed the latest Linux kernel in CentOS, and are familiar with the process of installing and uninstalling new kernel versions, you can reap the benefits of the new kernel, such as more kernel functions and higher performance.

