Tmux is an open-source utility that manages numerous terminal windows effectively. Most people know the idea of tab management in Linux Terminal if they have ever used the Terminator application. We may divide the terminal into several panes using Tmux. We can move, resize, and flip between these panes to make adjustments.
This lessens the agony of juggling many Gnome terminal windows and tabs. In most cases, closing an SSH connection also closes any associated remote terminal sessions. Tmux can assist since it keeps track of those sessions even if the SSH connection is lost.
Note: Once Tmux has been installed on your Linux OS, you will not find an icon associated with it. Therefore, to access it, we will need to invoke it via the Gnome terminal, as it does not appear as an application. If you don’t recognize how to do that, don’t freak out, as we shall be illustrating how to do precisely that in this article guide.
By now, I hope you have Tmux installed on your Linux OS. If not, please look at this detailed article guide as I will brush through the installation and how-to-use section. Now that you know what you need proceed and learn how to install Tmux on your Linux OS.
How to install Tmux on your Linux OS
Before you begin the installation process, ensure you have the prerequisites provided below:
- A Linux-based working environment
- A user account with root or sudo privileges
- Access to a terminal or command line
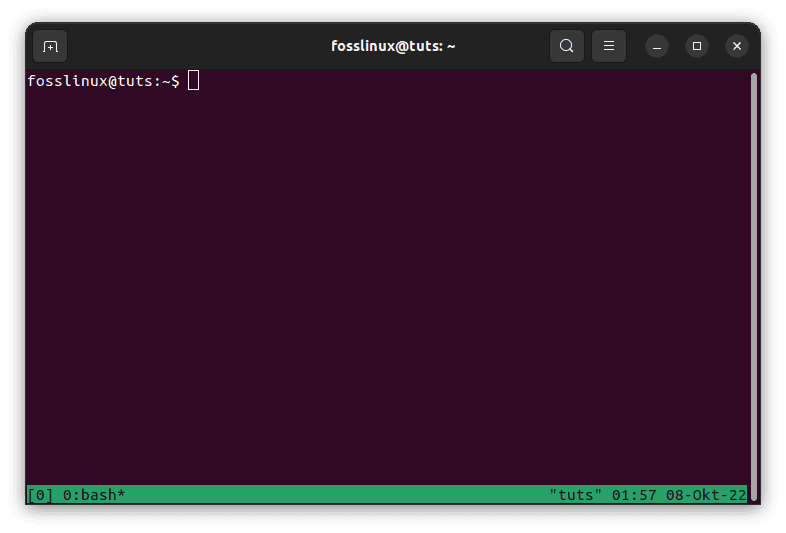
Note: A new session with a single window is produced and shown on the screen when Tmux is opened. A status line at the bottom of the screen displays details about the ongoing session and allows for the entry of interactive commands.
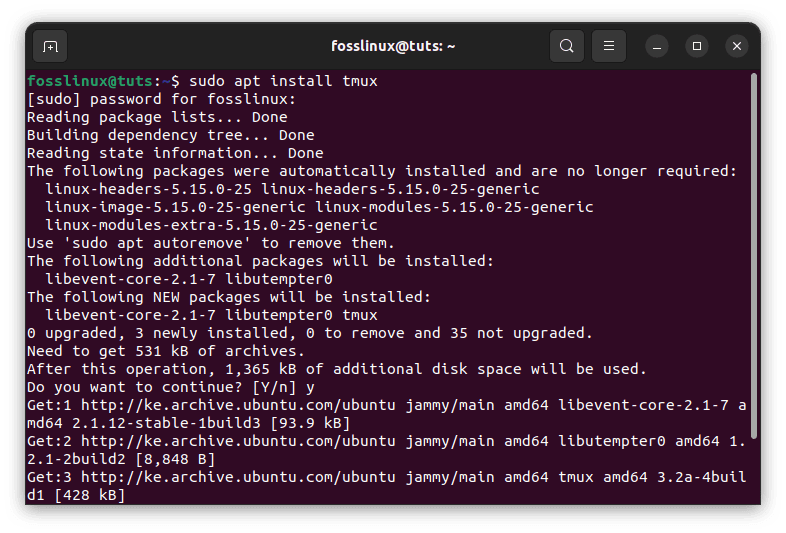
Once you have the said prerequisites in place, launch your terminal using the Ctrl + Alt + T keyboard combination or the applications menu and execute this line of code:
sudo apt install tmux

Install Tmux
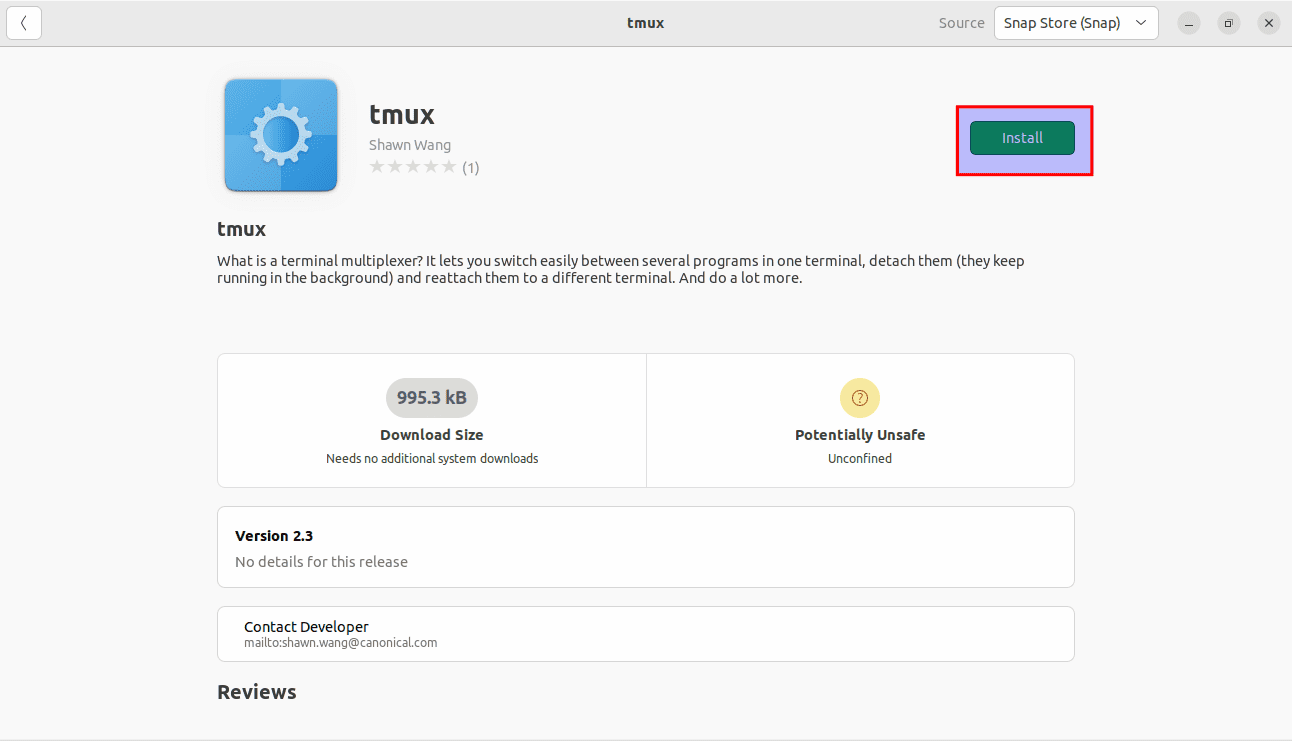
Alternatively, you can install Tmux using the Ubuntu Software Center by opening the software center and searching for Tmux, and installing it using the “Install” button as illustrated in the snapshot below:

Install Tmux via the software center
Be patient until the installation completes, then use the Gnome terminal to invoke Tmux, as earlier stated in this article guide. To do so, launch your terminal and execute the following line of code:
tmux

Tmux new screen
Note: Occasionally, you might encounter an error similar to the one displayed below:
"open terminal failed: missing or unsuitable terminal: xterm-256color"
To fix this error, input the following line of code and hit “Enter” on your keyboard.
export TERM=xterm
Once the command executed above has been completed, re-run the tmux command, and the error should be fixed.
How to use Tmux
There are three common ways one can use to send commands to a Tmux terminal:
- Using the Prefix keys: Tmux uses a prefix key combination, which by default is “CTRL+b.” One or two more keys that Tmux will interpret for a specific operation come after this prefix. For instance, [Prefix+d] can be used to leave a session.
- Using the command mode: Press the prefix keys, then the colon (:), to enter the command mode and transmit the commands straight to the Tmux terminal. To input the Tmux instructions, a command prompt will appear at the bottom of the terminal.
- Using the command line: You can use Tmux commands from a terminal or shell prompt that is not Tmux. The term “tmux” comes before these commands.
How to swap panes in Tmux
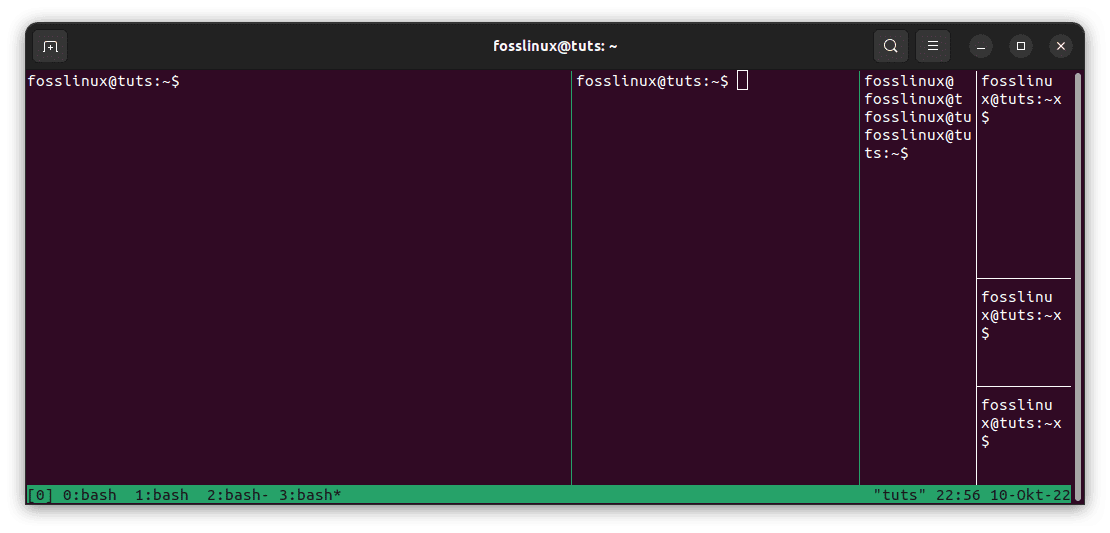
Sometimes it’s necessary to organize the running programs in a Tmux session in a logical order when there are several of them—this aids in guiding our work in the right direction and improving its coherence. For instance, we bring up a window for the web server program, one for changing a file (let’s say tmux.conf), and one for using the ‘top’ command to check the CPU and memory statistics. Each pane’s location is indicated below:
Now, if you are not content with the position or layout of the panes like the ones displayed above, you will need to change them. This is where pane swapping chips in. It involves moving panes sensibly to a user’s desired location or position.
Tmux application uses the key binding ‘Ctrl + b’ (prefix) preceded by ‘Ctrl + o’ to move panes around.

Panes
Note: When you use these commands for the first time, it will move panes in one direction clockwise. Therefore, if you need to move in an anticlockwise direction, you will employ the ‘Alt+o’ keyboard combination instead of the clockwise ‘Ctrl+o’ combination.
Alternatively, to move panes around in Tmux, you can use the following commands in the Tmux command prompt or terminal window:
swap-pane -D

swap-pane -U
The swap-pane -D command will move the pane in a clockwise direction, similar to the ‘Ctrl+o’ command. On the other hand, the swap-pane -U command will move the panes in an anticlockwise direction.
Note: If you use the ‘-d’ command, the pane focus will not alter with the pane rotation.
For ease of reference, refer to the following pane management commands:
- (:swap-pane -D) – move the current pane down
- (:swap-pane -U) – move the current pane up
- <C-a>q – show pane numbers (type number to move cursor)
- <C-a>} (:swap-pane -R) – move current pane to the right side
- <C-a><Space> – toggle pane arrangements
- <C-a>{ (:swap-pane -L) – move current pane to the left side
That’s all.
Conclusion
I hope you enjoyed reading this tutorial article guide. We have covered several aspects of Tmux, including how to install Tmux, launch it, and, more explicitly, swap panes in Tmux. To find a more detailed analysis and cheat sheet containing Tmux operations and commands, check out ‘Foss Linux’s Tmux Cheat Sheet.’
You can use Tmux in various ways, including establishing numerous windows in a single Tmux session. Besides, you can generate new panes, switch between panes, detach, and rejoin sessions.

