Tmux is a terminal multiplexer utility that can be used instead of a GNU Screen. In layman’s language, it indicates that you can initiate a Tmux session and open several windows inside it. Each window fills the screen and has a rectangular pane that may be separated from it. With Tmux, switching between numerous applications in one terminal and attaching them again to a separate terminal is simple. Processes running in Tmux will continue to operate even if you disconnect since Tmux sessions are persistent. In Tmux, every command begins with a prefix, which by default is ‘Ctrl+b.’
Installing Tmux
This article guide will only show a brief installation guide, but if you intend to read a comprehensive manual, check out this guide on installing and using Tmux on Linux for more in-depth analysis.
Launching Tmux
After a successful installation, use your existing terminal window or launch a new one as previously stated and run the following command to invoke the Tmux app:
tmux
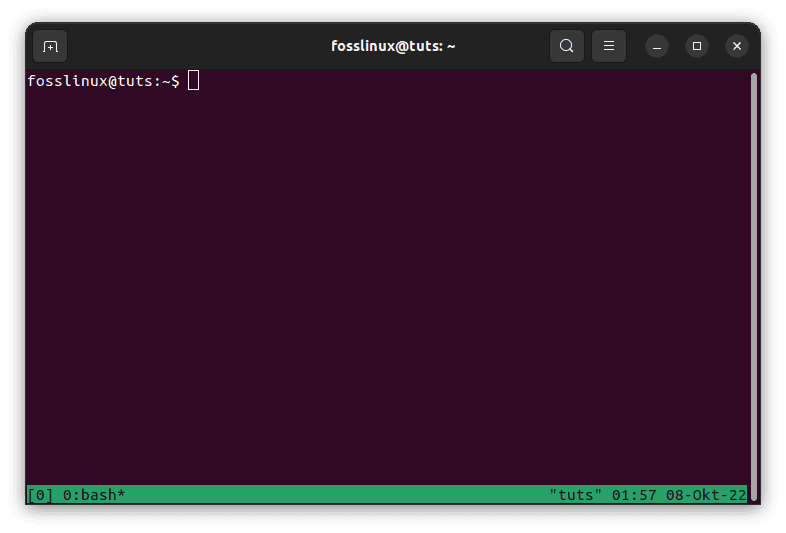
Tmux new screen
Note: While launching Tmux for the first time, you might encounter the error displayed below:
"open terminal failed: missing or unsuitable terminal: xterm-256color"
If you are a victim of this error, paste the following line of code on your terminal window and click ‘Enter to execute it.’
export TERM=xterm
The command above will fix your error instantly. Alternatively, you can use the generic ‘XTERM’ terminal to launch Tmux on your Linux OS.
How to copy and paste content with a clipboard in Tmux
Copying and pasting content is one of the most regular operations we perform on a computer. These might involve typing text into a file, transferring instructions to terminals, or creating documentation. Tmux makes things more complicated than just typing “Ctrl+c” and “Ctrl+ v,” as we would on a typical text editing software. The copy and paste operations in Tmux are a little unusual and, to a certain extent, challenging, particularly when transferring data between the system clipboard and the Tmux buffer.
To kickstart, we shall create new panes and sessions where we shall be demonstrating how to copy and paste content between them. Suppose we have a random text message on our Tmux window of session 0 as follows:
"Follow FossLinux for more article guides. Also remember to check out our YouTube channel for more video guides
"
Our task is to copy the text from session 0 to session 1, a pane that will run concurrently. Follow the steps provided below to accomplish this task.
Using Mouse mode to copy to the clipboard
This is one of the most resourceful approaches we can employ to copy data into a clipboard in Tmux. To perform this task, follow the guidelines provided herein:
Step 1: Enter mouse mode. You need to enter mouse mode by using the default prefix ‘Ctrl + b’ followed by ‘m’. once you do so, you will see an arrow indicating you are in mouse mode.
Note: The preceding key can change depending on how you set up your Tmux configurations
Step 2: Scroll to where you want to copy your text and select your desired content. After selecting, leave your mouse and move to step 3 below.
Step 3: Invoke the following key combinations (‘Ctrl+b’) + b to open the buffer and see if your text has been copied.
That’s it. You have successfully copied and pasted content using mouse mode.
Alternatively, you can try out this method
Step 1: Use our default key binding prefix ‘Ctrl + b’ and ‘[‘ to enter copy mode
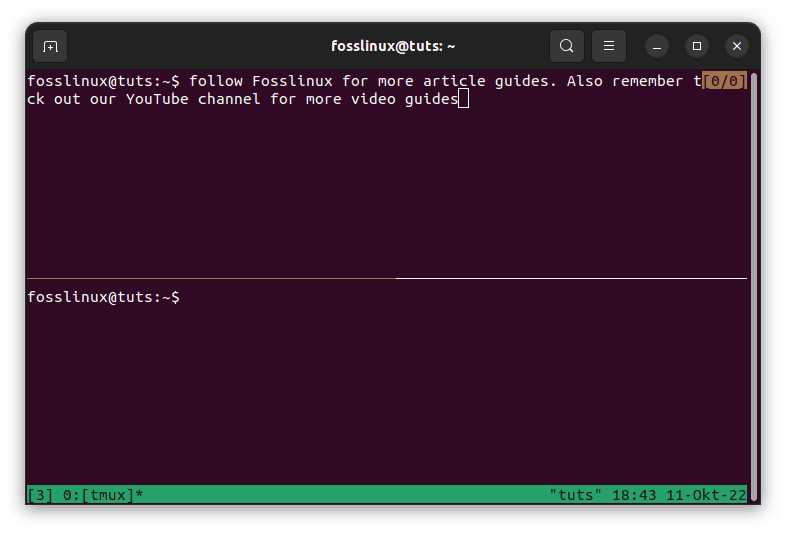
Enter copy mode
Step 2: Using the ‘Arrow keys,’ trace the position you wish to start copying from, then use the ‘Ctrl + spacebar’ combination to begin copying.
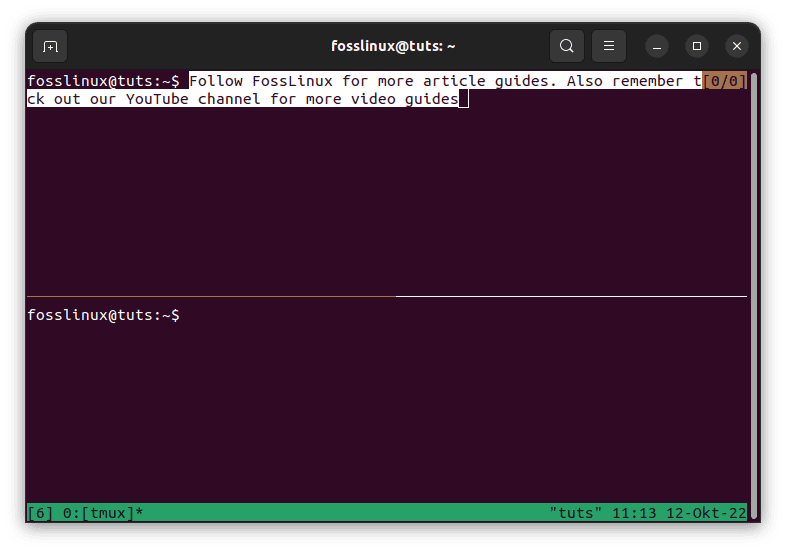
Use arrows to select content to be copied.
Step 3: Now, using the ‘Arrow keys,’ move to the position you want to copy the text to. Once you have selected the text, press ‘Ctrl + w’ or ‘Alt + w’ to copy the text to a Tmux Buffer.
Step 4: Using the default prefix ‘Ctrl + b’ followed by ‘],’ paste the copied text to a Tmux window, pane or session.
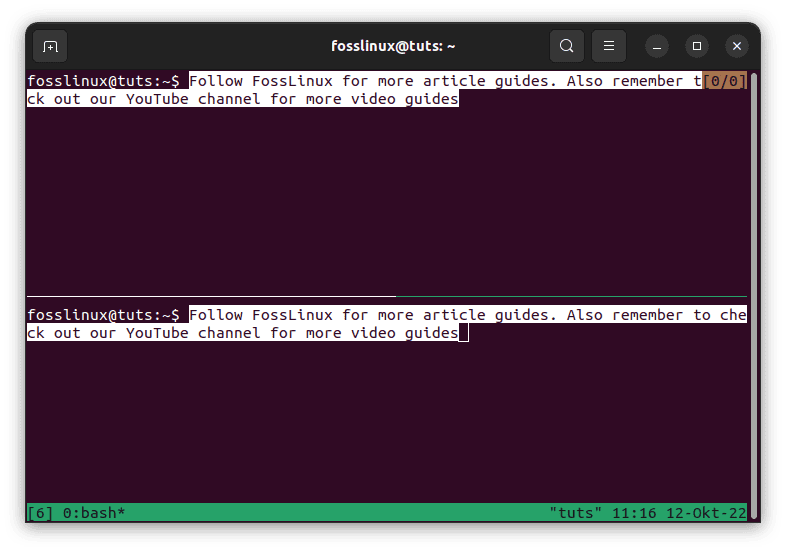
Paste the copied content into another pane
This might seem so confusing and tedious, but don’t worry since we shall be demonstrating everything with the aid of an example.
Example: How to copy and paste content from one Tmux pane or window to another
Follow the below steps to copy and paste content from one pane to another.
Step 1: We shall open to panes in our active session (session 0) as shown below:
Step 2: Once the panes open, as illustrated above, use the key combinations previously stated to enter copy mode. (‘Ctrl + b + [’)
Note: To know you have successfully entered copy mode, you will see the following sign or symbol ‘[0/0]’ as shown in the image below

Enter copy mode
Step 2: Using the ‘Arrow keys, choose your starting point, then select whatever you want to copy. Once you are done, invoke the ‘Ctrl +w or Alt + w’ keys.
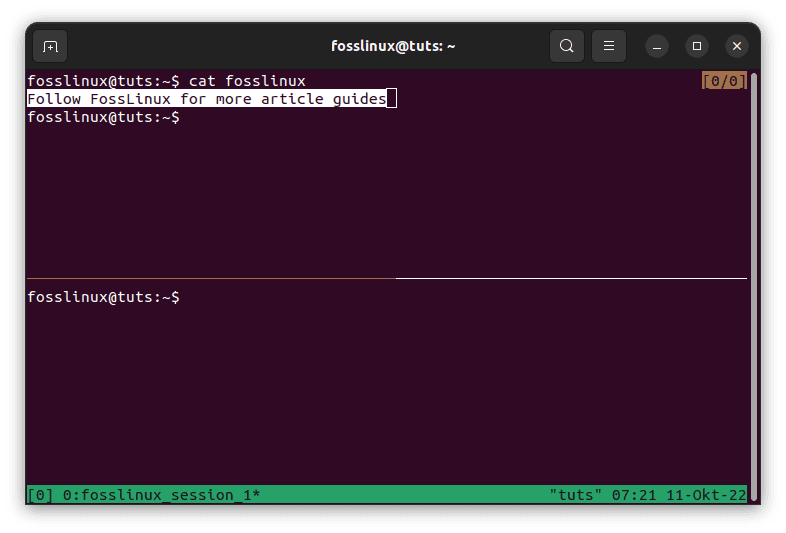
Select text to be copied
Step 3: Once you have selected your desired keys, begin the visual mode by entering ‘Ctrl+b’ followed by ‘v’
Step 4: Yank the copied selection by invoking the default prefix ‘Ctrl+b’ followed by ‘y.’
That’s all. Your text has been copied successfully.
However, sometimes these commands fail to run; therefore, I devised a simplified method that entails configuring your Tmux settings.
Note: This method works with Tmux 2.4 and above only. Therefore, if you intend to try this method, ensure your installed Tmux version is above version 2.4
Now edit your tmux. conf file as follows:
sudo nano ~/.tmux.conf
set-option -g mouse on

set -g mode-keys vi

set-option -s set-clipboard off

bind P paste-buffer

bind-key -T copy-mode-vi v send-keys -X begin-selection

bind-key -T copy-mode-vi y send-keys -X rectangle-toggle

unbind -T copy-mode-vi Enter

bind-key -T copy-mode-vi Enter send-keys -X copy-pipe-and-cancel 'xclip -se c -i'

bind-key -T copy-mode-vi MouseDragEnd1Pane send-keys -X copy-pipe-and-cancel 'xclip -se c -i'
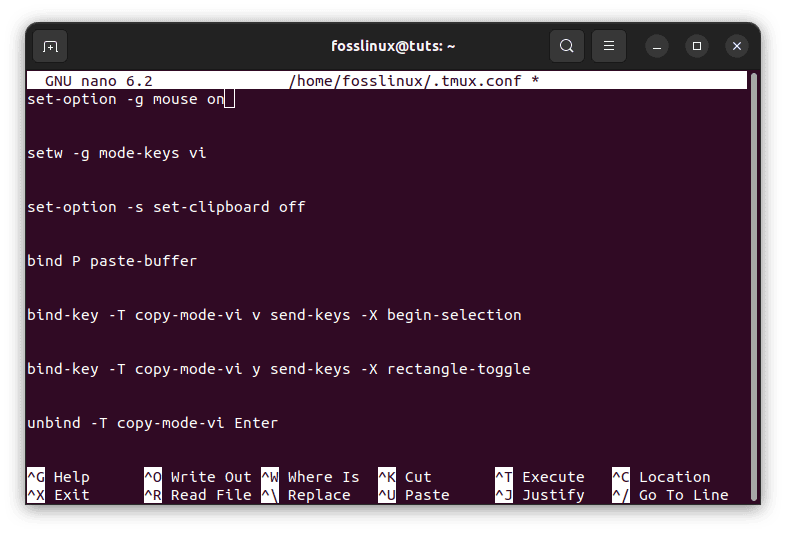
Edit the Tmux config file
Now with the newly configured settings, you will be using the following commands:
- Entering the copy mode is the usual ‘Ctrl + b’ followed by ‘[. ‘

Enter copy mode
- To navigate the copy mode, use the vi-like-key bindings such as d for down and u for up
- To start copying, hit ‘v.’
- To copy the selected text into a Tmux buffer, hit enter or y to yank (This command automatically cancels the copy mode)
- To paste into the Tmux buffer, use the default prefix ‘Ctrl + b’ followed by P (Always ensure the p is in uppercase)
Alternatively, you can use the mouse to copy the text once you’ve entered the copy mode.
Copying and pasting data from the Tmux terminal using Xclip
Using the standard key sequence “Ctrl+Shift+v,” it is simple to copy the contents of the System clipboard and paste them into a Tmux session. The process in reverse is more complicated, though. We may simplify this by installing a software called ‘xclip’ and tweaking the ‘tmux. conf’ file. Observe the instructions below:
Step 1: Execute the command below to install ‘xclip’ on your Linux OS.
sudo apt install xclip
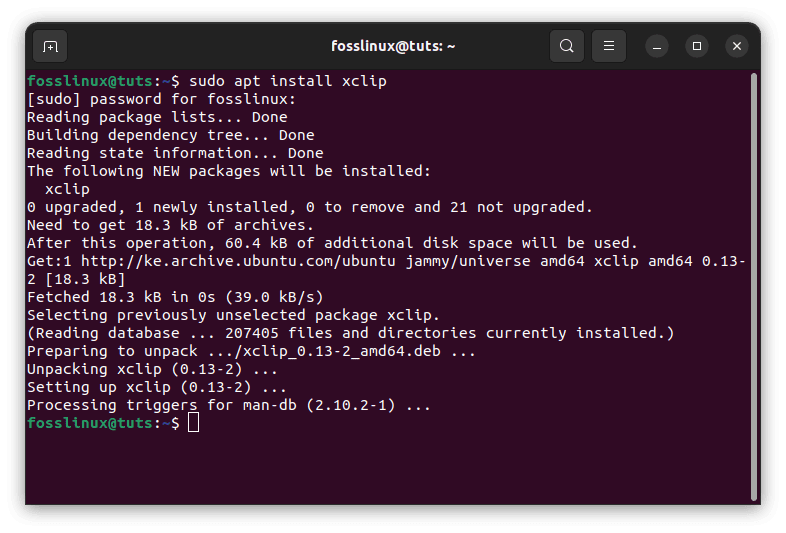
Install xclip
Once xclip has been successfully installed, you can proceed to step 2 below:
Step 2: The next step is customizing the tmux.conf file by appending the following line:
bind C-c run "tmux save-buffer - | xclip -i -sel clipboard"

bind C-v run "tmux set-buffer "$(xclip -o -sel clipboard)"; tmux paste-buffer"
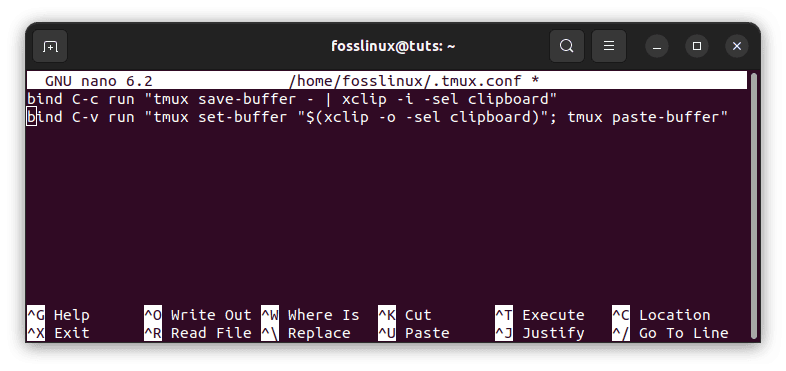
Append tmux.conf file
Code breakdown:
In the above lines of code, the first line takes the default prefix preceded by ‘Ctrl + c’ to capture the current Tmux buffer and provide the output to xclip. Now we can paste the copied text to the system’s clipboard.
However, as previously said, it is simple to copy and paste from the system clipboard to a Tmux session (Using Ctrl+Shift+v). The second line configures the “prefix” followed by “Ctrl+v” to paste text from the system clipboard to a Tmux session. So, the second line might not be necessary. You need to add the second line if this doesn’t work.
Recommendation: A keybinding that doesn’t need a prefix can also be defined. Use the bind command as described above, for instance, to reload the configuration file using “Ctrl+r”:
Conclusion
This in-depth guide illustrates the several ways one can use to copy and paste the content into a clipboard in Tmux. The guide can be pretty confusing at once. However, if you reread it, you will get the concept we are trying to relay. If you are new to tmux, consider checking out our numerous articles on Tmux before diving into the deep end.


1 comment
Thank you! That last step to get it out of tmux!