Tmux sessions are persistent. This means after exiting the program, the sessions will continue running. Ctrl + b is the default prefix used in Tmux. All commands in Tmux start with this default prefix, followed by a key to invoke the command into your Tmux application. This article guide will illustrate how to capture the Tmux panes’ history.
However, before we dive into our subject matter, we need to install Tmux on our Linux OS. To do so, follow the brief guide provided herein, and if you encounter any challenges or want an in-depth article on how to install Tmux and use Tmux, check out this comprehensive guide.
You have come to the right spot if you use Tmux and are unsure how to utilize it to capture pane history. You can use the directives in this article to learn the essential procedures for capturing the Tmux pane history.
Capturing the Tmux pane history
There are numerous approaches one can use to capture Tmux pane history:
- Capture Tmux pane history using Tmux commands
- Capture Tmux pane history using terminal
- Capture Tmux pane history using the Tmux logging plugin
Method 1: Capture Tmux pane history using Tmux commands
Tmux offers a command that may be used to record the command and script history for all panes. Unlike the preceding instructions, you can store an infinite number of script lines and history. You may use the following command to accomplish this:
tmux capture-pane -pS N > ./<filename>
The N in the command stands for the number of lines of code previously written. Depending on how far back you wish to travel, this can be any number. The command’s default value is 2000. When the number N is not supplied, the default value is used.
This command can also be saved as an alias. In the Linux terminal, an alias is a means to express a command or a collection of code. They serve the same purpose as “functions” in traditional programming languages. The following line of code can be employed to save an alias:
alias command name = 'command or set of code.'
Once you have saved the alias, it can be used in the format displayed herein:
command name > ./filename
Alternatively, you can use your Tmux configuration file to add these commands. Append the following lines to your Tmux config file:
bind-key S capture-pane -b temp-capture-buffer -S - \; save-buffer -b temp-capture-buffer ~/tmux.log \; delete-buffer -b capture-buffer
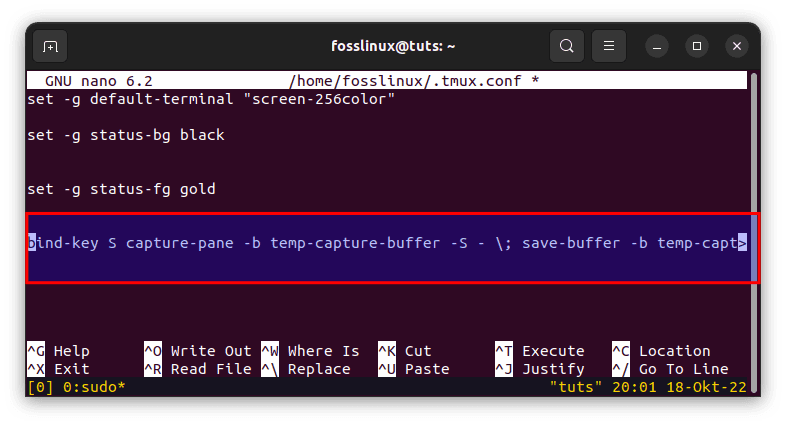
Append the following lines to the configuration file
After adding the commands, reload Tmux to save and effect the changes made. To do so, reload the application using the following command:
tmux source-file ~/.tmux.conf
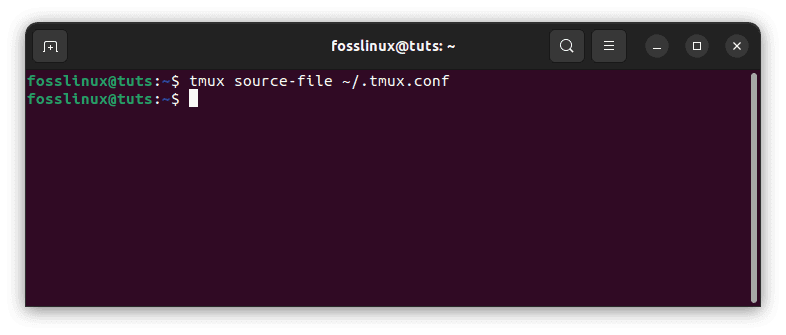
Reload the Tmux config file
Method 2: Capture Tmux pane history using terminal
Using the terminal is one of the easiest ways to store current pane contents in a capture buffer. If you are wondering what a capture buffer is, it is a memory that stores incoming data.
tmux capture-pane -b temp-capture-buffer -S -
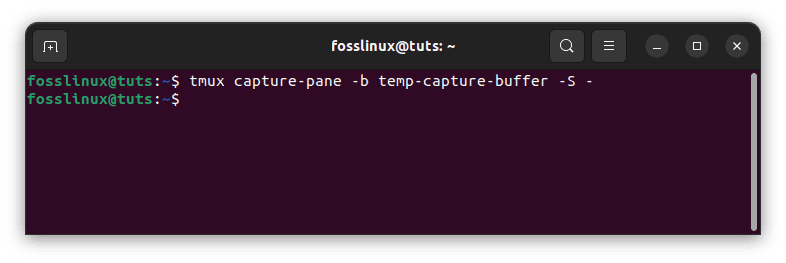
Capture pane history using terminal
After storing the contents of the capture buffer, save them in the /tmux.log file. This is the file in which the information is held. This command will save the capture buffer.
tmux save-buffer -b temp-capture-buffer ~/tmux.log
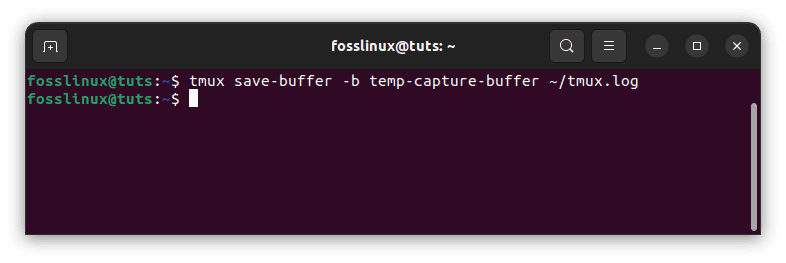
Save the captured content
You can check the buffer by navigating to your home directory and checking the Tmux.log file. For instance, my captured contents are shown below:
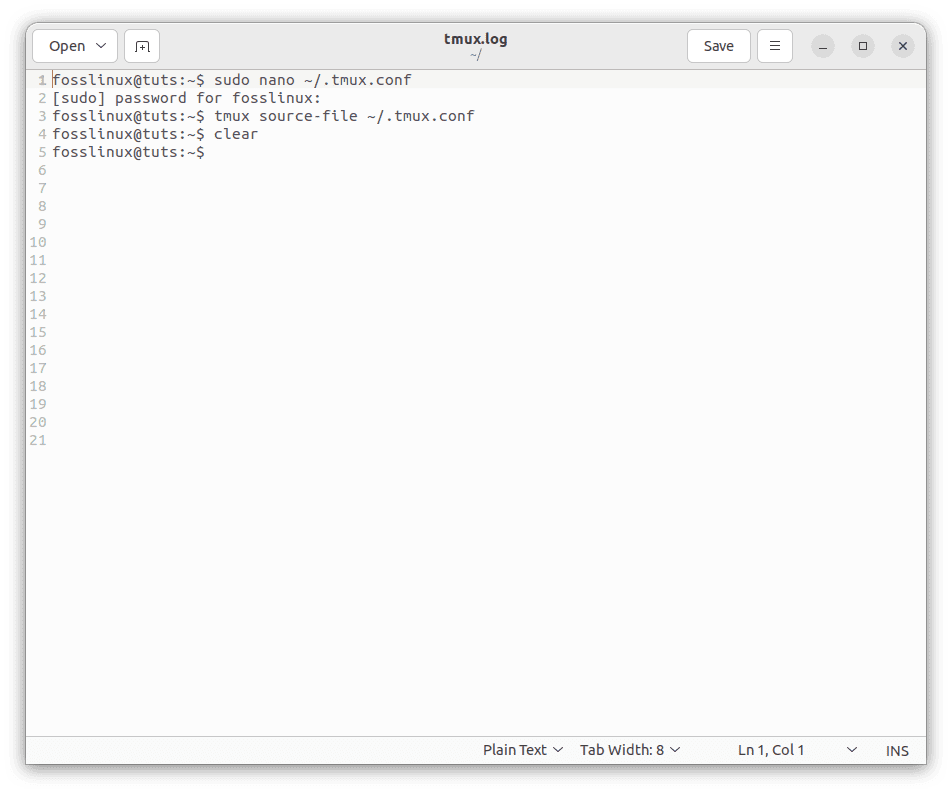
Tmux log file
Once you are done, delete the capture buffer by executing the following line of code:
tmux delete-buffer -b capture-buffer
Although you cannot capture the entire scrollback history of the panes, you may use the terminal to continually save each pane by running the instructions mentioned above. This, however, can be time-consuming.
That’s it. You have captured the Tmux pane history using your terminal.
Method 3: Capture Tmux pane history using the Tmux logging plugin
Utilizing the “tmux Logging” plugin found in the GitHub repository is another option at your disposal. The plugin must first be installed before being included in the tmux configuration file. Perform the following actions to install it:
Start up the command terminal.
Once it’s open, enter the subsequent command:
git clone https://github.com/tmux-plugins/tmux-logging ~/.tmux/tmux-logging
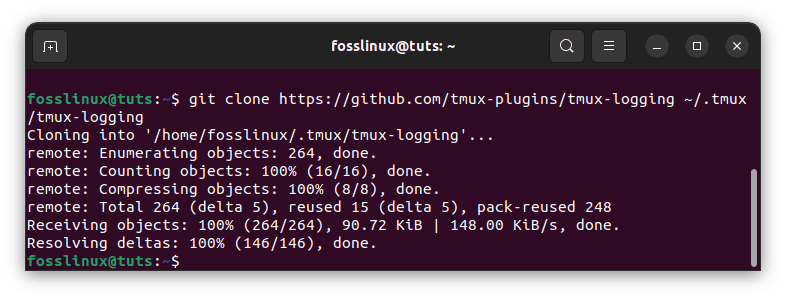
Clone plugin
This command will clone or copy the plugin to your Linux OS. Once the cloning process is complete, run the command below to append this line to the config file:
run-shell ~/.tmux/tmux-logging/logging.tmux
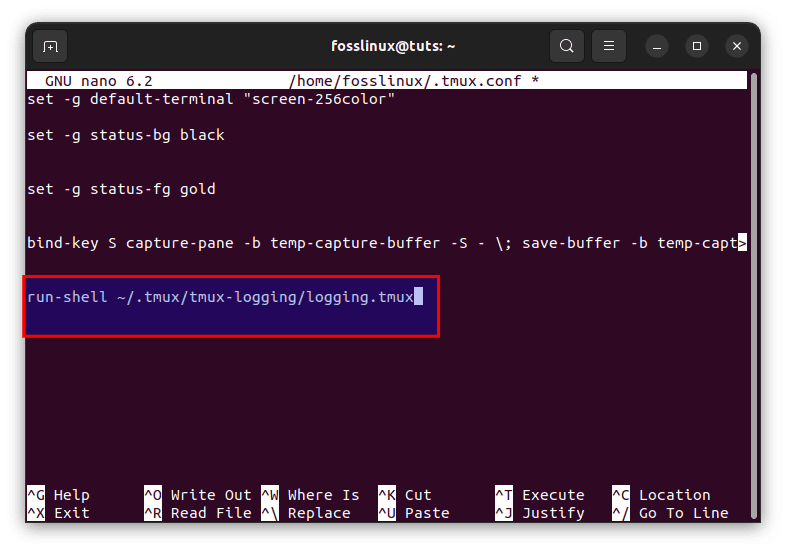
Append the line to the tmux.conf file
Note: To add the above line, you need to start the Tmux config file using this command line:
sudo nano ~/.tmux.conf
Once you have added the file, reload it by executing this line of code:
tmux source-file ~/.tmux.conf

Reload the Tmux config file
Let’s look at the commands you will need to capture history now that you have added the plugin. Press the default prefix “(Ctrl+b) followed by +(Alt+p)” to capture the contents of the tmux screen.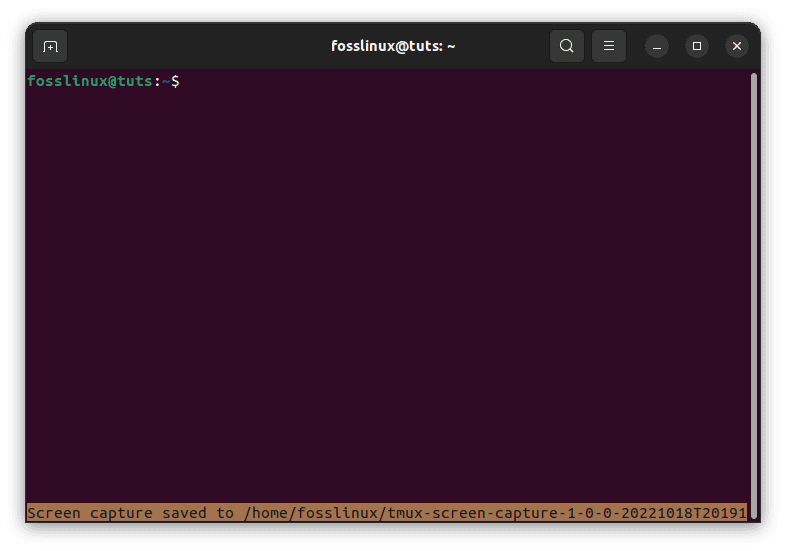
Type the default prefix followed by Alt + p to save content. This will store the content as text in the home directory.
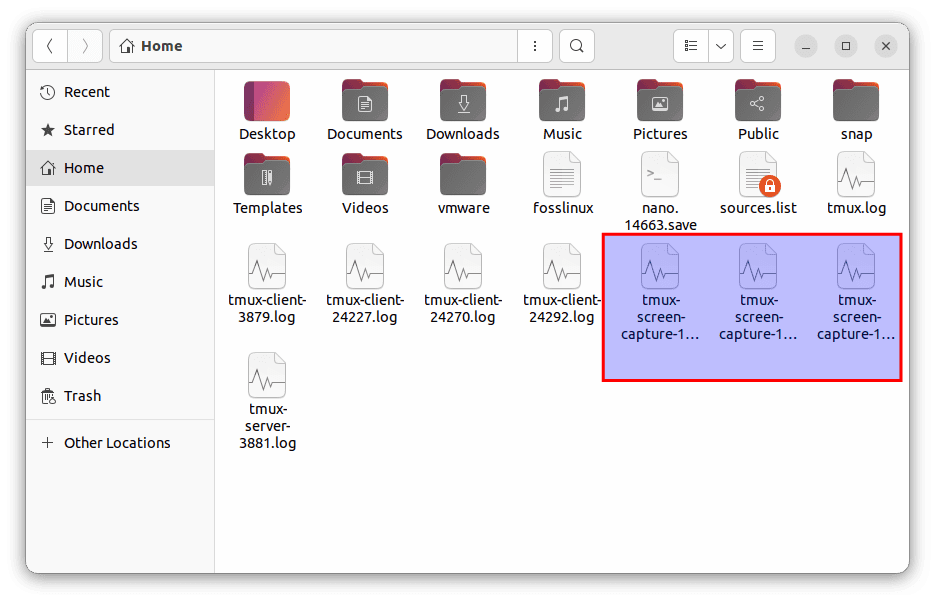
Tmux screen captures
Press “Ctrl+b+Alt+Shift+P” to capture the entire history of your work throughout the session. Additionally, the text version of the items will be saved to the home directory.
Note: You must press “(Ctrl+b) followed by (Shift+p)” to activate the logging feature. The scripts you are currently entering in the terminal will all be saved when you run this command.
Conclusion
This article guide covered all the aspects you need to acquaint yourself with regarding Tmux pane history and how to capture the content. Capturing the Tmux pane history has proved essential in most occurrences as these applications allow users to save all the contents to review later. This guide covered three methods one can use to capture the Tmux pane history. If one of the approaches does not work for you, feel free to check out any other methods provided in this tutorial guide.

