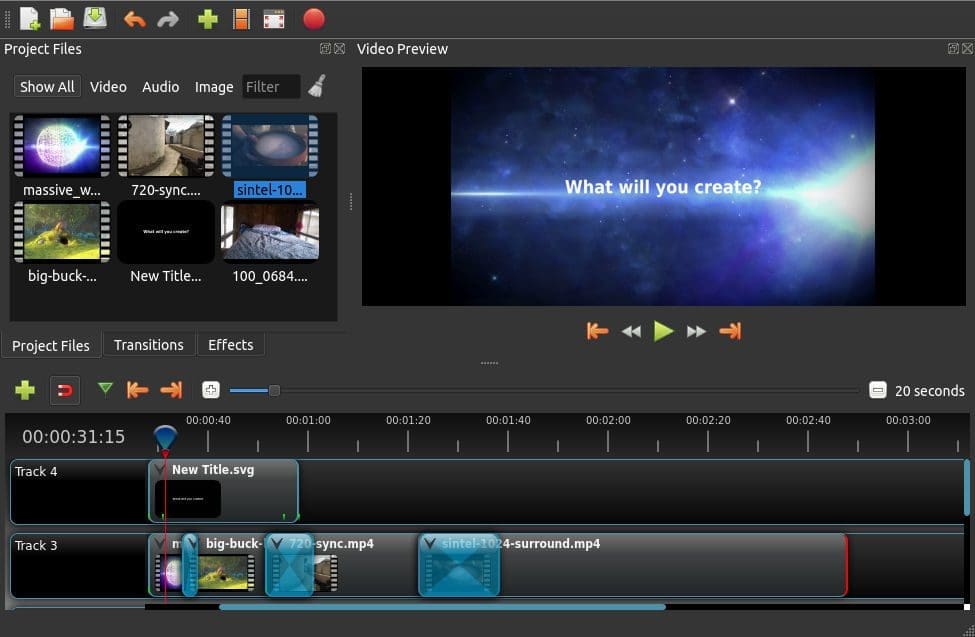
OpenShot is a popular and open-source video editing software available for Windows, macOS, and Linux. It comes with a pretty basic user-interface, which is relatively easy to interact with. Any user can use this excellent application to create video from audio files, images, and other videos.
The resulting video can be exported in various video formats. This video editor has undergone significant improvements, and the quality of pictures and videos produced is now much sharper and of high quality.
Below are some of the most notable features that come with the OpenShot video editor.
OpenShot Video Editor Features
- A Cross-platform video editor available for Windows, Linux, and macOS
- Supports various video, image, and audio formats
- A robust keyframe animation framework.
- Drag and Drop support
- Users can create unlimited layers/tracks to enhance the editing process.
- Over 400 video transitions with support for real-time previews.
- Support for image overlays, composite, and watermarks. These enable you to manage a project having multiple clips quickly.
- Allows the use of 3D animation effects
- OpenShot comes with over 40 vector title templates, which simplify the whole process of adding titles.
Installing OpenShot Video Editor on Ubuntu
To get OpenShot running on your Ubuntu system is much easier than you thought. In this tutorial, we will show you two approaches. The below tutorial should work on Ubuntu and its derivatives, including Pop_OS!, Linux Mint, etc..
- Using the OpenShot AppImage file
- Install OpenShot using a PPA
Let’s get started.
1. Using the OpenShot AppImage file
That is the easiest method to use if you don’t want to get techy with the command prompt. All you need to do is download the OpenShot AppImage file from the link below.
With an AppImage file, you don’t need to install it. Just make it executable and run it as it is. You can read more about this in our article on Snap vs. Flatpak vs. AppImage: Know The Differences, Which is Better.
Once you have downloaded the file, we need to run it. Follow the steps below.
Step 1: Launch the terminal and use the cd command to navigate the directory where you have downloaded your file. If you are just getting started with Linux, please take a look at the ten basic Linux commands to learn for every Beginner.
Step 2. We need to make the AppImage file executable. Run the command below. Be sure to replace the ‘file-name’ with the exact name of your file.
chmod +x file-name
Step 3. Run the file with the command below. Remember to replace the ‘file-name’ as described in step 2.
./file-name
If you are running this for the first time, you will see a pop-up window prompting you to install a Desktop file for OpenShot. Click ‘YES” if you wish to install and start OpenShot. If you choose ‘NO,’ OpenShot will launch without installing anything on your PC.
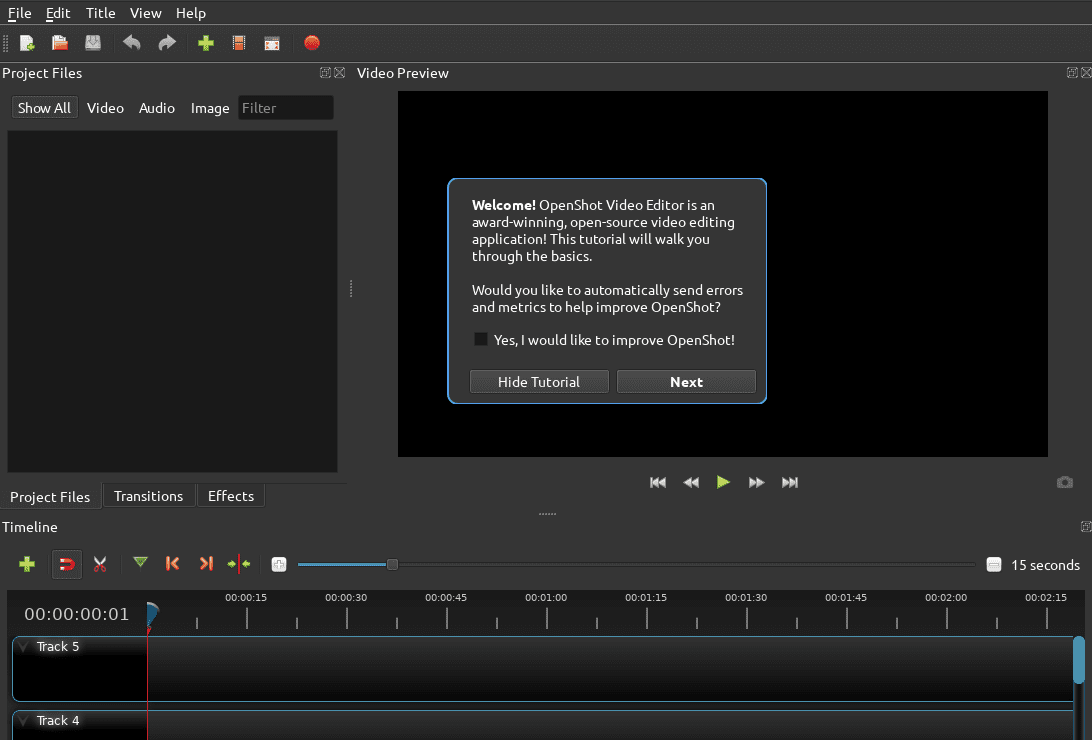
You will see the OpenShot window open, as shown below.

OpenShot Window
2. Installing OpenShot using a PPA
If you love installing your applications from the terminal, then this is a suitable method for you. Launch your Ubuntu Terminal and run the series of commands below in order. You will need to have root privileges to execute the commands.
$ sudo add-apt-repository ppa:openshot.developers/ppa
$ sudo apt update
$ sudo apt install openshot-qt

Install OpenShot via PPA
Once the installation completes, launch ‘OpenShot‘ from the Ubuntu applications menu.

Launch OpenShot
Those are two methods you can use to install and get started with the OpenShot video editor on Ubuntu. If, in any case, you want to uninstall OpenShot, follow the steps below.
Uninstall OpenShot on Ubuntu
If you are using the OpenShot AppImage file, all you need to do is delete that particular file. However, if you opted to install OpenShot through the PPA method, you would need to get a bit technical.
Launch the terminal and run the command below:
sudo apt remove openshot-qt

Uninstall OpenShot
I believe this article has given you detailed instructions on how to install OpenShot on your Ubuntu system. You can also read about other video editors available for Linux on the post – 10 Best Video Editing Software for Linux.

