Laravel is a popular free and open source PHP framework that supports MVC structure and enables developers to write PHP code seamlessly and efficiently. In this article, you will learn how to install Laravel on Debian 9.
Prerequisites
Before you proceed, perform a flight check and ensure you have the following installed on your Debian 9 server.
- Apache Web server
- PHP >= 7.1.3 with OpenSSL, PDO, Mbstring, Tokenizer, XML, Ctype and JSON PHP Extensions.
- Composer – an application-level package manager for the PHP
Installing Apache Web Server and PHP 7.2
To start, we are going to append a third party PHP repository because it is generally updated more frequently as opposed to Ubuntu’s PHP repository. To achieve this, run:
# sudo add-apt-repository ppa:ondrej/php
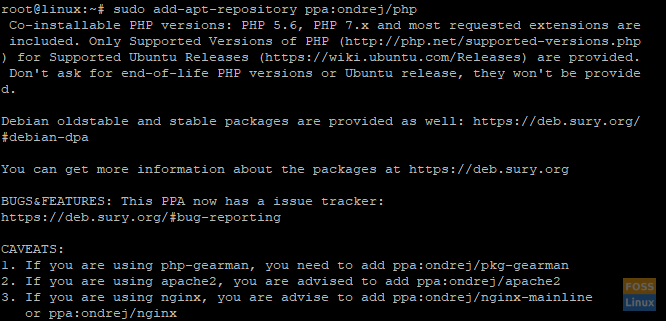
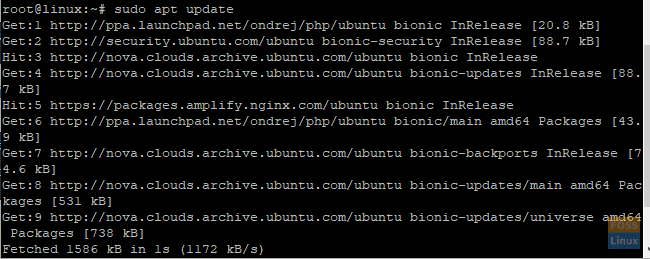
Afterward, update the system repositories as shown:
# sudo apt update
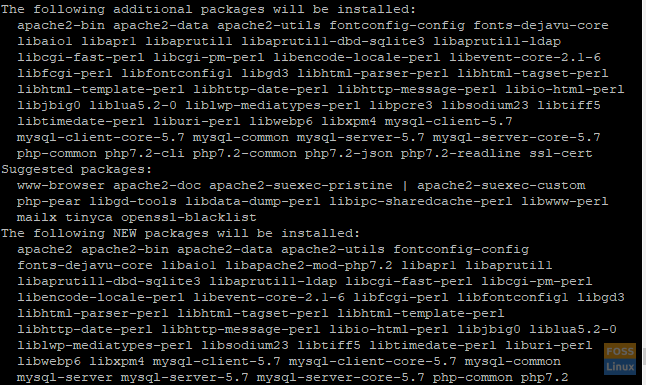
Next, We are going to install the Apache and PHP 7.2 and other dependencies using the command below:
# sudo apt-get install apache2 libapache2-mod-php7.2 php7.2 php7.2-xml php7.2-gd php7.2-opcache php7.2-mbstring
Installing Laravel
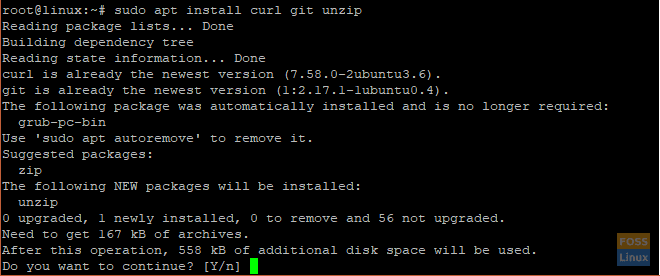
A few handy tools are needed before we dive into the installation of Laravel. You may discover that they already exist in your system. However, if they are missing, run the following command to install them.
# sudo apt install curl git unzip
The next crucial feature you need to install is the Composer. It is responsible for handling dependency management in PHP and enables the user to package required libraries associated with a package into one.
It is going to download and install all the necessary packages needed for the successful installation of the Laravel framework.
To install Composer, execute the following commands:
# cd /opt

# curl -sS https://getcomposer.org/installer | php

# mv composer.phar /usr/local/bin/composer
The curl command downloads Composer to the /opt directory. We need to move the file composer.phar to the /usr/local/bin directory so that Composer is run globally.
Next, navigate to the /var/www/directory.
cd /var/www/
Next, clone the git repository
# git clone https://github.com/laravel/laravel.git
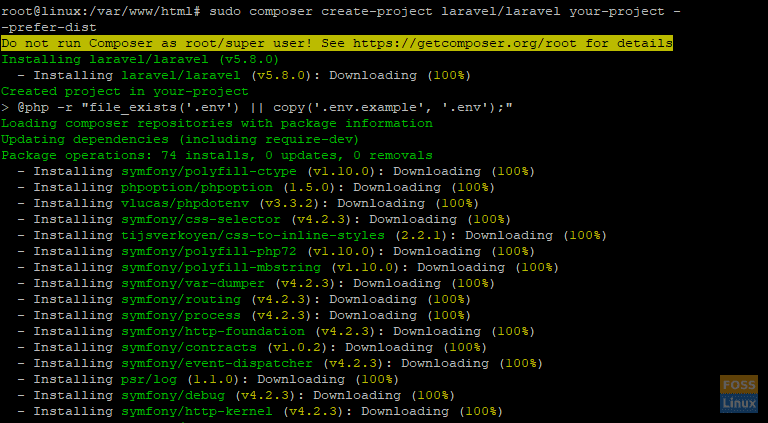
Create a directory and give it a generic name, say “your-project”. It is where the composer will download & later install all packages & modules required by Laravel for its proper functioning.
# sudo composer create-project laravel/laravel your-project --prefer-dist
In the next step, we are going to configure Apache Web Server
Configuring Apache web server
With Laravel successfully set up, it’s time now to configure Apache Web Server.
Assign the required permissions to the project directory. It will enable the www-data group to access it. To achieve this, run the commands below
# sudo chgrp -R www-data /var/www/html/your-project
# sudo chmod -R 775 /var/www/html/your-project/storage
Next, create a virtual host file for the Laravel installation
# vim /etc/apache2/sites-available/laravel.conf
Next, append the following content to the laravel.conf file
  ServerName yourdomain.tld

    ServerAdmin webmaster@localhost
    DocumentRoot /var/www/html/your-project/public


        AllowOverride All


    ErrorLog ${APACHE_LOG_DIR}/error.log
    CustomLog ${APACHE_LOG_DIR}/access.log combined
Ensure to give the correct domain name / IP address to the serverName attribute.
Save and Exit the text editor.
Finally, enable the newly created laravel.conf file. But first, disable the default config file as shown
# sudo a2dissite 000-default.conf
Now, enable the Laravel config file
# sudo a2ensite laravel.conf
Next, enable rewrite mode
# sudo a2enmod rewrite
Lastly, restart the Apache service
# sudo service apache2 restart
Laravel is now fully configured to run on Apache web server. To confirm everything went well, open your browser and browse your server’s IP address as shown.
http://ip-address
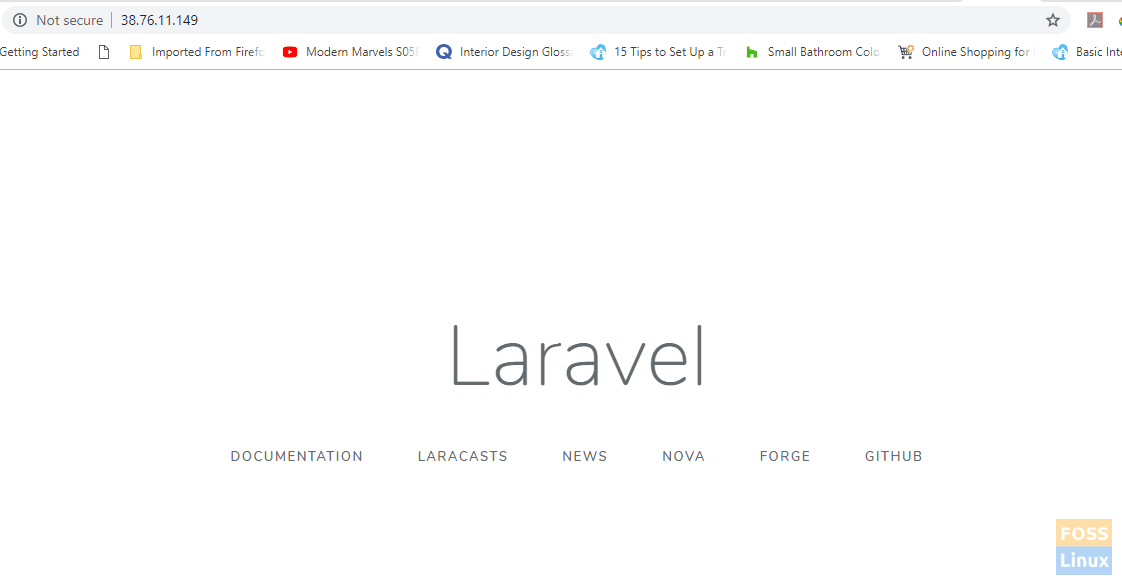
Bravo! You have successfully installed and setup Laravel.

