Git is an open-source, free version control program that helps users manage big and small projects effectively. This tool allows several developers to work together on non-linear development as it keeps track of all the changes in a source code for each branch of a project’s history.
Git is one of the most prominent Distributed Version Control Systems(DVCS) for DevOps. Linus Torvalds developed Git during the setup of the Linux kernel back in 2005 to help developers collaborate with other members on their projects.
You must have, in one way or another, heard about Git at some point if you are learning software development and its various facets. But you don’t need to worry if you haven’t since this guide will explicitly cover Git in detail, along with a brief guide on setting up and configuring it on Linux, particularly Fedora.
Why do you need Git, and what is it?
Software development isn’t that simple, as it involves working with multiple files and often needs tinkering with the source code to attain the intended output before it is ready to use.
Not only that, even after the code is perfectly running in production, periodic refactoring is still needed to maintain code efficiency, readability, and maintainability to make it simpler for other DevOps on the team.
With several developers and so many variables working on a project simultaneously, keeping track of the many project files and their modifications can get challenging.
This is the point you now introduce a version control system (VCS) like Git. This makes it pretty easy to manage and track changes made to the code submitted or being worked on by multiple team members. As a result, this accelerates the software development and testing process.
The following are some important advantages of utilizing Git:
- This open-source tool is free for use by anyone. Nearly all the changes are carried out locally; therefore, there is no need to propagate those changes to any central servers. A project can be edited locally and then saved to a server, where every team member or contributor can track and see the changes made in the comfort of their PCs. Contrary to Centralized VCS, Git does not have a single point of failure as its functionalities are tweaked to perfectness.
- Because Git functions as a distributed architecture, it allows everyone to get the latest screenshot of the work, as well as the whole repo contents and its history. If the server goes down somehow, a copy from the client can be utilized as a backup and restored to the server.
- Git employs a cryptographic hash function approach known as SHA-1 hash to identify and store objects within its database. Before holding any data, Git checks sums it and utilizes this checksum for reference purposes.
- Git is very simple to set up as it does not need high-end hardware on the client side. A bunch of online hosting services like GitHub offer services to host your Git project online for remote access. One can acquire an entire backup of a repo on their local PC. Modifications made by a contributor to a repo become its part after a commit operation.
- This tool’s commit functionality basically creates a snapshot of the current state in the database or the repo. After working on your project locally, you can publish local commits to your remote Git database or repo using the push command.
This guide will take you through how we can set up and configure Git on the latest release of Fedora (Fedora workstation 37) OS. We will install Git using two approaches (from the official repo on Fedora and the source code downloaded from Git’s official website). Let’s get the article started!
Approach 1: How to set up Git from the Fedora repo using yum/DNF
This is one of the simplest, if not the simplest, methods of setting up Git. What you only need is to run the subsequent commands on your terminal:
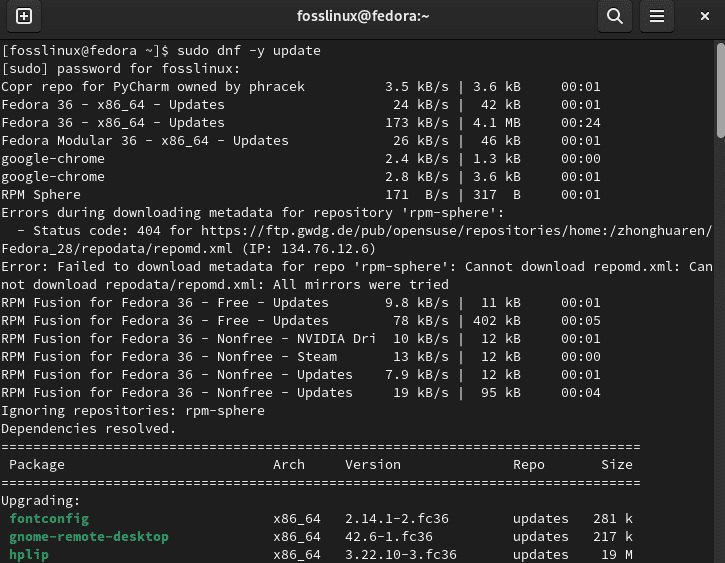
Step 1: First, update the available system packages by issuing the following command:
sudo dnf -y update
Update system
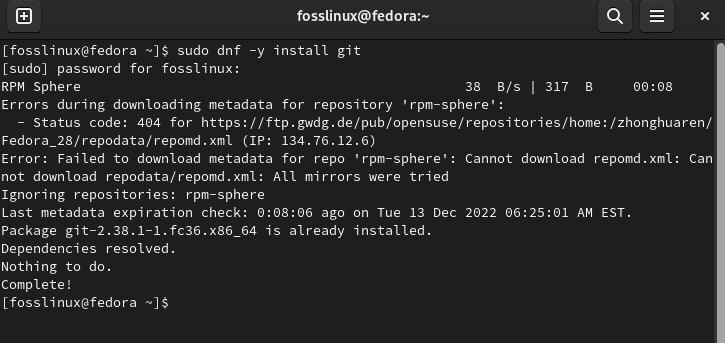
Step 2: Go ahead and install Git with the following command:
sudo dnf -y install git
Install Git
Upon running the above command, Git should be set up on your PC. To confirm whether or not the installation was successful, run this command to help check the currently installed version of Git:
git --version

Check Git version
And the above snapshot tells you that Git is set up on our system.
Let us now see how we can apply the same in the second approach.
Approach 2: Building Git from source code on Fedora
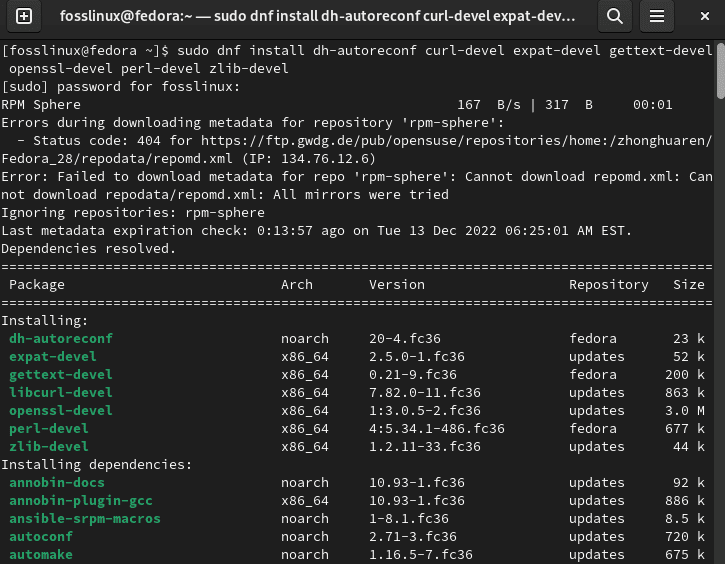
Step 1: Git can also be set up on Fedora using an alternate method from the available source code on the Git website. First, we must ensure that we have set up the needed packages on our system. As such, run the following command:
sudo dnf install dh-autoreconf curl-devel expat-devel gettext-devel openssl-devel perl-devel zlib-devel
Install required packages
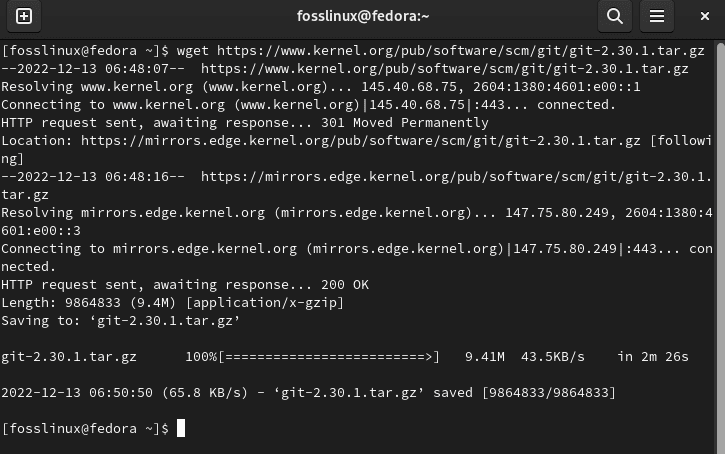
Step 2: After all the needed dependencies are sorted out, we can download the source code. To do this, copy-paste the following command to download the compressed tarball of Git source code:
wget https://www.kernel.org/pub/software/scm/git/git-2.30.1.tar.gz
Download source code
On the flip side, you can also visit this link and manually download the file to your system, as shown in the snapshot below:

Download Git
Step 3: Next, extract the downloaded tar file using the following command:
tar -zxf git-2.30.1.tar.gz

Extract file
Step 4: Now, navigate to the extracted folder on the command line window using the following command:
cd git-2.30.1

Navigate to the git file
Step 5: After that, run the make command. The make command in Linux aids in maintaining a set of programs, usually about a specific software project, by building up-to-date versions of the program:
make configure

Make configure command
Step 6: Run the config script using this command:
./configure --prefix=/usr
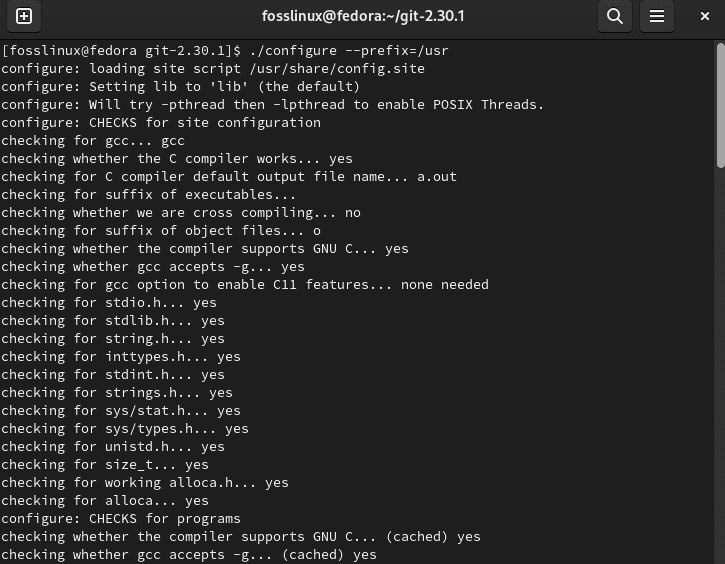
Run script
Step 7: Run the “make all” command. The make all command simply tells the make tool to generate the target “all” in the makefile, well-known as (“makefile”):
make all
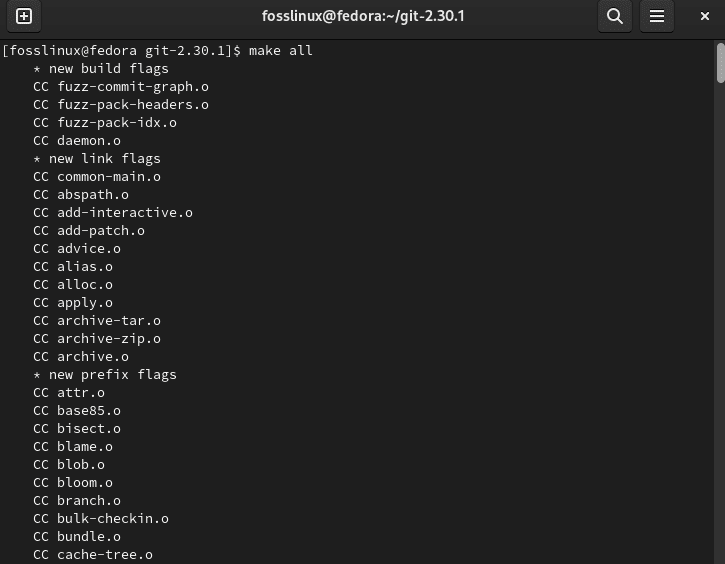
Make all command
Step 8: Execute the make install command as done below:
sudo make install
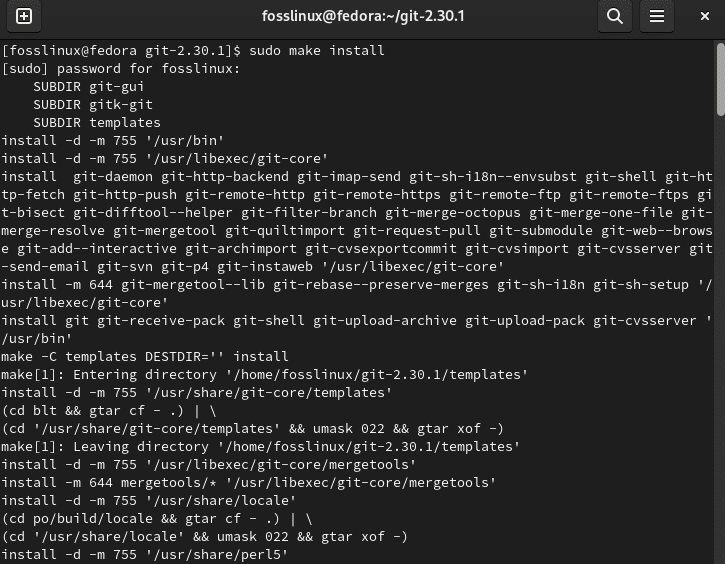
Make install command
Now, you have successfully installed Git using the second approach on your system. You can check whether or not the tool has been installed by checking the current version on your system using the following command:
git --version

Git version
With all that covered, let us cover the next phase of the guide: Configuring Git settings on Fedora.
How to configure Git settings on Fedora
Once you are done setting up Git on your system, you are obliged to configure some of its very key components before you can start using it, such as the email address, username, and default text editor. Remember this configuration process is one-time, and your configured system settings should last as long as you don’t do away with Git from your system.
Create an identity for Git
First, we need to add our username and email address to our Git account. This will permit us to commit our code without any issues. Git uses this info in every commit we make
A point to remember here is that the Git username is not the same as that for GitHub.
Run the following commands to set these details:
git config --global user.name "your_username"
git config --global user.email "your@email"
Remember to replace “your_username” and “your@email” with a username and email of your preference, respectively. The global keyword makes every change utilize this info on your system. In cases where you want different information for a project, simply do away with the global keyword when you are inside that particular project.
For instance:
username = fosslinux

email = foss@me.com
Then run this command to confirm if these settings worked as we wanted
git config --list
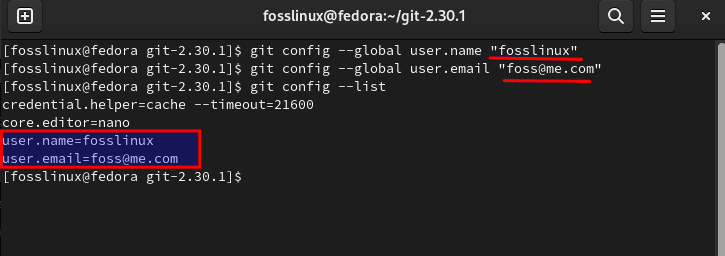
Set up credentials
Let us now configure SSH for Git on our Fedora system
Moreover, albeit not necessary, you can also configure SSH for Git on your PC. This mainly works to allow password-less logins. That way, you will not have to key in your password whenever you want to commit changes to a repo.
To attain this, open a terminal window and run the subsequent command to generate a new SSH key with your email:
ssh-keygen -t rsa -b 4096 -C "email_address"
When prompted for a file name, cite the location where you want to save the key and click “Enter”; to proceed with the default option, press “Enter.”
Your Fedora system will now request you to set a passphrase to append an additional layer of security to SSH on your PC. Type a strong passphrase that you can remember and hit “Enter.”
In the end, append the SSH key to the ssh-agent, which owns your system’s private info. For this, run the following command in the terminal:
ssh-add ~/.ssh/id
Once your identity is configured, proceed and configure Git further to suit your workflow.
Create a Git directory
You can create a directory for users who want to make a new directory for Git:
mkdir example-directory -p

Create directory
You can then navigate to the directory using this command:
cd example-directory

Navigate to directory
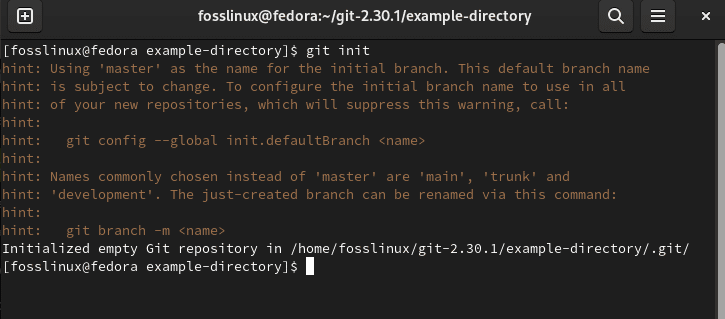
The next task at hand is to use the initialization command, well known as init, to create a concealed .git directory to store the configuration history and so on:
git init
Initialize Git
You should see a terminal output showing the directory’s initialization status, and the following command allows you to view the directory’s contents:
ls -a .git

Initialization status
How to print Git config details
To confirm Git config details and users, run the config list command, as shown below:
git config --list

Confirm git details
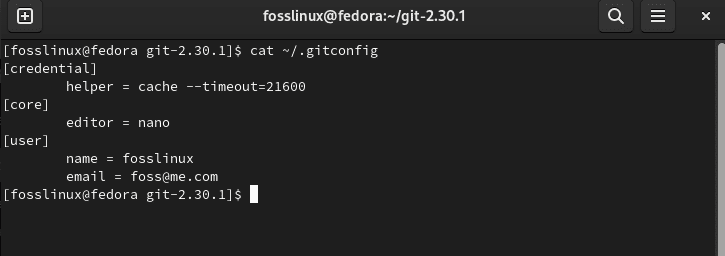
Git stores information in the /.gitconfig files unless specified. Using the cat command, you can see what is currently being stored:
cat ~/.gitconfig
Stored contents
It is paramount to note that using the sudo command with the git config command will set two separate emails and user names.
Let us now see how we can store Git credentials.
How to store Git authorization information
Those who want to keep authorization details stored can do this by enabling the credential helper cache using the following command:
git config --global credential.helper cache

Helper cache
For better security, only use the cache for a brief time if you must employ a credential helper. For instance, if you will be working today using Git for 1 to 6 hours but won’t be touching it for maybe a couple of weeks, then you can set the expiry for 6 hours:
git config --global credential.helper "cache --timeout=21600"

Set expiry
After 6 hours, the credentials will be deleted, securing your Git.
How to check directory Git status
To view the status of a Git repo, you can use the following git status command:
git status

Check Status
How to connect remote Git repo
For users who want to work with Git remotes to sync and upload/download changes, you need to link Git. This can be achieved using the git remote command as follows:
git remote add origin remote-repository-link
How to commit Git changes
Use the following git commit command when you are done making changes in your Git directory and want to sync it to push to the remote repository:
git commit -m "git message changelog"
Note: The message in the changelog is indicated by the -m flag, “git message change.”
How to push Git changes
To send or push changes to the remote repo to sync in both versions, use the following command:
git push origin master
How to update Git on Fedora Linux
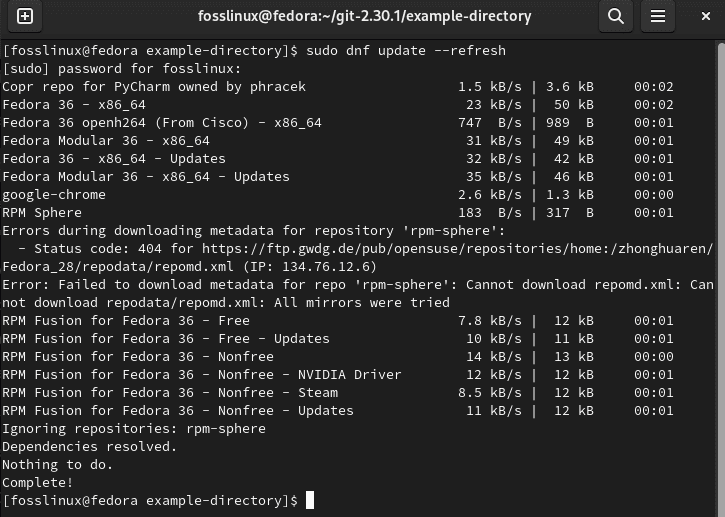
Updates to your Git account will be incorporated with your standard and system packages as you install git-core with the DNF package manager. To update and upgrade Git on fedora, run the following:
sudo dnf update --refresh
Refresh command
Let’s look at how we can modify Git’s default text editor.
How to change the default text editor for Git
Changing Git’s default editor for your interactivities is another configuration you can carry out.
Vim is the text editor that is used by default when configuring Git. However, if you’re not a fan of Vim or have never used it, you might not feel comfortable using it at first. As such, we will demonstrate the process of setting nano as the default Git text editor. However, feel free to substitute your chosen text editor for nano in the following command if you have one:
git config --global core.editor nano

Change editor
Want to review the setup configurations? Here’s how to do it.
How to review the configurations
When Git is configured to your preferences, recheck the configuration settings to confirm the configurations. This can be achieved by running the following command:
git config --list

Review configurations
You may like to edit the configuration at some point in the future. This can quickly be done by opening the git-config file by running this command:
nano ~/.gitconfig

Command to edit
This should open up the following:

Edit config file
Then edit the values you feel need to be edited, and save the file using “Ctrl+x” and “Y” to exit the editor.
If you want to do away with Git on your Fedora system, here is how to do it.
How to remove Git on Fedora Linux
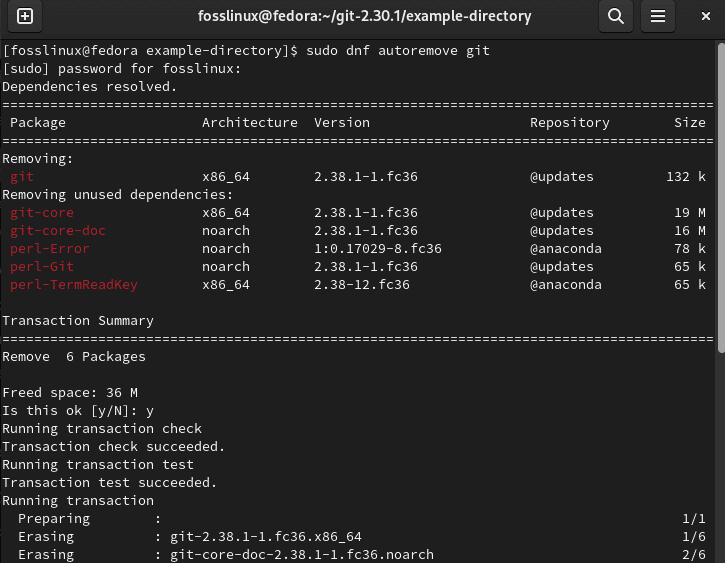
Those who no longer have reasons for having Git set up on their Fedora system can use the following command to remove the application and any unused dependencies:
sudo dnf autoremove git
Remove Git
Final Thoughts
With the guide and steps above, you should successfully be able to set up and configure Git on your Fedora system in no time. And after that, you should seek to incorporate Git into your workflow to manage your projects well.
For this instance, there are multiple Git services out there that can help you manage your repos. One such service is GitHub, which makes version control easier while providing safe cloud storage and support for integration with a wide range of tools.

