AnyDesk is a German proprietary desktop app distributed by AnyDesk Software GmbH. The tool offers platform-independent remote access to personal PCs and other devices running the host app. It allows remote control, VPN functionality, and file transfer, among other outstanding functionalities.
Ideally, this remote desktop app allows you to interlink to any PC and work with it without necessarily being physically there. It is also cross-platform and can be used on all major Operating Systems; Windows, macOS, Linux, and other host devices. The program allows you to access other devices and interact with all their files and documents from a remote control location.
One great feature of AnyDesk is that it can function well with low bandwidth and poor internet connectivity. This is a perfect alternative for those users who want to try something different from TeamViewer. For personal usage, this program offers a superb solution and affordable plans for those needing it for work purposes.
Here are some key features of this app.
Features of AnyDesk
- Low Latency – It works well with lower bandwidths as 100 KB/Sec with near-instant results.
- Session transfers.
- Real-time collaboration – AnyDesk permits users to carry out easy collaboration and communication.
- File transfers and session recording.
- Highly innovative tech – Its DeskRT innovative codec compresses and transfers image data between PCs in a way that no akin product can do.
This guide assumes you at least have some clue of basic Linux knowledge, like knowing how to use the shell. The installation is simple, and we think you are running in the root account; if not, you may have to append “sudo” to the command to get root privileges.
Installing AnyDesk on Fedora
Here is the step-by-step procedure for getting this software up and running on your Fedora system. But before we start, here are some of the requirements.
Prerequisites
- A server running a Fedora system.
- A root or sudo user.
- Internet connectivity.
- An SSH access to the server (or open the terminal if you’re using the desktop).
Let’s get the article underway!
Method 1: Installing AnyDesk on Fedora
In this article, we will use Fedora version 37, which is the latest at the time of this writing. We will also use the Yum and dnf package managers. Yum and dnf are basically primary package management tools for setting up, updating, deleting, and managing software packages in Red Hat Enterprise Linux, like Fedora.
Step 1: Add AnyDesk repo
To begin, sign in as root in your Fedora system by running the following command:
sudo su

Sign in as root
After that, input your root password.
Then proceed by adding the AnyDesk repo to your system by issuing the following commands on your terminal:
sudo tee /etc/yum.repos.d/AnyDesk-Fedora.repo <<EOF
[anydesk]
name=AnyDesk Fedora - stable
baseurl=http://rpm.anydesk.com/fedora/x86_64/
gpgcheck=0
repo_gpgcheck=0
gpgkey=https://keys.anydesk.com/repos/RPM-GPG-KEY
EOF
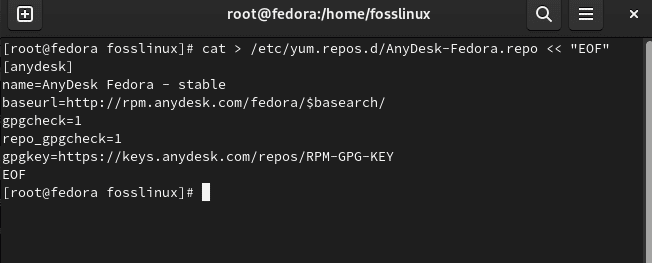
Add AnyDesk repo
Step 2: Update the system
After setting up the packages, all needed of you is to update your Fedora system for the changes to take effect by running the following command:
sudo dnf update
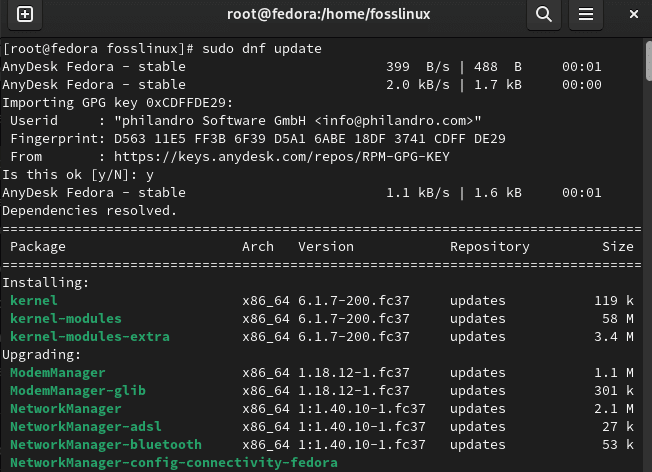
Update system
Step 3: Install AnyDesk on Fedora
After the repo has been appended to your system, run the following commands to help in the installation process.
This first command will help you refresh the dnf cache:
sudo dnf makecache
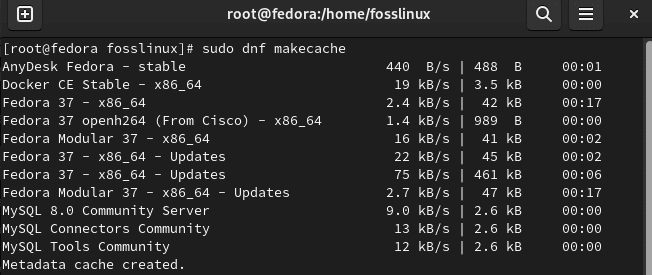
Refresh cache
Then install AnyDesk using this other command:
sudo dnf install redhat-lsb-core anydesk
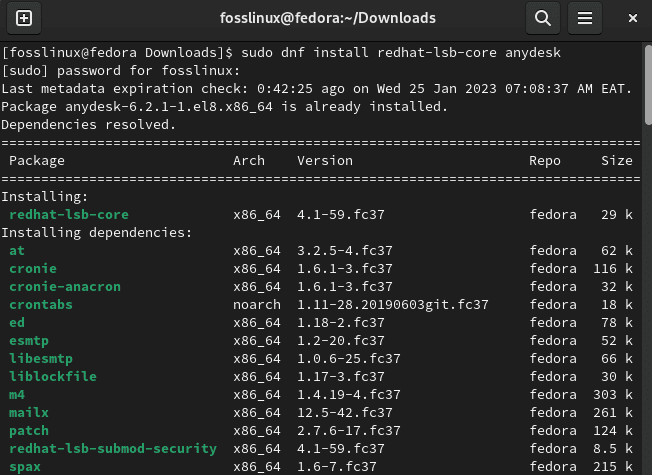
Install AnyDesk
The setup process should proceed without any hitches.
Step 4: Verify installation
Once the installation is over, you can run the following command to confirm whether or not the app is indeed installed in your root system:
rpm -qi anydesk
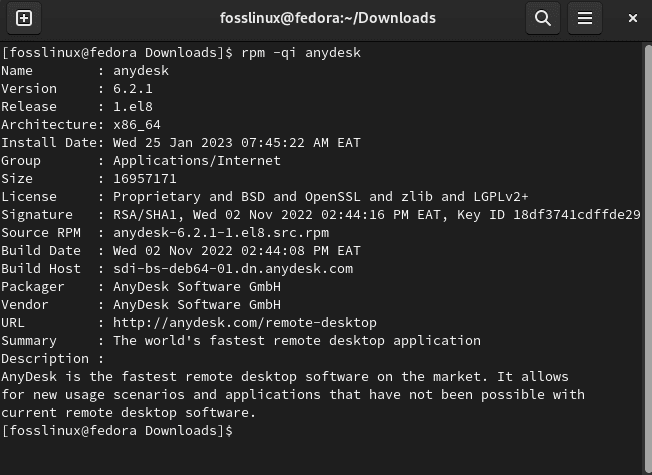
Verify installation
Let’s see another approach to getting this done.
Method 2: Installing AnyDesk on Fedora
Step 1: Visit AnyDesk’s official website
Click on this link and select the version depending on your system, which is Linux. After selecting Linux, go ahead and click the “Download Now” button as highlighted below:
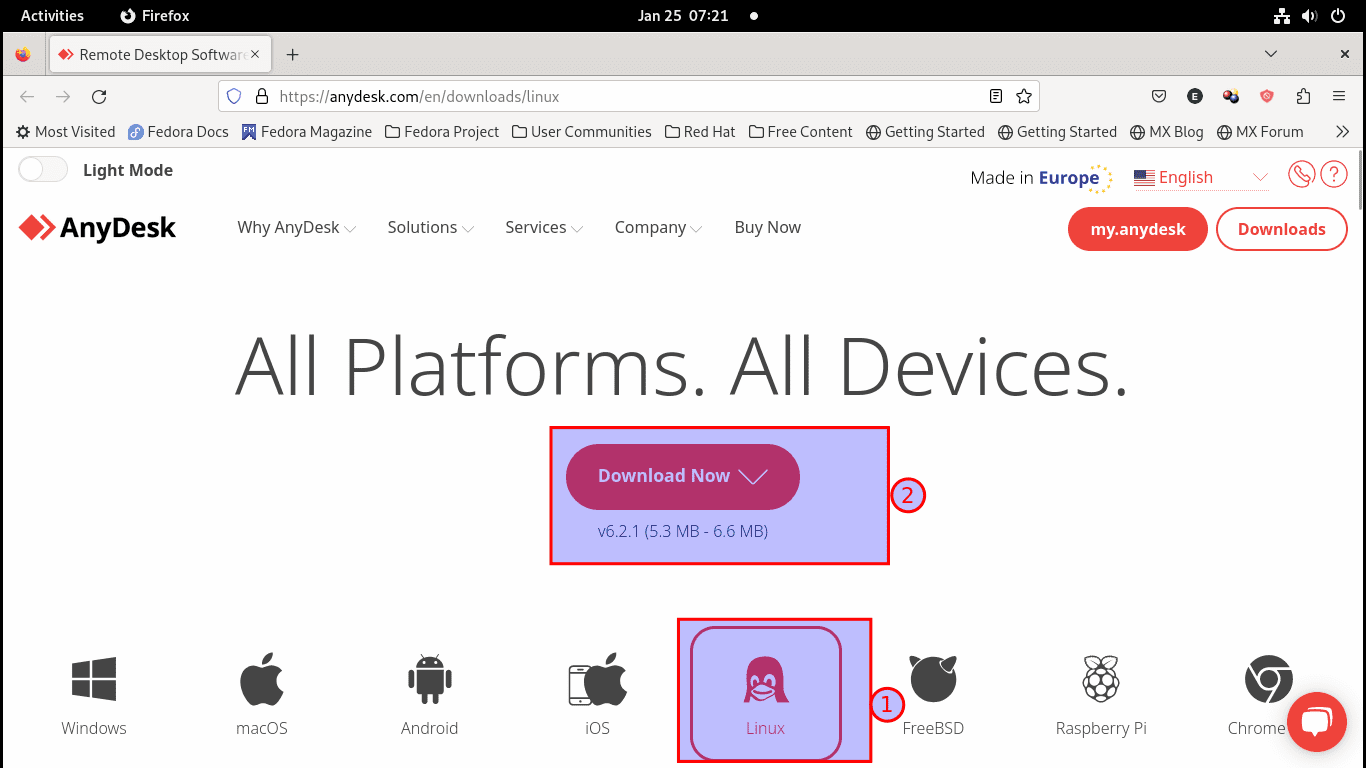
Select Linux and click the Download Now button
Then you will be taken to the download section, here select the file written, RedHat Enterprise Linux 8(64-bit):

Select 64-bit RedHat
This should download the .rpm file for you:

Download underway
Step 2: Install AnyDesk
After we have downloaded our app, the subsequent step is installing it. This can be achieved by going to the download folder (The default location to which your downloads are stored) and right click to open the terminal, as shown below:
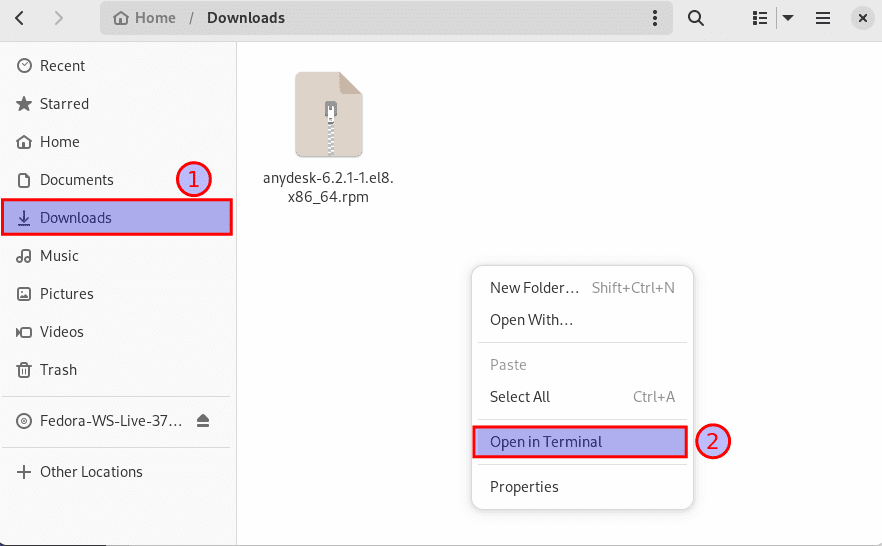
Open in terminal
After that, copy and paste this command on your terminal within your Downloads folder:
sudo dnf install ./anydesk*.rpm
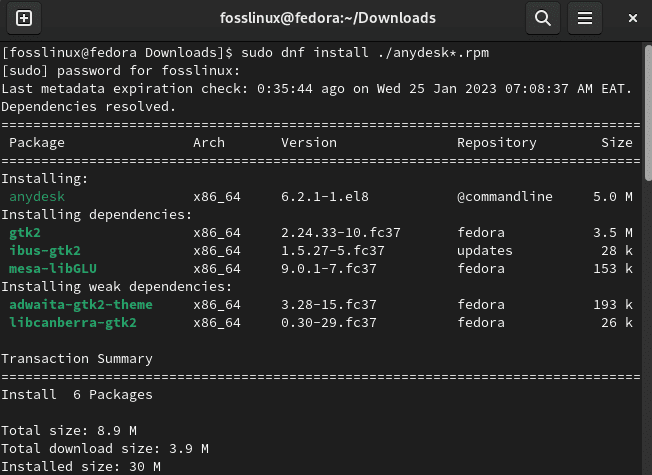
Install rpm AnyDesk
And the installation should be successful. You can optionally verify the installation by searching for it in the “Show Applications” section and even add it to your favorites using the “right-click > pin to dash” steps.
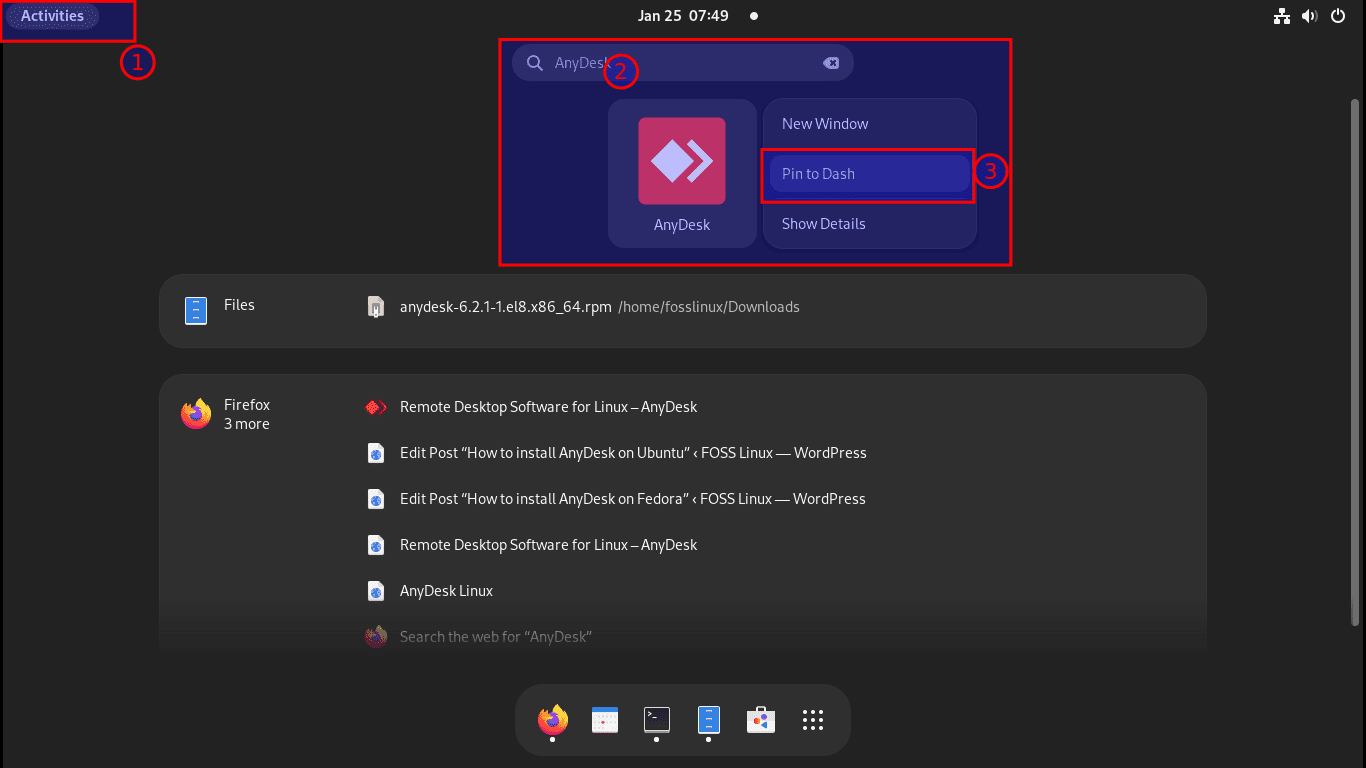
Set as favorite
Let us now discuss the Graphical User Interface (GUI) approach of installing AnyDesk on Fedora.
Method 3 on how to install AnyDesk using GUI
To do this, go to the AnyDesk download page and select the Fedora option to download the package as shown below:
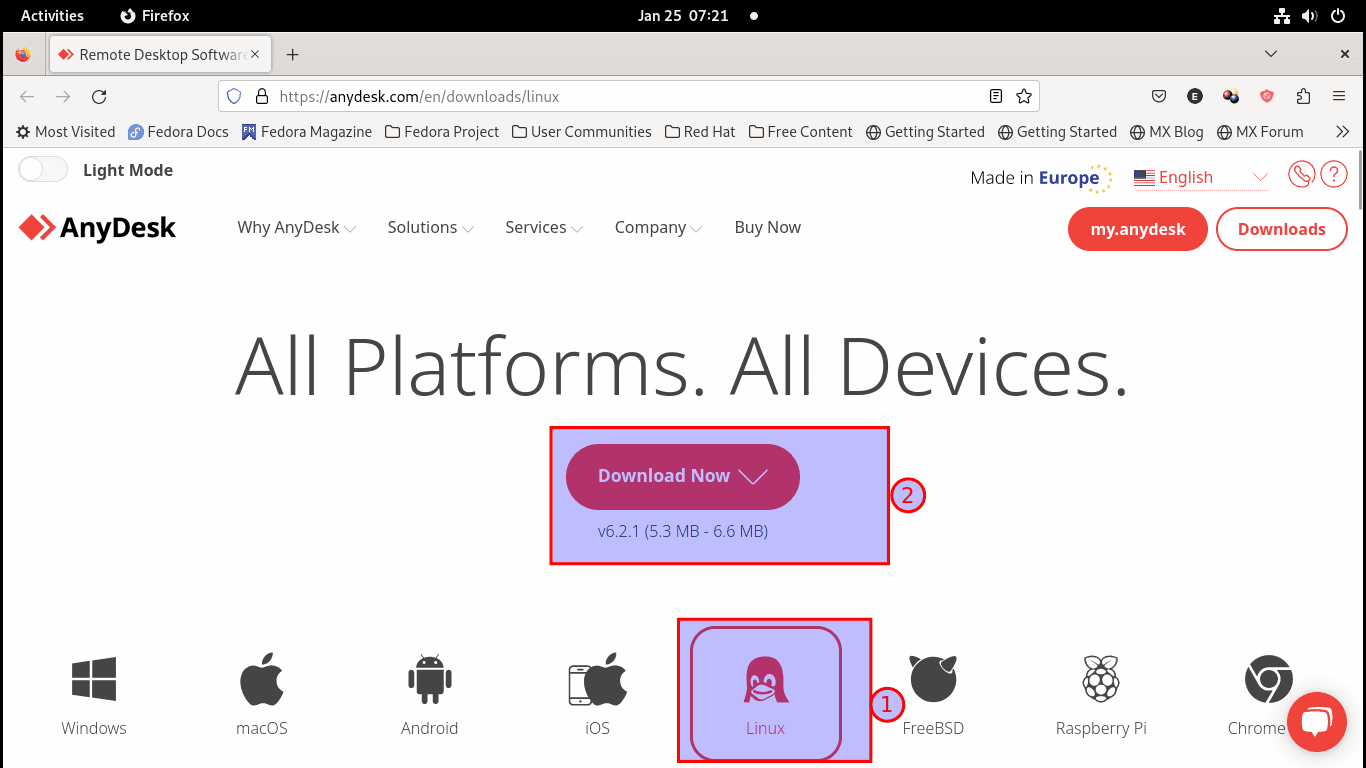
Select Linux and click the Download Now button
After downloading it, navigate to the Downloads directory and double-click on the .rpm file:
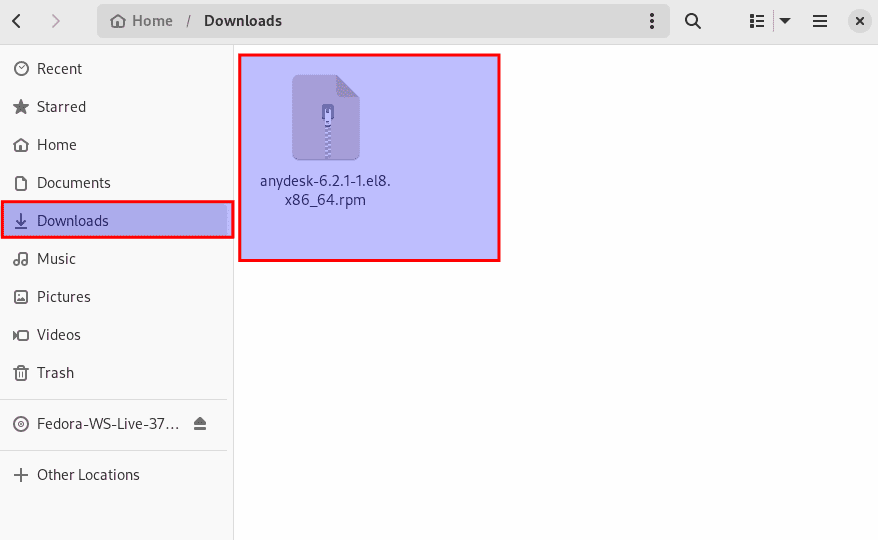
Double-click on the file
The double-click will open the application in the software center. After that, you should be able to see an “install” button on the far right side of the window, as shown below:
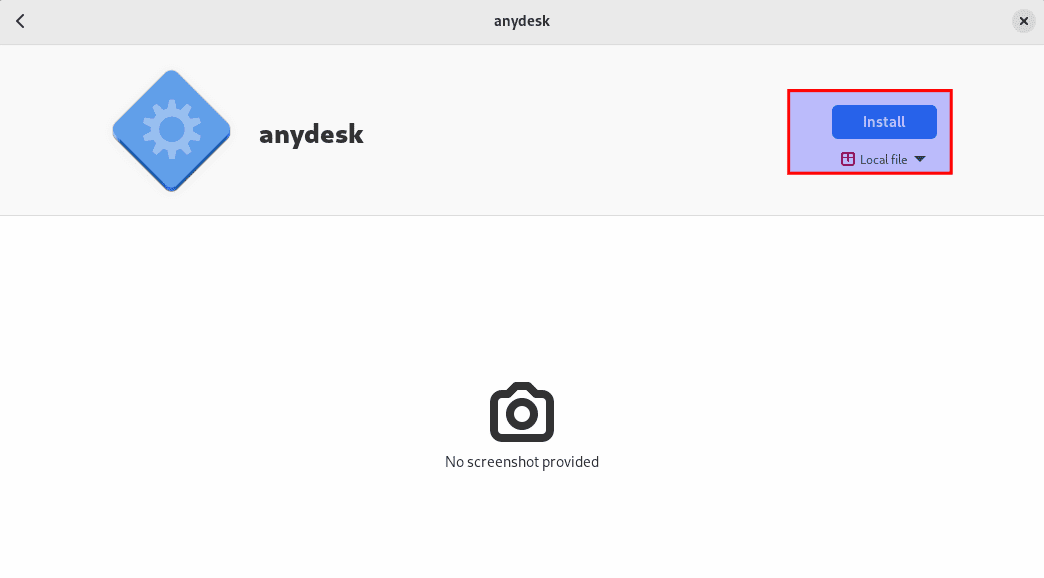
Click on Install
Upon hitting the install button, your Fedora system will request you to approve the installation by inputting your root password. Type your PC’s password and hit the “Authenticate” button:
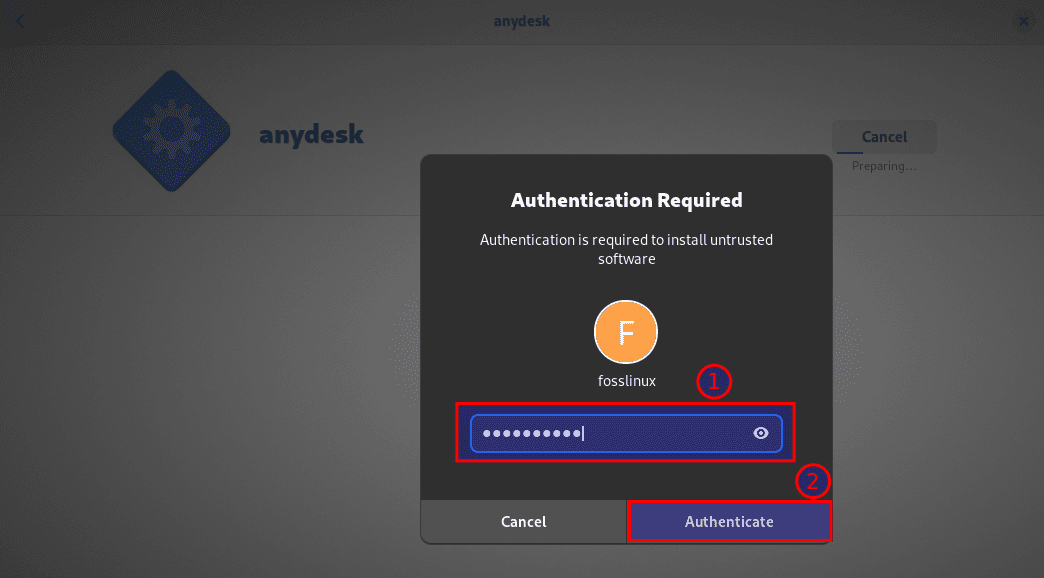
Authenticate software installation
And the installation should be underway:
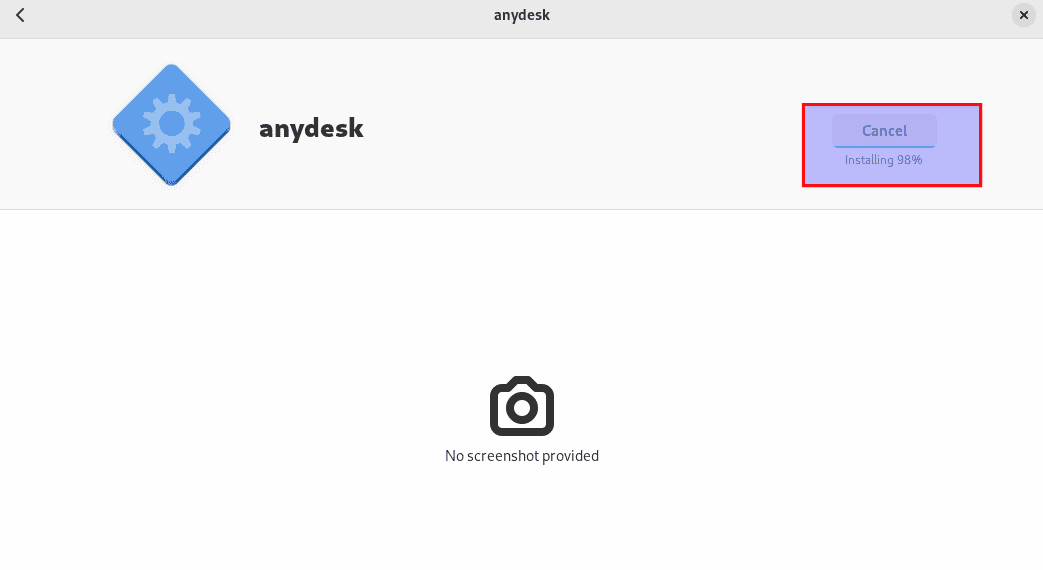
Installation process
Now that the installation phase is done let us look at this app’s status.
How to check if the just-installed app is functioning
AnyDesk has a service that spontaneously starts upon a successful setup. To check the service, run this command:
systemctl status anydesk.service
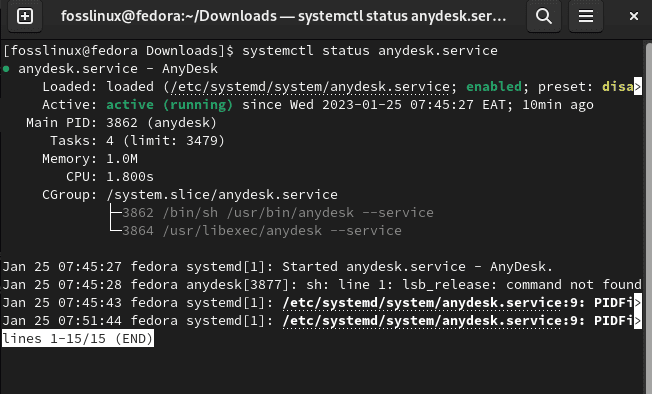
AnyDesk’s status
Note: A green highlight of an active(running) message indicates the service is functioning as intended.
The service should also be enabled, but you can verify this via this command:
systemctl is-enabled anydesk.service

Check if the service is enabled
If you now want to launch the application, there are two approaches that this guide will discuss: the command line and the graphical.
How to launch AnyDesk via terminal
This app can be launched by running this command on your terminal:
anydesk
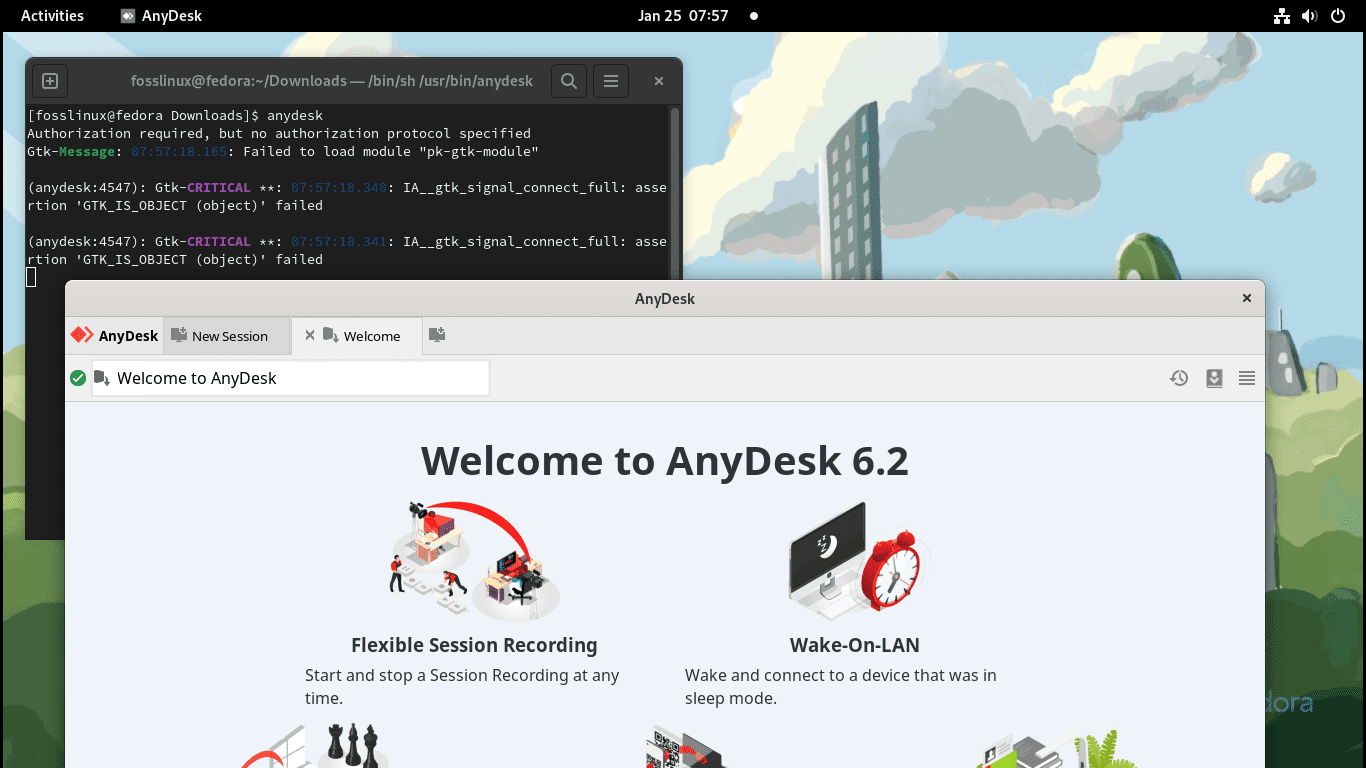
Launch AnyDesk using terminal
For the graphical way, do this:
Click on the “Activities” button and use the search bar to search for AnyDesk. Such an icon will appear; click on it to open it:
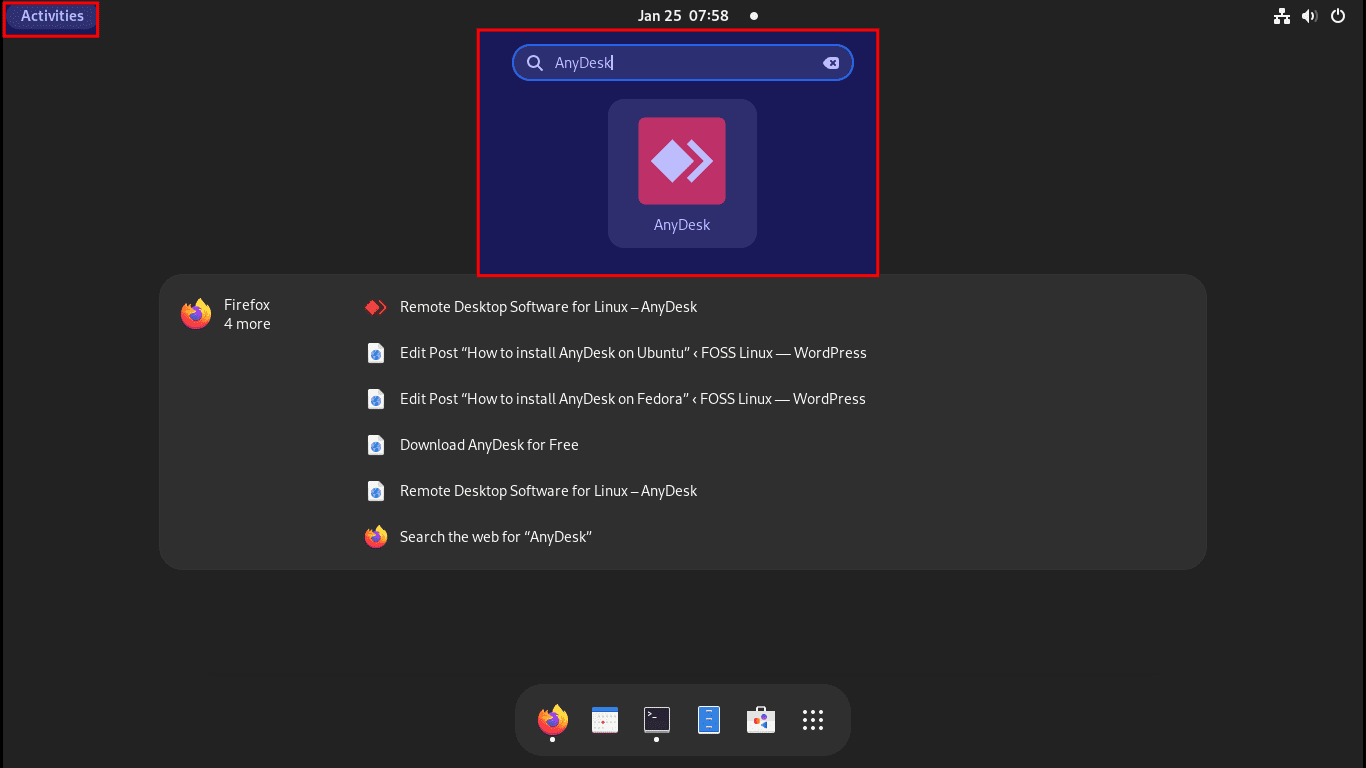
Launch AnyDesk via GUI
How to use AnyDesk on Fedora
Now that we have AnyDesk installed on our Fedora system, we are sure you are itching to know how to use it. This section will display how to open the software and take you through a dry run of its basic features.
Launch the application as covered above.
You should, at this point, have AnyDesk opened on your Fedora system. With it up and running, let us take you through some critical elements you must be aware of.
The first element we will look at is the address of your AnyDesk client. You can send a connection request to a remote client by inputting the AnyDesk-ID in the “Remote Desk” field. You can also utilize this address from another PC to remote desktop into your Fedora PC.
On the flip side, one can also be sent by clicking the client tiles located in Discovery, Favorites, Recent sessions, and the Address Book.
Once a request has been made, the user on the local client must input the unattended access password to connect. If it has been set up on the remote device, the user on the remote client must accept the connection request to start the session manually.
Ensure you keep these address details safe. You should only agree to the connections you trust because the connecting user will ultimately control your system.
How to access a remote client
Step 1: The remote user offers their AnyDesk-ID found in the “This Desk” or “Your Address” field:

AnyDesk ID
Step 2: The other connecting user must type the ID from Step 1 into the “Remote Desk” field. Input the ID in the Address-label on the remote device and request a session.

Session
Step 3: The Accept window will pop up on the remote device if the connection is valid. By agreeing to the request, the session will be established:
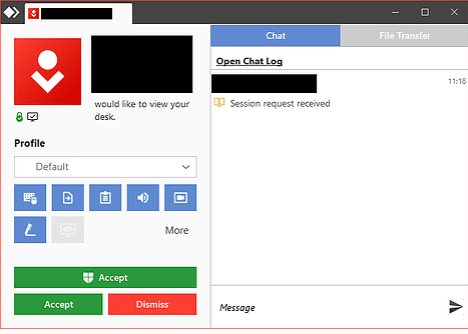
Successful connection
Active session
If you exceed the session limit of your current license, AnyDesk will display a warning with a list of active sessions for that specific AnyDesk client. The user can then terminate the active session in that list manually.
To avoid unauthorized terminations, sessions from other customers with the same license are concealed in this list. Please use the Sessions tab of your my.anydesk.com client portal to end these sessions:
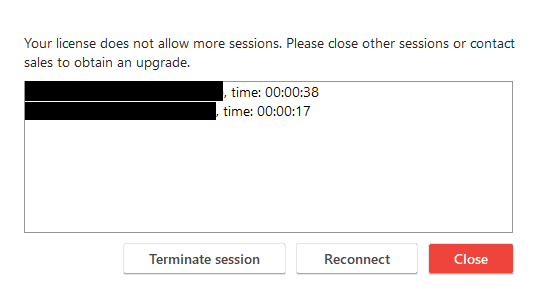
Session limit reached
Let us see how we can remove this software from our Fedora PC.
How to remove AnyDesk from Fedora using the terminal
You can do away with this application at any point you wish. But first, ensure you exit any ongoing sessions to avoid the forced removal of AnyDesk. After that is done, copy and paste the following code as a super user on your terminal and click “Enter”:
sudo dnf remove anydesk
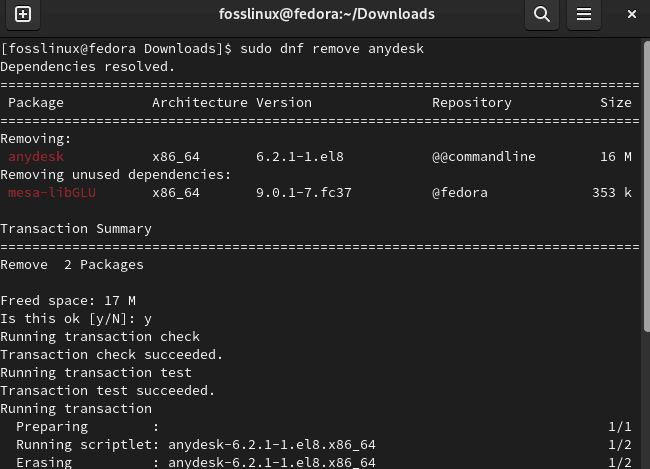
Remove AnyDesk
Note: Ensure you type “y/Y” when prompted “Is this ok [y/N]:”
How to remove AnyDesk from fedora using GUI
This is a simple way of uninstalling AnyDesk without deploying complex methods or approaches. To do this, go to the Downloads directory and double-click on the anydesk.rpm file. This will open up the Software Center with the software interface. Go ahead and click on the “bin-like” icon, as highlighted below:
Select Bin like icon
After which, you will be asked to approve the uninstallation process. To authorize, click on “Uninstall,” as shown below:

Affirm uninstallation process
And the uninstallation process will be underway in no time:
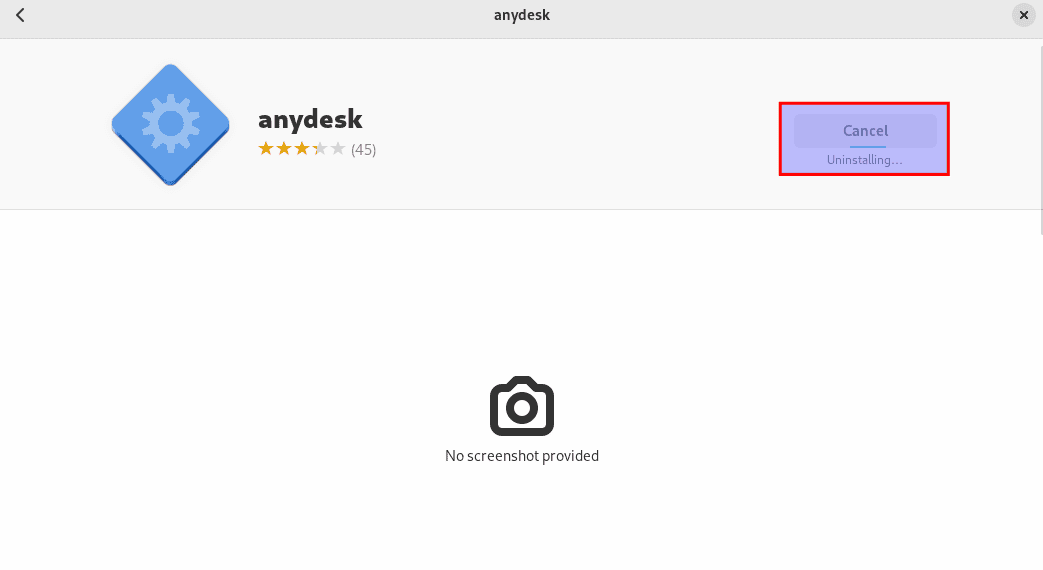
Uninstallation underway
It is a wrap! You have reached the end of our article; cheers!
Wrapping Up
In conclusion, AnyDesk is a simple, easy-to-use remote desktop software that perfectly functions on several operating systems. However, this guide has solely focused on installing the software on the Fedora version of Linux.
So this guide discussed a couple of installation methods, both the terminal and graphical approaches, for users who don’t prefer the terminal approach. We also covered how to launch this software, how to use plus the uninstallation process in case one is done using the app and no longer needs it in their system.
We believe you should have successfully set up AnyDesk on your PC by this point in the tutorial without any hitches. But if you have rammed into any issues, please comment below.

