If you are working with Linux and managing a network or a server, chances are you have heard about iptables. iptables is a powerful tool used to manage network traffic by filtering packets, and its use is essential to ensure the security of your system. However, iptables can be complex and challenging to master, especially when understanding chains and targets.
This article will dive deep into iptables chains and targets, which are the building blocks of iptables rules. We will explore what they are, how they work, and why you need to understand them. Besides, we shall explore how chains and targets are used to control network traffic.
Iptables’ packet filtering technique is divided into three types of structures: tables, chains, and targets. A table is anything that allows you to handle packets in specific ways. The filter table is the default, but there are additional tables. Again, these tables are linked by chains. These chains enable you to inspect traffic at various stages, such as when it arrives on the network interface or before it is sent to a process. You may configure them to match certain packets, such as TCP packets bound for port 80, and associate them with a target. A target determines whether a packet is allowed or rejected.
When a packet enters (or departs, depending on the chain), iptables compares it one by one against the rules in these chains. It leaps onto the target and executes the action linked with it when it detects a match. If it doesn’t discover a match with any of the rules, it just follows the chain’s default policy. The standard approach is also an aim. All chains have a policy of admitting packets by default.
We’ll now look more closely at each of these structures.
Understanding iptables Targets
Targets determine what happens to the packet when a rule in a chain matches. As previously said, chains permit you to filter traffic by assigning rules to them. For example, on the filter table’s INPUT chain, you might set a rule to match traffic on port 25. But what would you do if they matched? Targets are used to determine the destiny of a packet.
Some targets are terminating, meaning they decide the destiny of the matched packet right away. Other rules will not be used to match the packet. The following are the most typically utilized terminating targets:
- ACCEPT: This command instructs iptables to acknowledge the packet.
- DROP: The packet is dropped by iptables. To anyone attempting to connect to your system, it will look as though the system does not exist.
- REJECT: The packet is “rejected” by iptables. In the case of TCP, it sends a “connection reset” message; in the case of UDP or ICMP, it sends a “destination host unreachable” packet.
Non-terminating targets, on the other hand, continue to match other rules even after a match is discovered. The built-in LOG target is an example of this. When it receives a matched packet, it reports it in the kernel logs. However, iptables continues to match it with the rest of the rules as well.
When you match a packet, you may be given a complex set of rules to follow. First, you may make your own chain to make things easier. Then, you may hop to this chain from one of the custom chains.
Other targets can be used, such as LOG, MASQUERADE, and SNAT. These targets allow you to perform more complex actions, such as logging packets or modifying their source address.
Understanding iptables Chains
In iptables, a chain is a collection of rules applied to incoming or outgoing packets. Each of the mentioned tables is made up of a few default chains. These chains enable you to filter packets at different locations. Iptables offers the following chains:
- The Prerouting chain: This chain applies rules to packets arriving on the network interface. This chain may be found in the tables nat, mangle, and raw.
- The Input chain: This chain applies rules to packet rights before sending them to a local process. The mangle and filter tables include this chain.
- The OUTPUT chain: The OUTPUT chain’s rules apply to packets created by a process. The raw, mangle, nat, and filter tables all include this sequence.
- The Forward chain: This chain’s rules apply to all packets routed via the present host. This chain appears solely in the mangle and filter tables.
- The Postrouting chain: This chain’s rules apply to packets when they depart the network interface. This chain may be found in both the nat and mangle tables.
Besides, you can create your own chains, which can filter packets according to specific criteria. For instance, you can create a chain to filter packets based on the source IP address, the destination IP address, or the protocol.
Understanding Tables
As previously stated, tables enable you to perform particular actions on packets. There are four tables in contemporary Linux distributions:
- The filter table: One of the most commonly used tables in iptables is the filter table. The filter table determines whether a packet should be allowed to continue to its intended destination or denied. This is denoted as “filtering” packets in firewall terminology. This table contains the majority of the functionality that people consider when considering firewalls. It is the default and maybe the most commonly used table, and it is primarily used to determine whether or not a packet should be permitted to reach its destination.
- The mangle table: This table permits you to change packet headers in various ways, such as modifying TTL values. The mangle table is used to modify a packet’s IP headers in various ways. For example, you may change a packet’s TTL (Time to Live) value to increase or decrease the number of legitimate network hops the packet can endure. Similar changes can be made to other IP headers.
This table can also apply an internal kernel “mark” to the packet, which other tables and networking tools can then process. This mark does not affect the actual packet but is added to the kernel’s packet representation. - The raw table: The iptables is a stateful firewall, which implies that packets are examined with regard to their “state”. (A packet, for example, might be part of a new connection or an established connection.) The raw table allows you to manipulate packets before the kernel begins tracking their status. Furthermore, you can exclude specific packets from the state-tracking apparatus.
- The nat table: The iptables firewall is stateful, which means that packets are analyzed in reference to preceding packets. The netfilter framework’s connection tracking features enable iptables to perceive packets as part of an ongoing connection or session rather than as a stream of single, unconnected packets. Connection tracking logic is often applied shortly after the packet arrives at the network interface.
The raw table serves a particular purpose. Its sole function is to offer a way for designating packets to opt out of connection tracking.
This table allows you to change packets’ source and destination addresses to route them to various hosts on NAT (Network Address Translation) networks. It is frequently utilized to gain access to services that cannot be accessed directly due to being on a NAT network.
Note: Some kernels additionally include a security table. SELinux uses it to apply policies based on SELinux safety contexts.
Why you need to understand Chains and Targets
Understanding iptables chains and targets is essential for several reasons. First, it allows you to write clear and efficient iptables rules. By knowing which chain to use and which target to apply, you can create rules tailored to your specific needs.
Second, it helps you troubleshoot iptables-related issues. When packets are not flowing as expected, understanding the chain and target being applied can help you quickly identify and fix the problem.
How to use iptables chains and targets to control network traffic
iptables chains and targets can be used to control network traffic by allowing you to filter incoming and outgoing packets based on specific criteria. By setting up iptables rules, you can define what packets are allowed or denied based on various factors such as source IP address, destination IP address, port numbers, protocol types, and more.
Here are some examples of how chains and targets can be used to control network traffic:
Example 1: Block specific IP addresses
You can create a new chain and add a rule to drop packets coming from a specific IP address. For example, the following commands would create a chain called “FOSSLINUX” and add a rule to drop packets from 192.168.1.100:
sudo iptables -N FOSSLINUX

sudo iptables -A FOSSLINUX -s 192.168.1.100 -j DROP
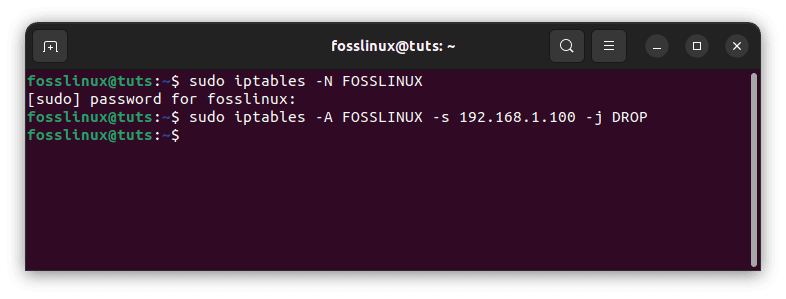
Block specific IP addresses
Example 2: Allow traffic only on certain ports
You can add rules to the “INPUT” chain to allow incoming traffic on specific ports, such as HTTP (port 80) and HTTPS (port 443):
sudo iptables -A INPUT -p tcp --dport 80 -j ACCEPT

sudo iptables -A INPUT -p tcp --dport 443 -j ACCEPT

sudo iptables -A INPUT -j DROP
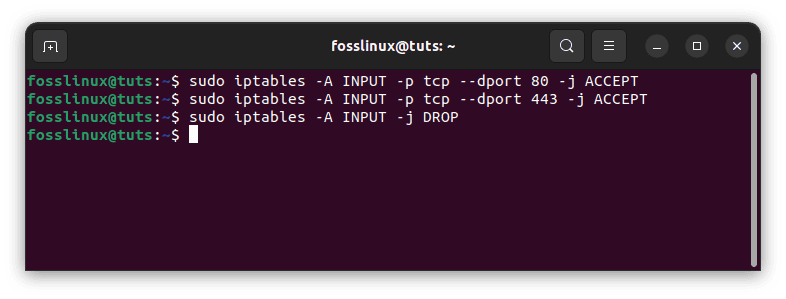
Allow traffic on specific ports
The last rule in the above example would drop all traffic that does not match the previous rules, providing a default-deny policy.
Example 3: Protect against DoS attacks
You can use iptables to protect your server from Denial of Service (DoS) attacks. For example, you can add a rule to the “INPUT” chain to limit the number of connections from a single IP address:
sudo iptables -A INPUT -p tcp --syn -m connlimit --connlimit-above 20 -j DROP
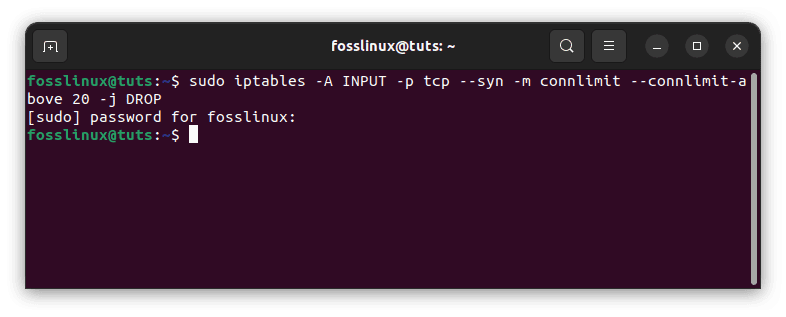
Protect against DOS attacks
This rule would drop any incoming TCP packets that initiate a new connection and are not part of an existing connection if the number of connections from the source IP address is above 20.
In summary, iptables chains and targets provide a powerful way to control network traffic by filtering packets based on various criteria. By creating rules that specify which packets are allowed and which are denied, you can secure your system and protect it from unwanted traffic or attacks.
iptables chains and targets examples
Here are some examples of iptables chains and targets that you can try on the command line:
Example 1: Creating a new chain
To create a new chain in iptables, you can use the following command:
sudo iptables -N [CHAIN_NAME]
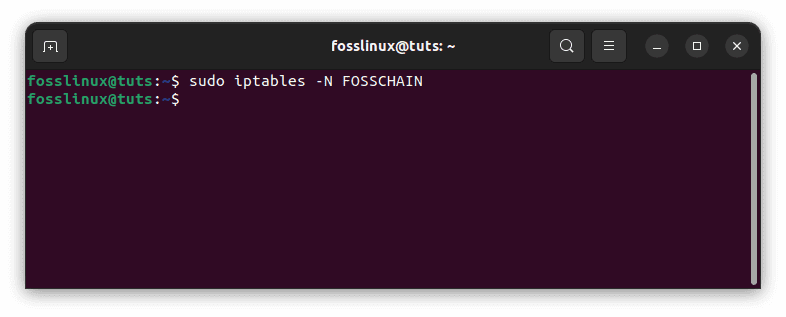
For example, to create a new chain called “FOSSCHAIN”, you can run the following:
sudo iptables -N FOSSCHAIN
Create a new chain
Example 2: Adding a rule to a chain
To add a rule to a chain, you can use the following command:
sudo iptables -A [CHAIN_NAME] [RULE_OPTIONS]
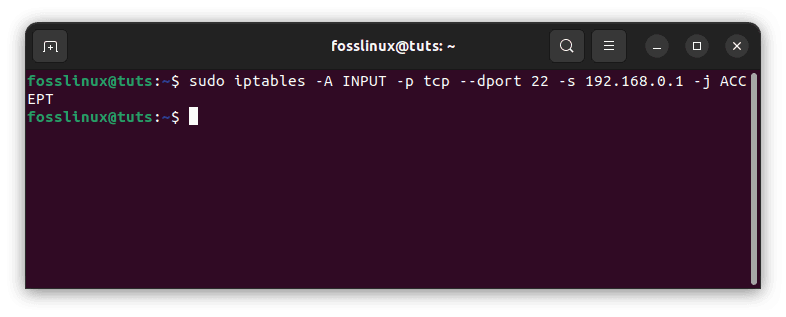
For example, to add a rule to the “INPUT” chain that accepts incoming SSH connections from a specific IP address, you can run the:
sudo iptables -A INPUT -p tcp --dport 22 -s [IP_ADDRESS] -j ACCEPT
Add a rule to a chain
Example 3: Deleting a rule from a chain
To delete a rule from a chain, you can use the following command:
sudo iptables -D [CHAIN_NAME] [RULE_NUMBER]
For example, to delete the first rule from the “FOSSCHAIN” chain, you can run the following:
sudo iptables -D FOSSCHAIN 1
Example 4: Using a target
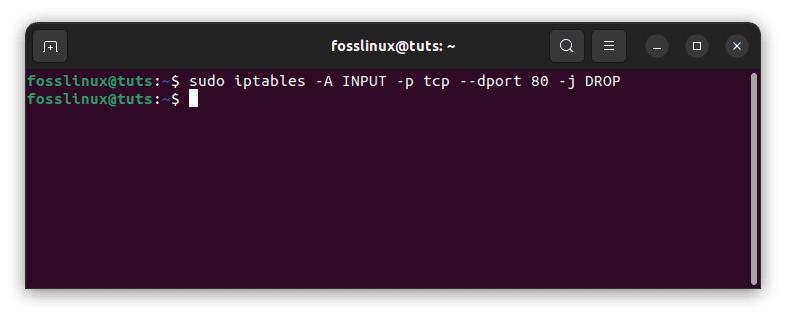
To use a target in a rule, you can specify it with the “-j” option, followed by the target name. For example, to drop all incoming traffic to port 80, you can run the following:
sudo iptables -A INPUT -p tcp --dport 80 -j DROP
Use a target
Example 5: Listing the rules in a chain
To list the rules in a chain, you can use the following command:
sudo iptables -L [CHAIN_NAME]
For example, to list the rules in the “INPUT” chain, you can run the following:
sudo iptables -L INPUT

List a rule in a chain
I hope these examples aid you in understanding how iptables chains and targets work in practice.
Conclusion
iptables is a Linux firewall application. It uses tables to monitor traffic to and from your server. These tables include chains of rules that filter incoming and outgoing data packets. In summary, iptables is a powerful tool essential to manage network traffic and ensure your system’s security. Chains and targets are the building blocks of iptables rules, and understanding them is crucial to writing effective and efficient rules and troubleshooting issues that may arise. By mastering chains and targets, you will be well on your way to becoming an iptables expert.

